I have a reputation for chalkboards.
I know – strange huh?
You see, it’s the one feature I insist on adding to all
of our flip houses. You could call it my “trademark“
I suppose. They are so incredibly easy to make.
We just completed our most recent flip house a few days ago,
and I will be sharing a few projects with you in the days to come.
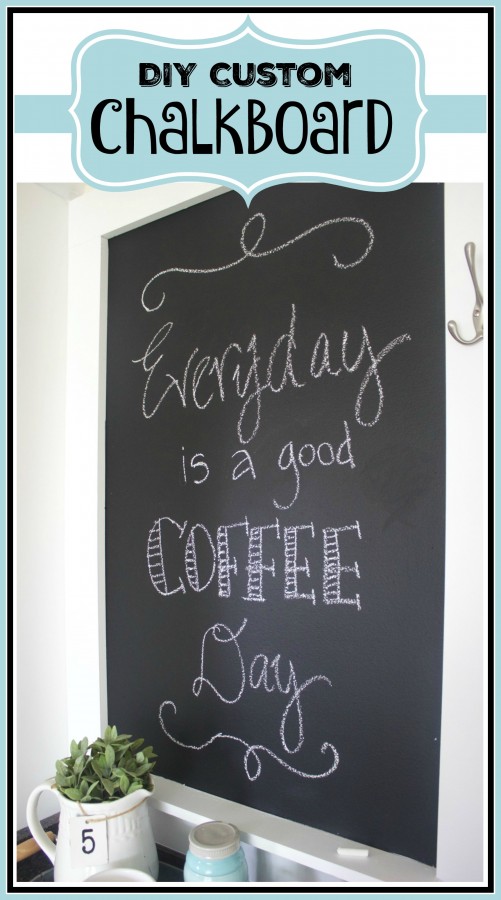
But for now, let’s start with this
DIY Custom Chalkboard.

……………………………………………………………
Do you know what I love best about this DIY project?
Even if you do not own a single tool, you can still make
this Custom Chalkboard. I love the fact that the
very nice fellas at Lowe’s will cut the boards for you
to your needed lengths.
The second best thing about this project is you can make
the custom chalkboard any size you need. Small or large.
Here’s how easy it is….
*( I apologize in advance for these next few images. They were
taken with my iPhone on a very cloudy day) 😀

Make a Custom Chalkboard | The Everyday Home
Determine the size that you want your chalkboard to be.
Use painter’s tape to mark off the chalkboard space. I added a
few extra inches to make sure the chalkboard area would
be slightly under the frame.

Make a Custom Chalkboard | The Everyday Home
I wanted this chalkboard to be the same width as the
30″ lower cabinet beside the pantry.
(I will be blogging about this open cabinet project later in the week)

Make a Custom Chalkboard | The Everyday Home
It required three coats to get a complete coverage, but a quart
of chalkboard goes a long way. While the paint was still damp,
I pulled the tape off so it would not pull away any paint.
As soon as the paint dried, it was time to start adding the frame.

Make a Custom Chalkboard | The Everyday Home
I used a pneumatic nail gun, but even if you do not have one,
basic hammer and nails, or screws would also work. I would suggest
pre-drilling your holes to prevent the boards from splitting.
(above) I added the bottom board first. This board sit flush against
the granite backsplash.

Make a Custom Chalkboard | The Everyday Home
Next, I added the top board. You can see I used the crown moulding
from the pantry as the top point of my chalkboard.
Finally, I added the sides.

Make a Custom Chalkboard | The Everyday Home
Before I caulked the joints and nail holes and gave the frame a final
coat of white paint, I added a small ledge.

Make a Custom Chalkboard | The Everyday Home
You don’t see it in this picture, but I added a section of
quarter round under the ledge for some added support.

Make a Custom Chalkboard | The Everyday Home
One final touch – a nickel hook added to the right side.
I love how it turned out, and it’s the perfect touch to the
dead space next to the pantry.

Make a Custom Chalkboard | The Everyday Home
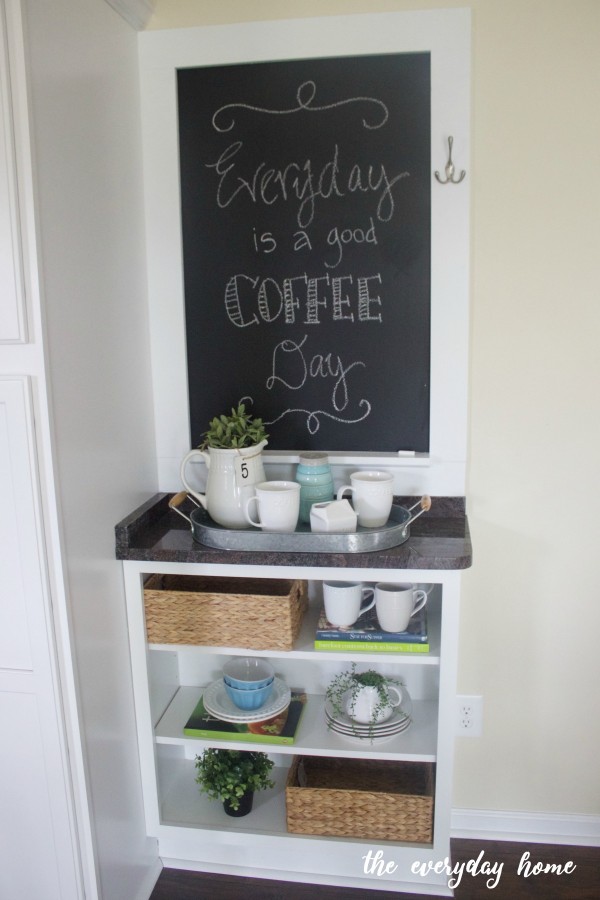
By using remnant pieces of granite, I added a custom looking top
to the cabinet, which creates a perfect location for a coffee bar.

Make a Custom Chalkboard | The Everyday Home
This quickly became one of my favorite areas of this flip home,
and I hope it brings lots of joy to the new owners.

Make a Custom Chalkboard | The Everyday Home
Do you have the perfect location for a custom chalkboard?
Now that you see how easy it is, I hope you will be encouraged
to create one of your own.
xxoo, Barb
“Make Yourself at Home !”
………………………………………
Here are some other chalkboard projects from
The Everyday Home…
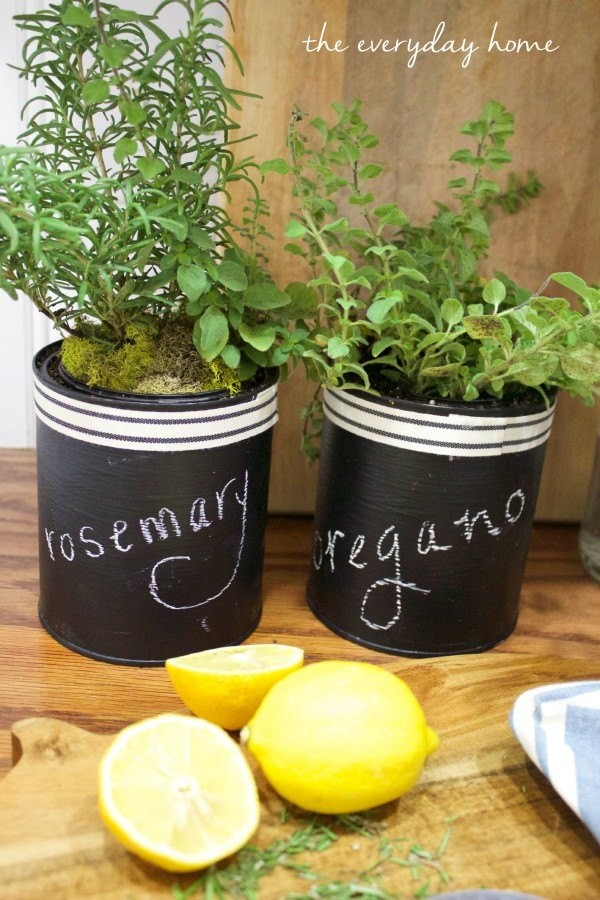
Chalkboard Paint Can Herb Pots
…………………………………………
Don’t Forget to Share !!!
Do you follow me on Pinterest, Twitter and Facebook?
I would love for you to share these images to your fave social media sites.
Simply scroll the upper left of images and click the social media icons of your choice.
………………………………………..
Thank you for spending a few
minutes of your day here with me.
You can follow along with
The Everyday Home here….
Here are some of the Link Parties I may be sharing this post with.
You can find more parties on my Linky Party Page.


I am slightly obsessed with chalkboards and chalk art. Such an easy way to add some art and character to a space. Loving the coffee bar you created too! Thank you for sharing at Merry Monday!
View Comment