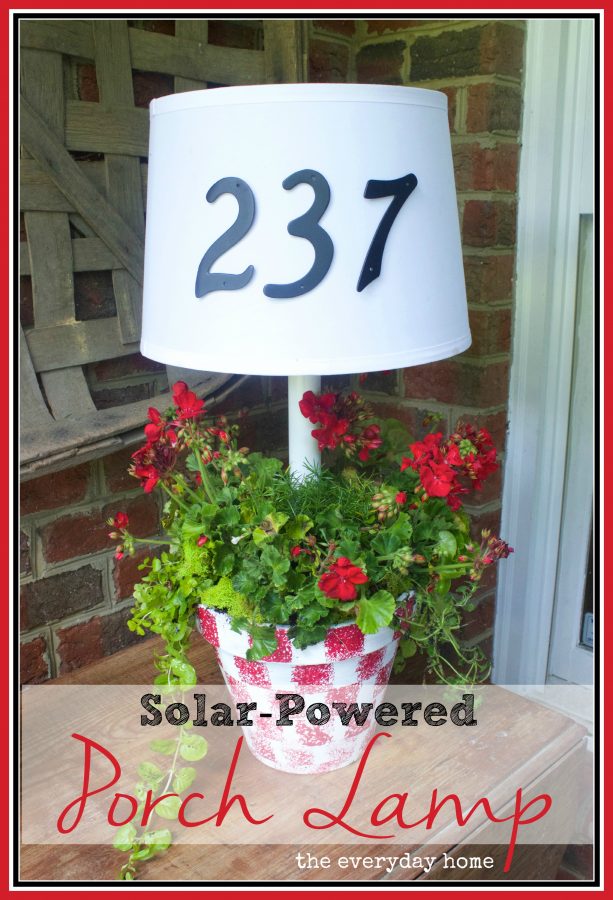
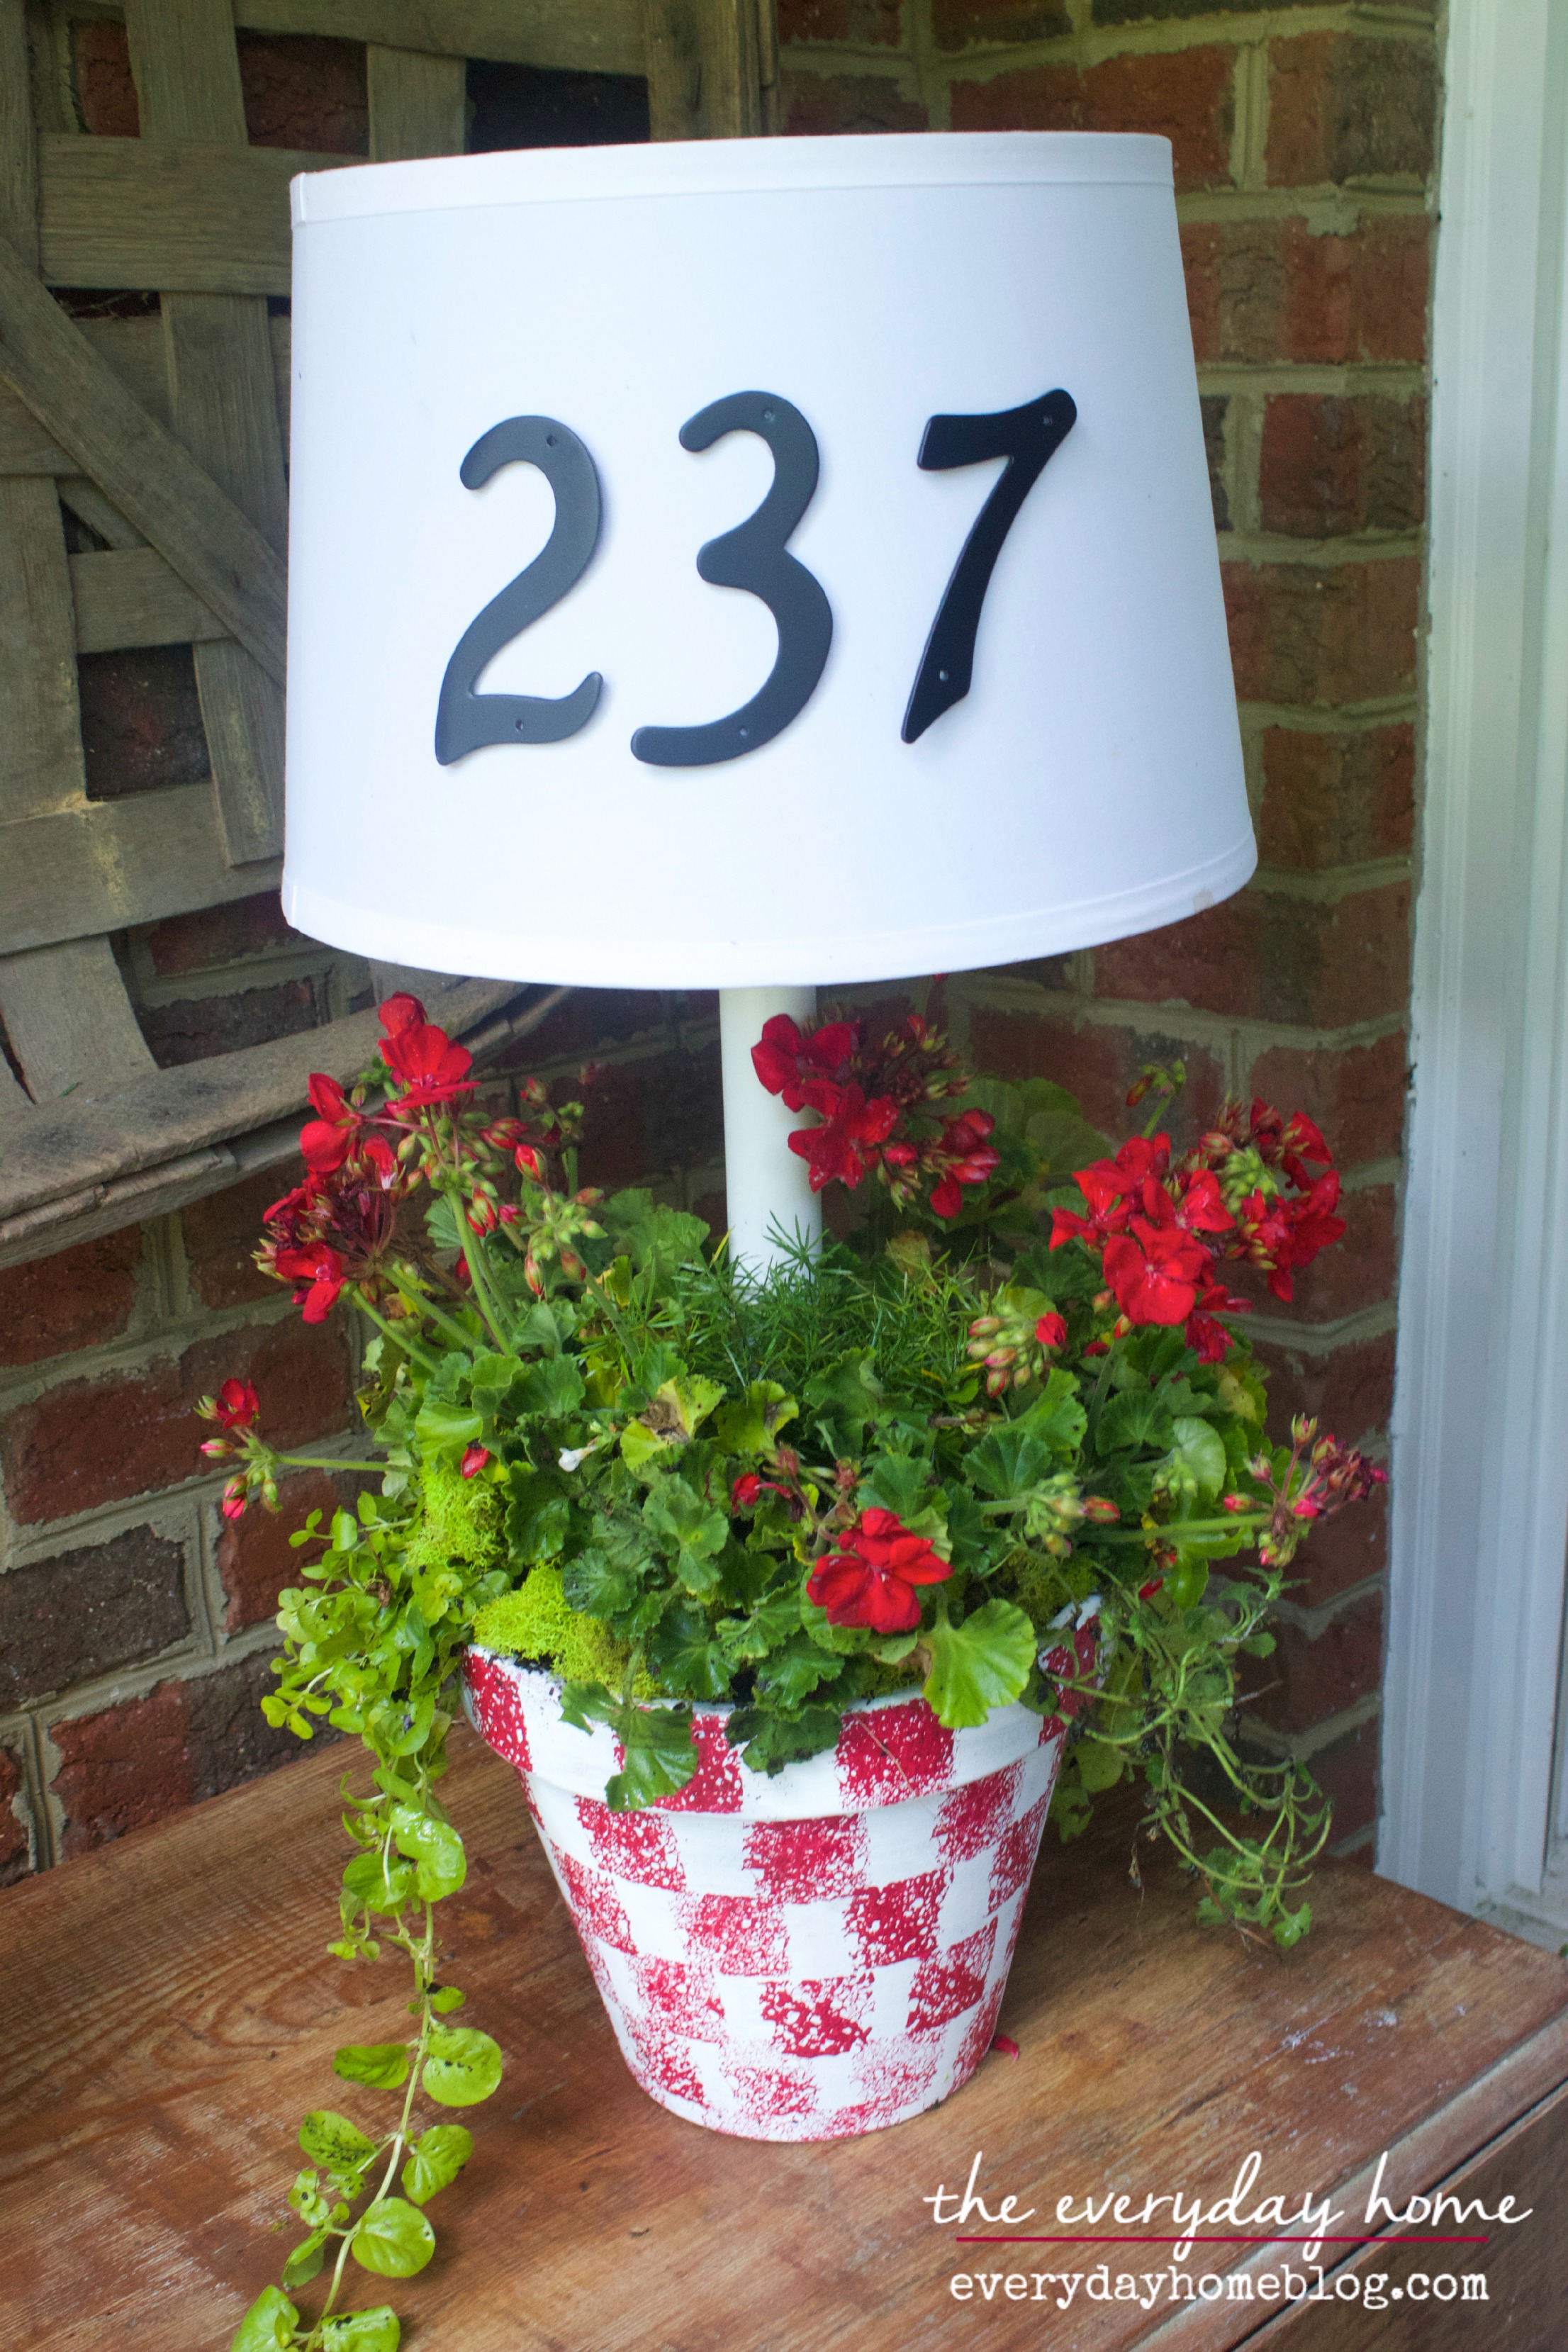
Is it a lamp?
Is it a planter?
Is it a house number plaque?
Well….yes, yes and yes.
It’s all three.
I am late getting my porch decorated for
Summer this year because of taking care of Daddy.
But, because I am doing a Front Porch
Showcase in a few weeks, I decided I better get
a move-on and get it ready.
So, I whipped up this project today…and I
LOVE it.
Solar Powered Porch Lamp
Solar Power Lamp by The Everyday Home
This project actually gives you a look
into the direction I am going with my porch
decorating. My home is not a farmhouse,
but who says I can’t “pretend” that it isn’t.
😀
The best part about this project
is that I already had most of the components.
Here is the supply list needed to make a
Solar Powered Lamp:
~ 1 Pot, any size, any kind.
(I used terra cotta because I already had one.)
~ 1 piece of PVC Pipe
(I will talk about size and length lower down)
~ 1 Lampshade
~ Potting Soil
~ Plants
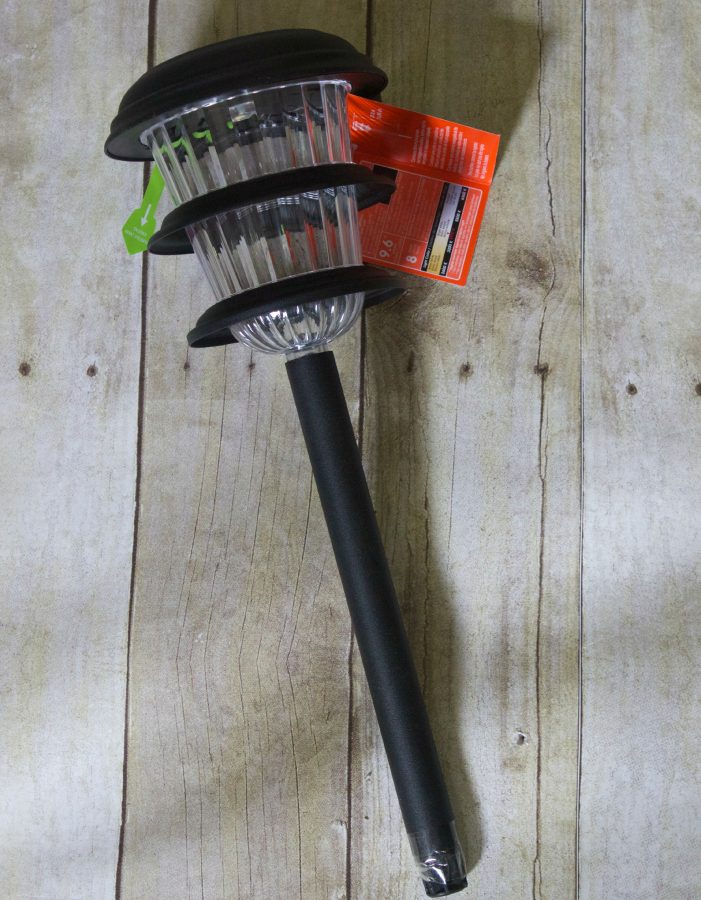
~ Solar Powered Garden Light
Solar Power Lamp by The Everyday Home
I splurged on the garden light a bit because I already
had everything but the PVC and the light.
This one above was about $8.50 at Lowe’s,
and it was the most powerful solar light available.
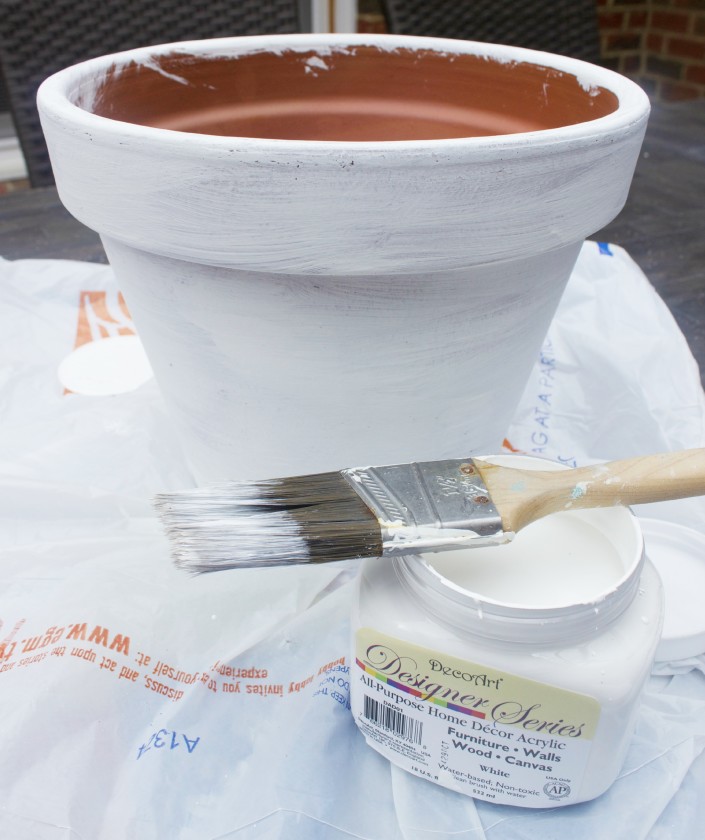
I started out by adding a single coat of paint
to the terra cotta pot…
Solar Power Lamp by The Everyday Home
I love this paint by DecoArt, by the way.
I picked this up at Hobby Lobby.
I only used one coat, because I knew I would
be adding another paint treatment later.
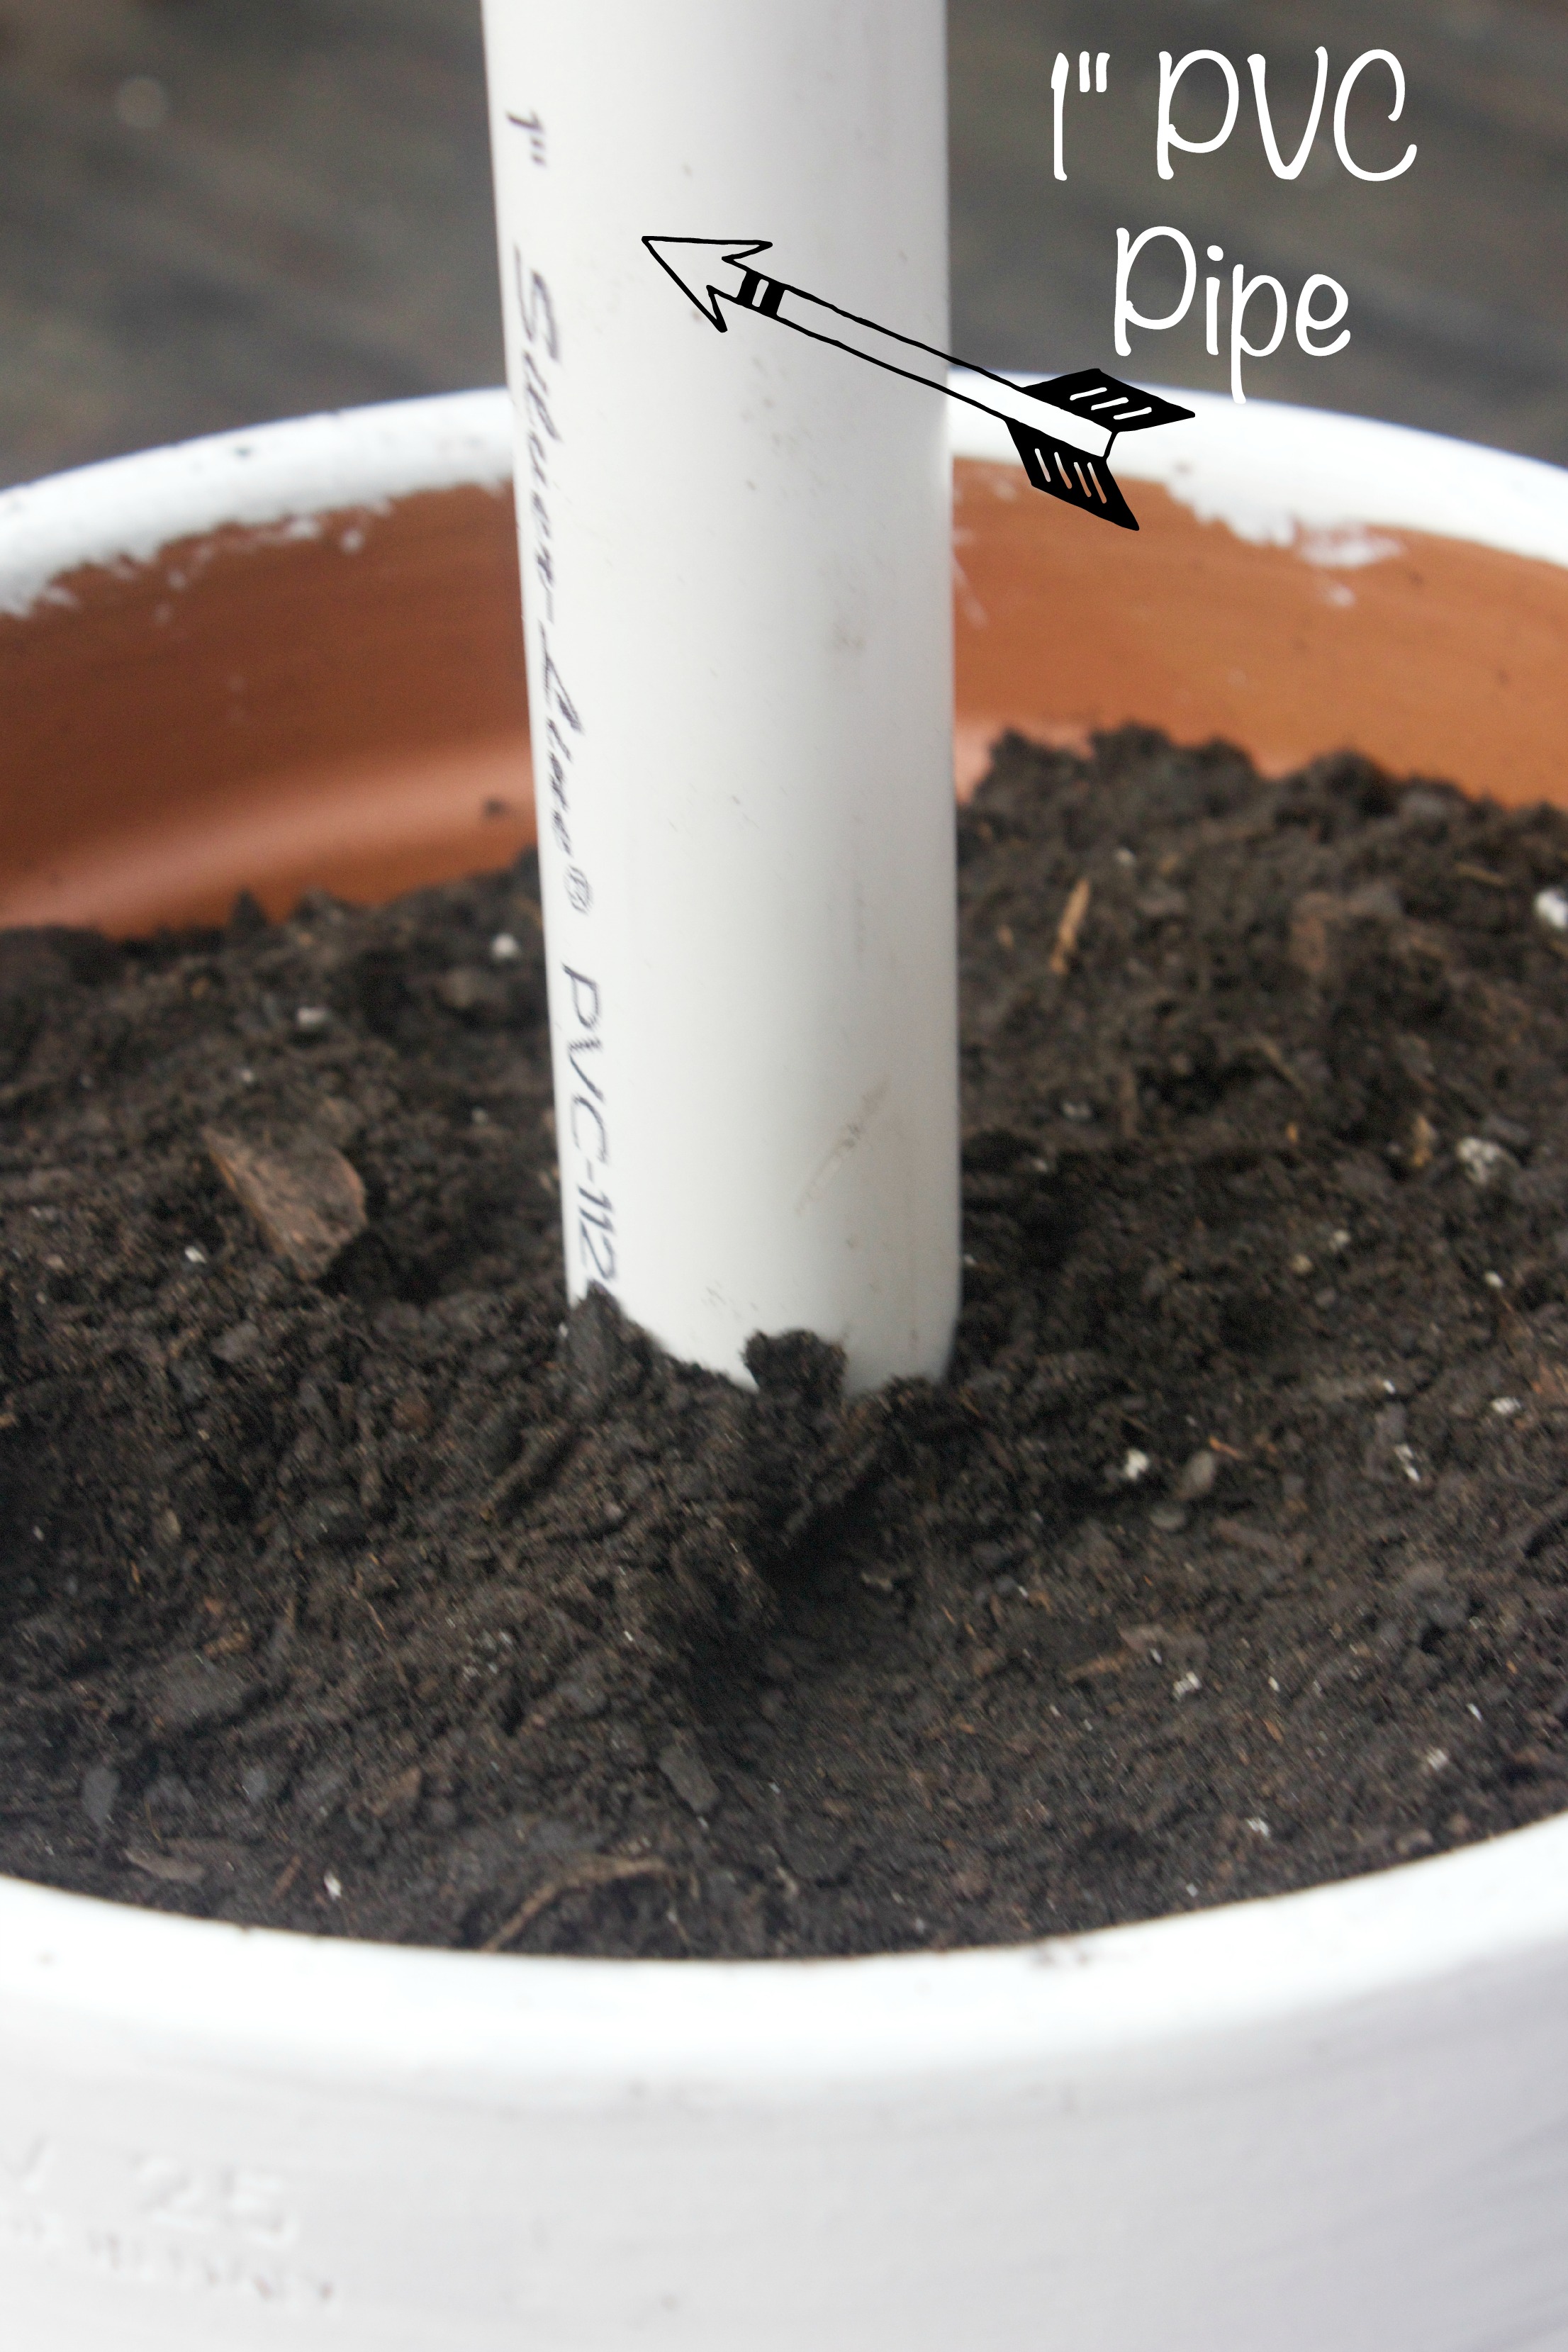
I purchased a 1″ diameter piece of PVC pipe.
To figure out how long I needed it,
I placed it inside the pot and held the shade up to it
to “guestimate” how high I wanted my shade.
Solar Power Lamp by The Everyday Home
It doesn’t have to be exact.
Once I figured out my length, I cut it on my miter saw.
Then, I added potting soil to the pot, packing it in
securely around the pipe.
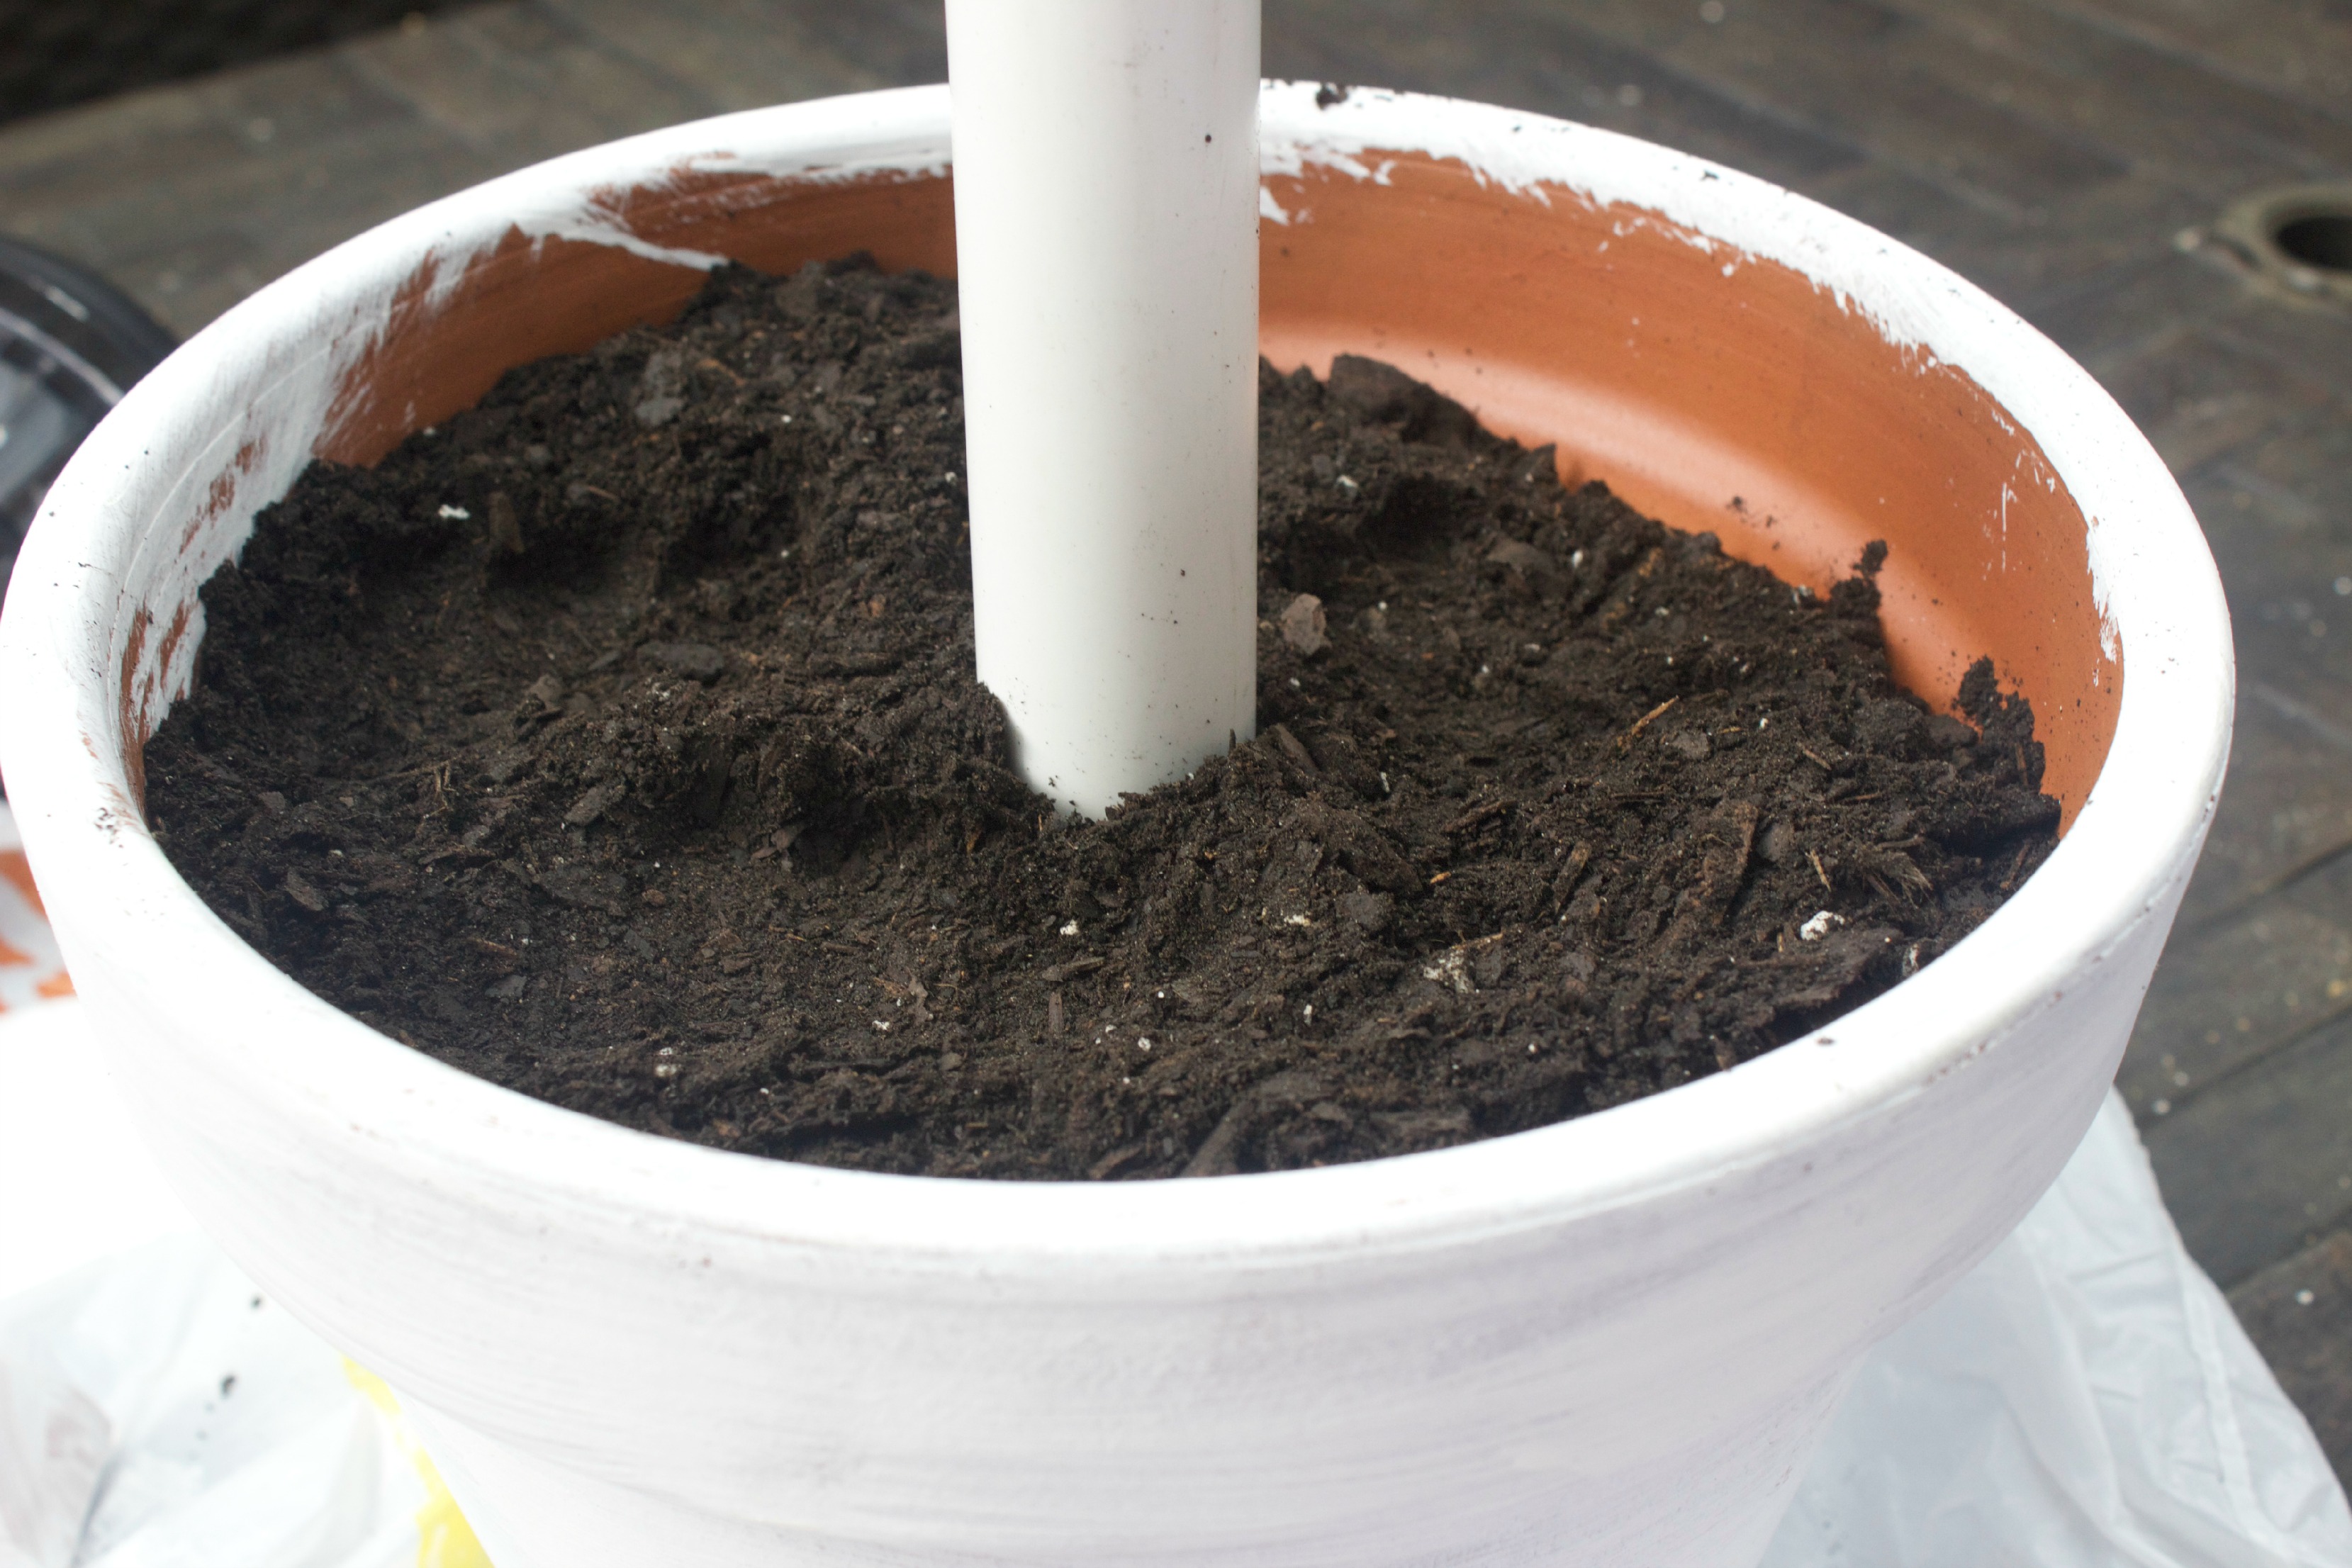
Solar Power Lamp by The Everyday Home
Now…here is a perfect example of
DO WHAT I SAY AND NOT WHAT I DO!
😀
I forgot to add the decorative paint to the pot
prior to filling it with soil.
Oh well… never let it be said I am a quitter. haha
Solar Power Lamp by The Everyday Home
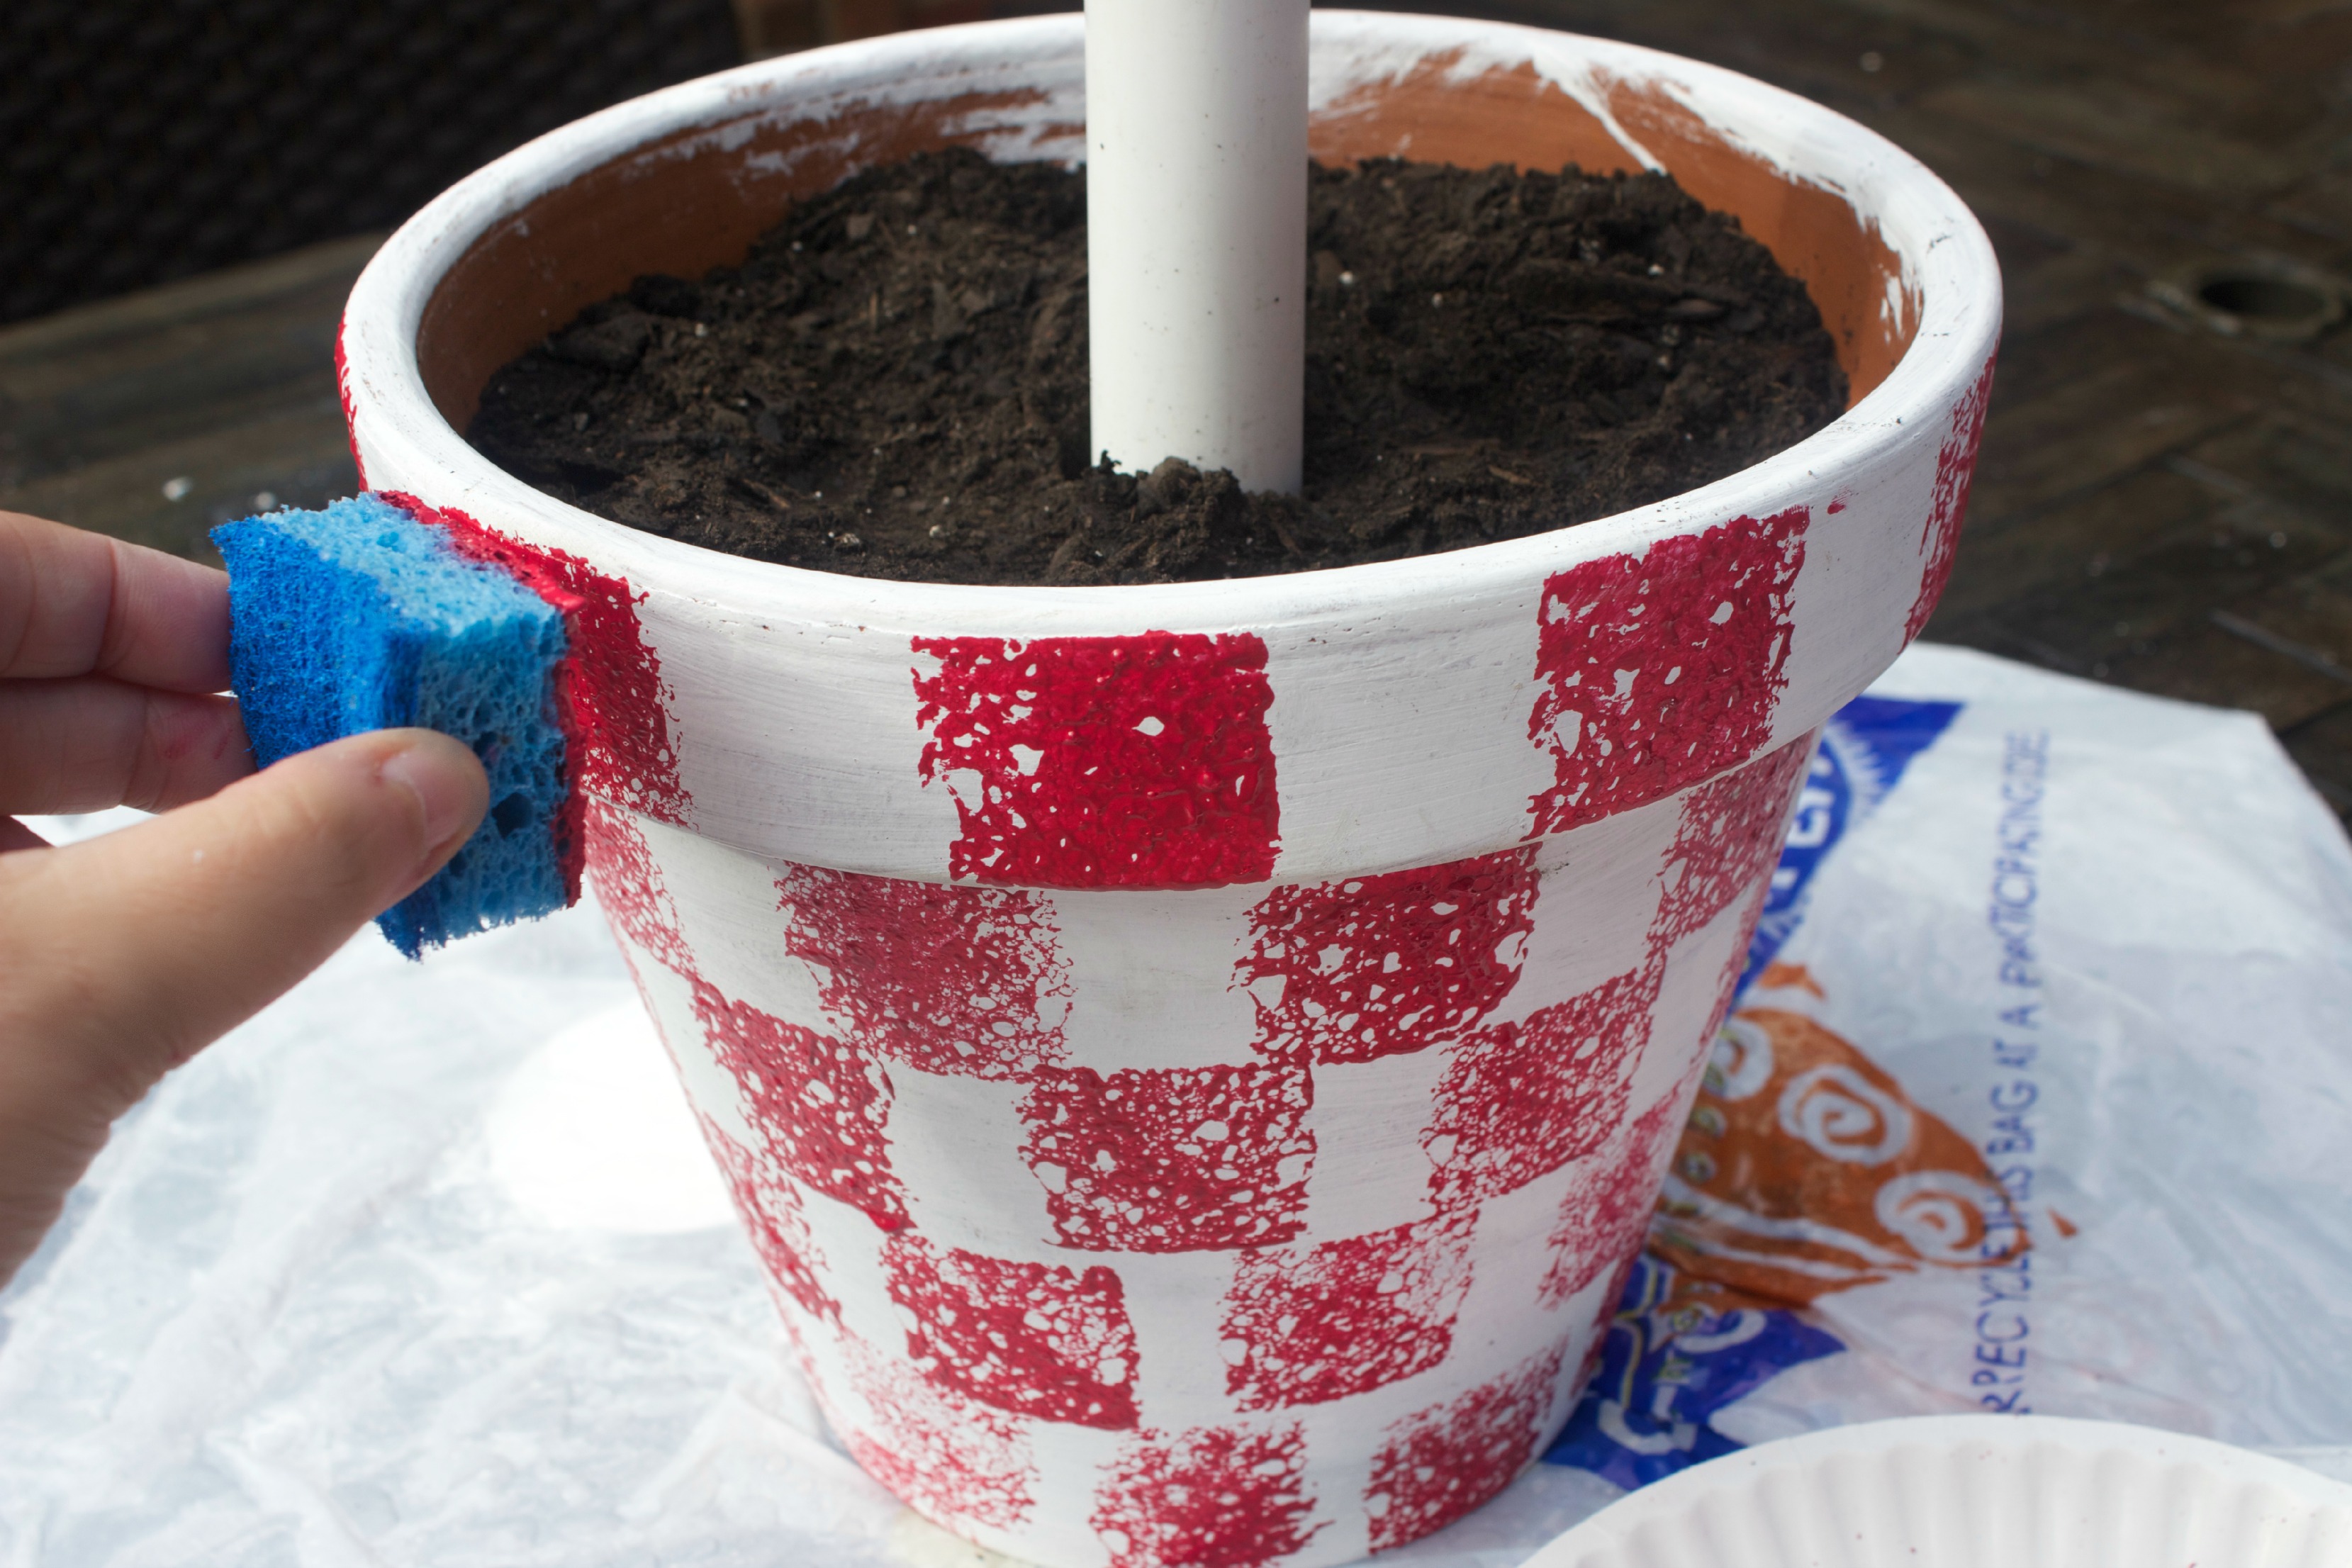
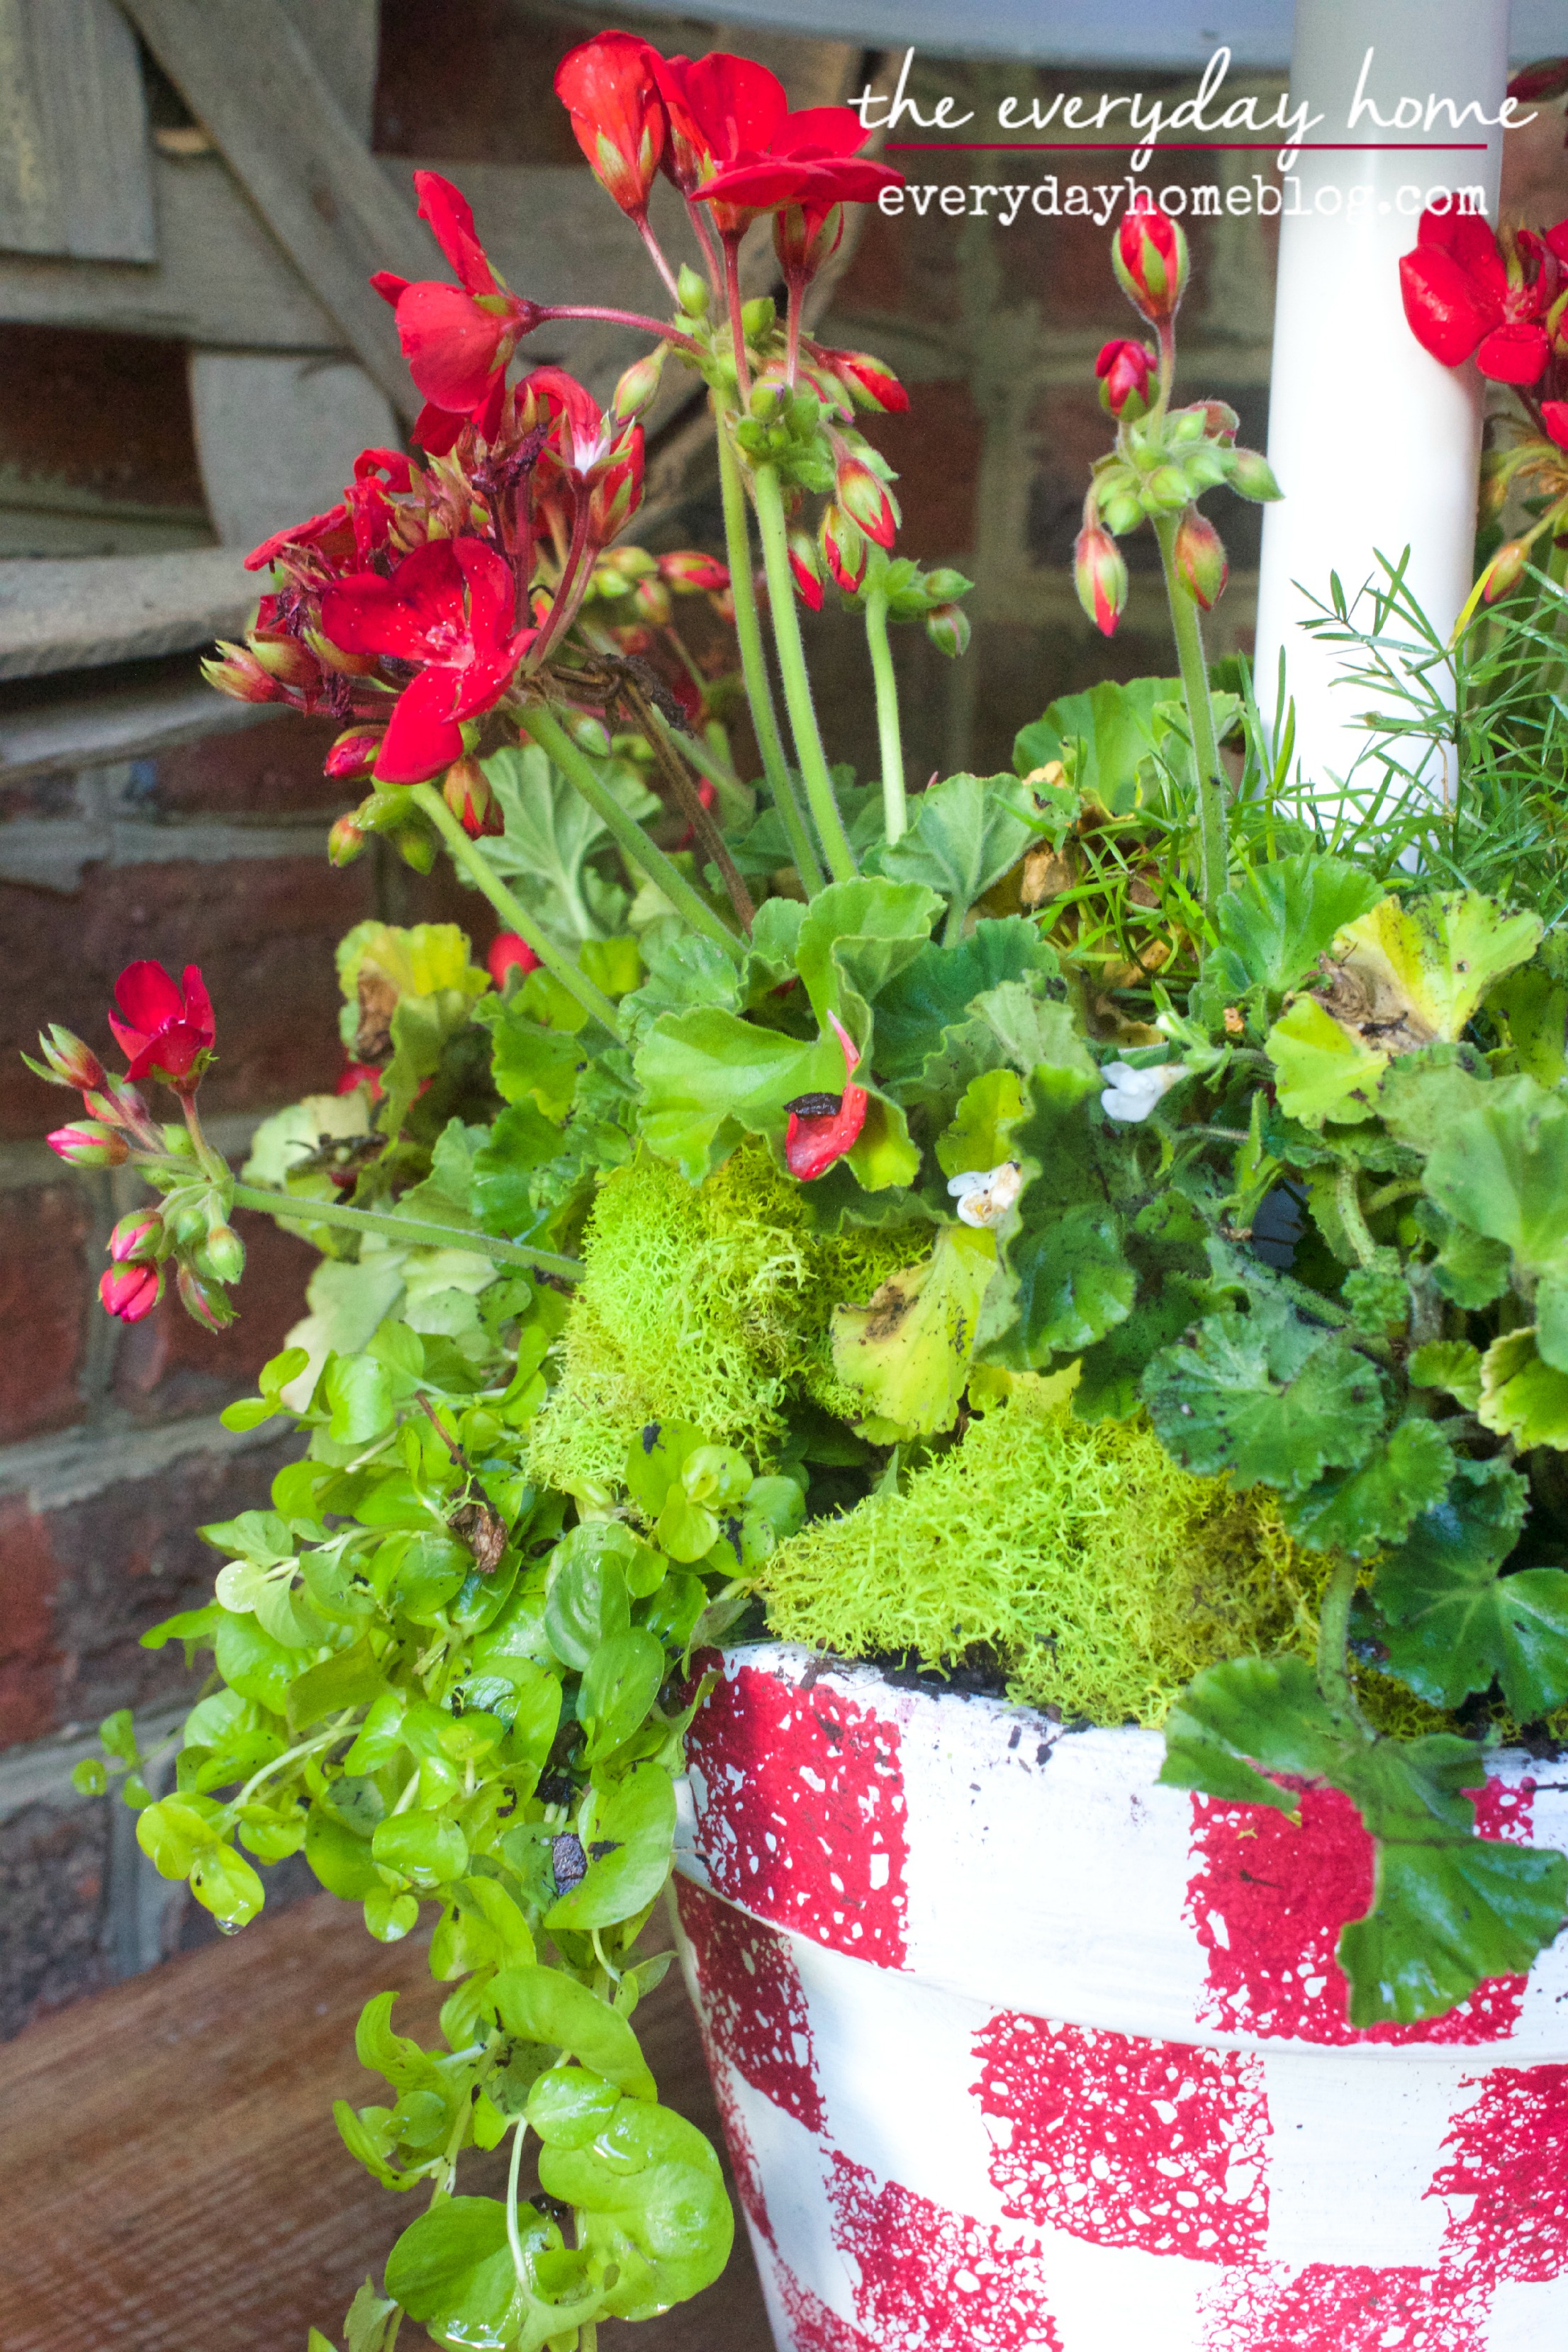
I squeezed a bit of red craft paint onto a paper
plate, cut a kitchen sponge into about a 1″ square…
and simply stamped on a Farmhouse Country
Checkerboard Pattern.
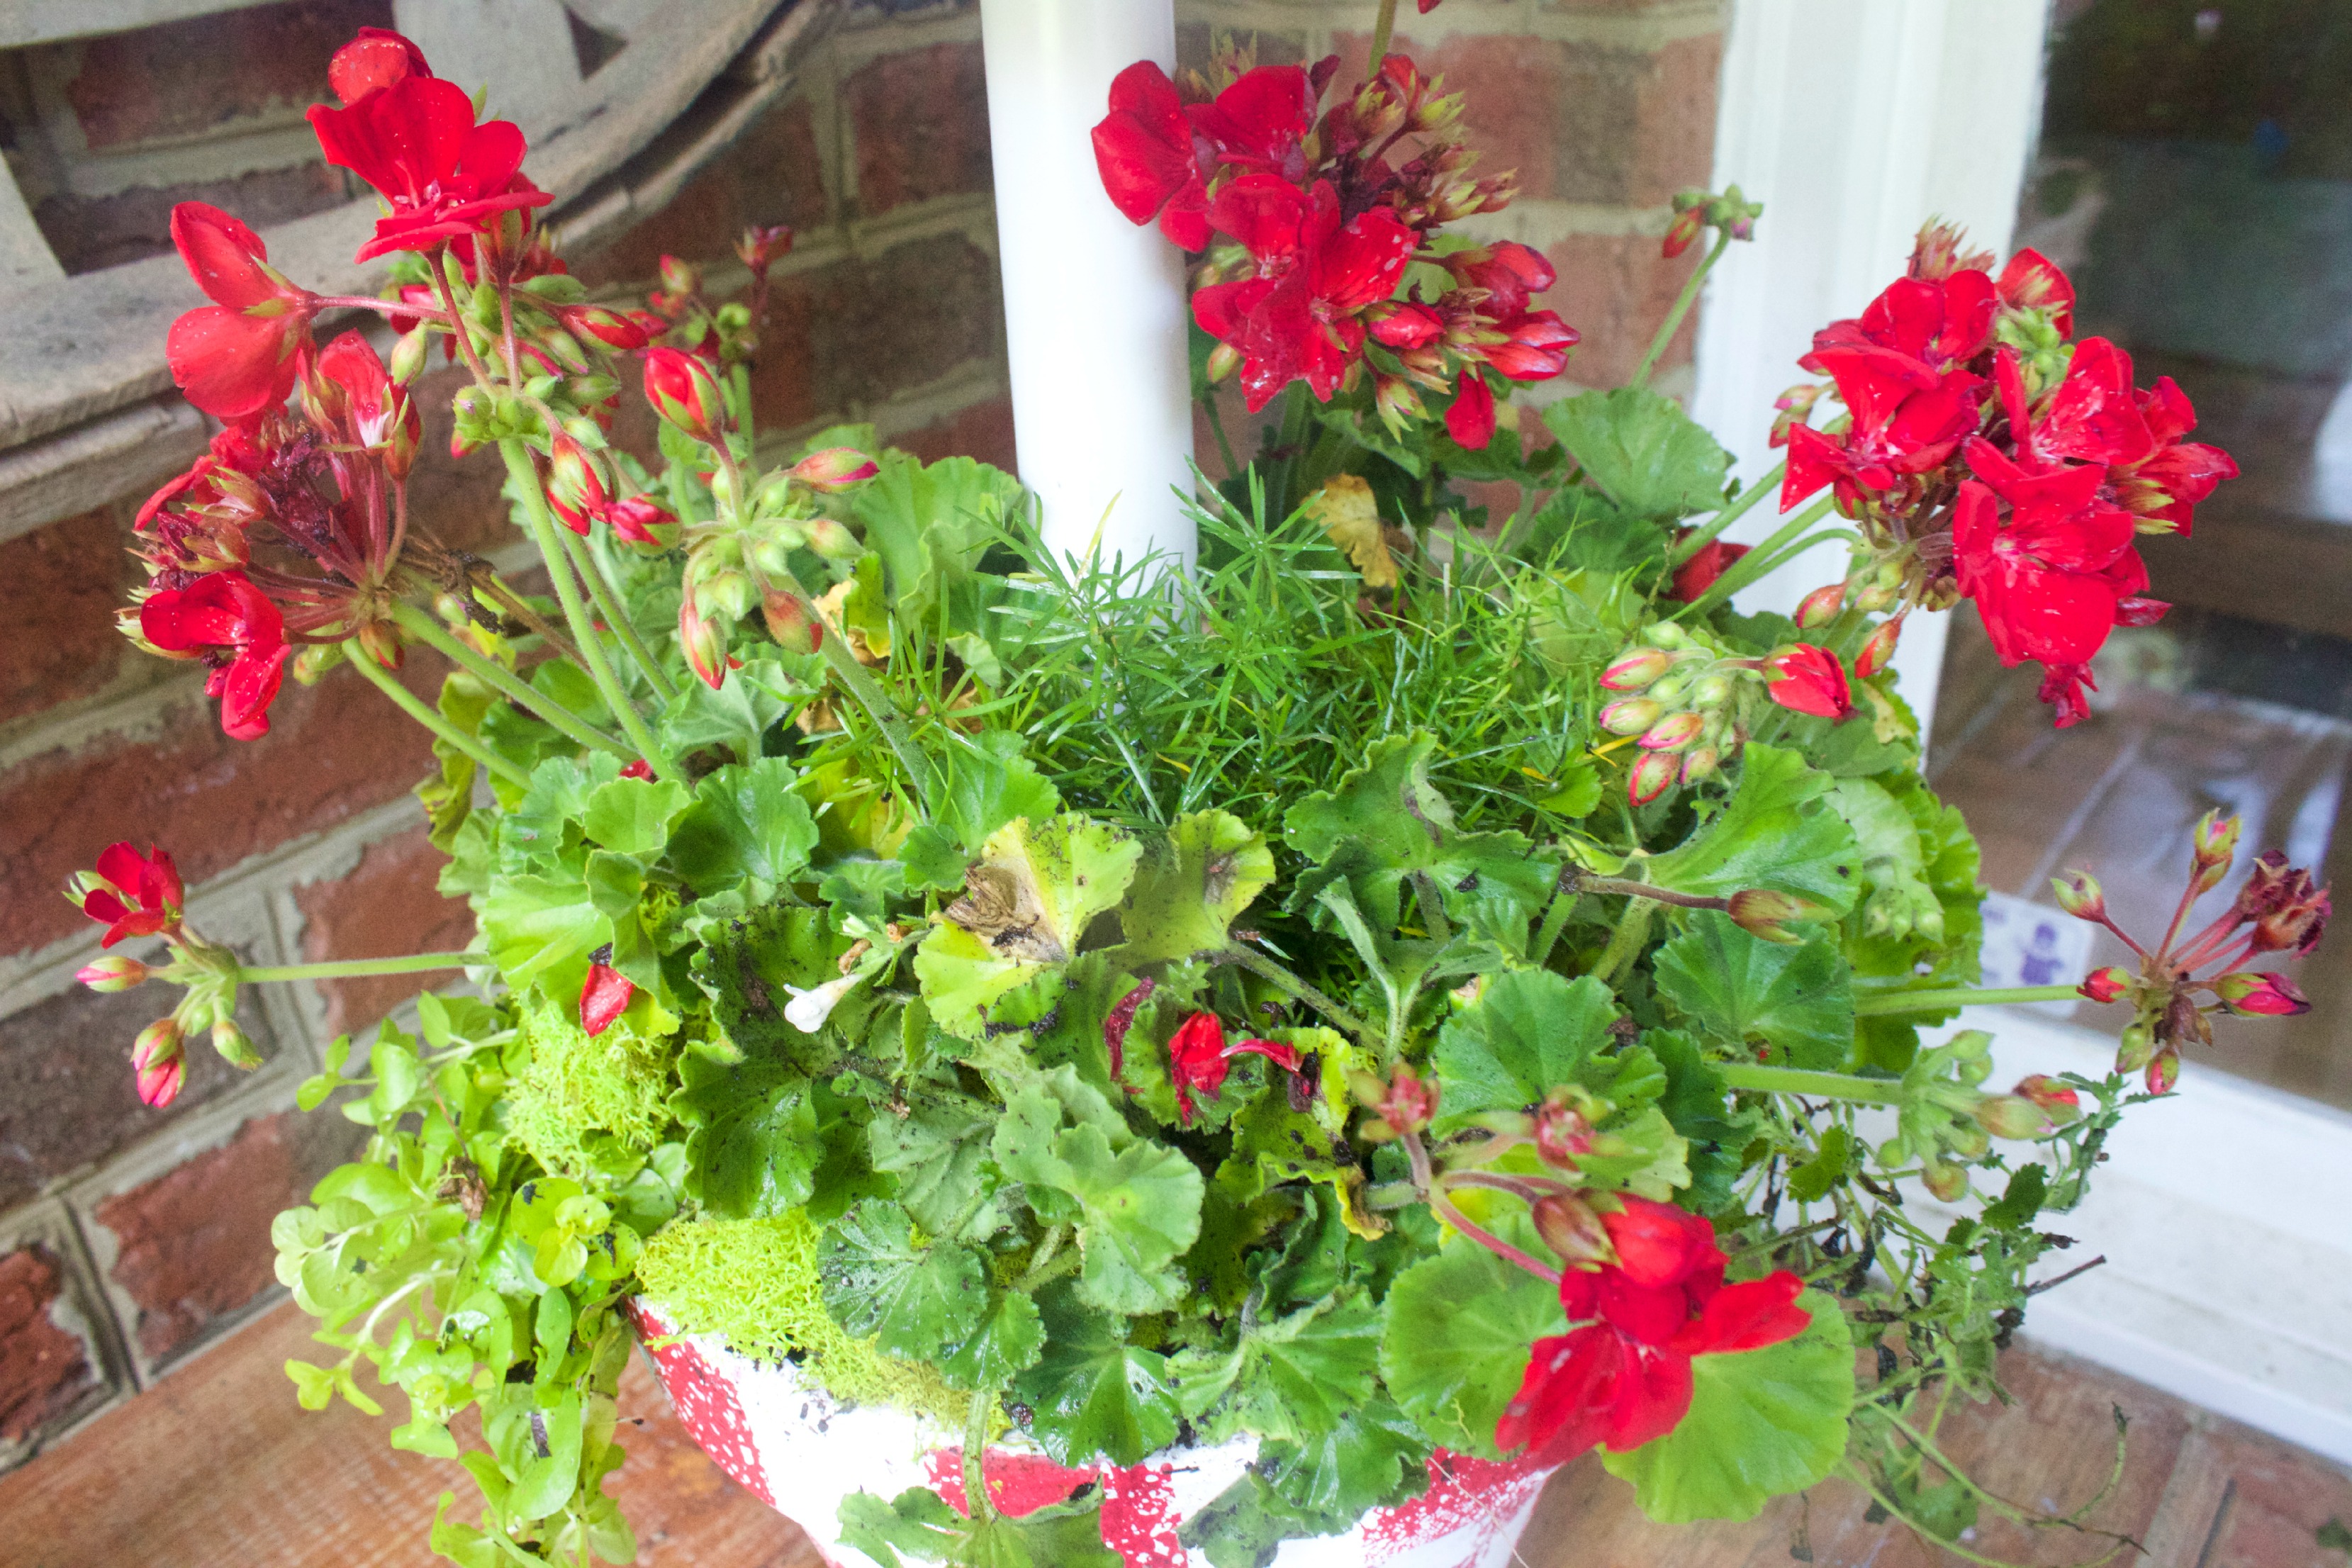
Once it was dry… I added red geraniums and a
variety of plants I recycled from another pot.
Solar Power Lamp by The Everyday Home
You’re probably wondering about now how
the solar light comes into play.
I’m getting there… 🙂
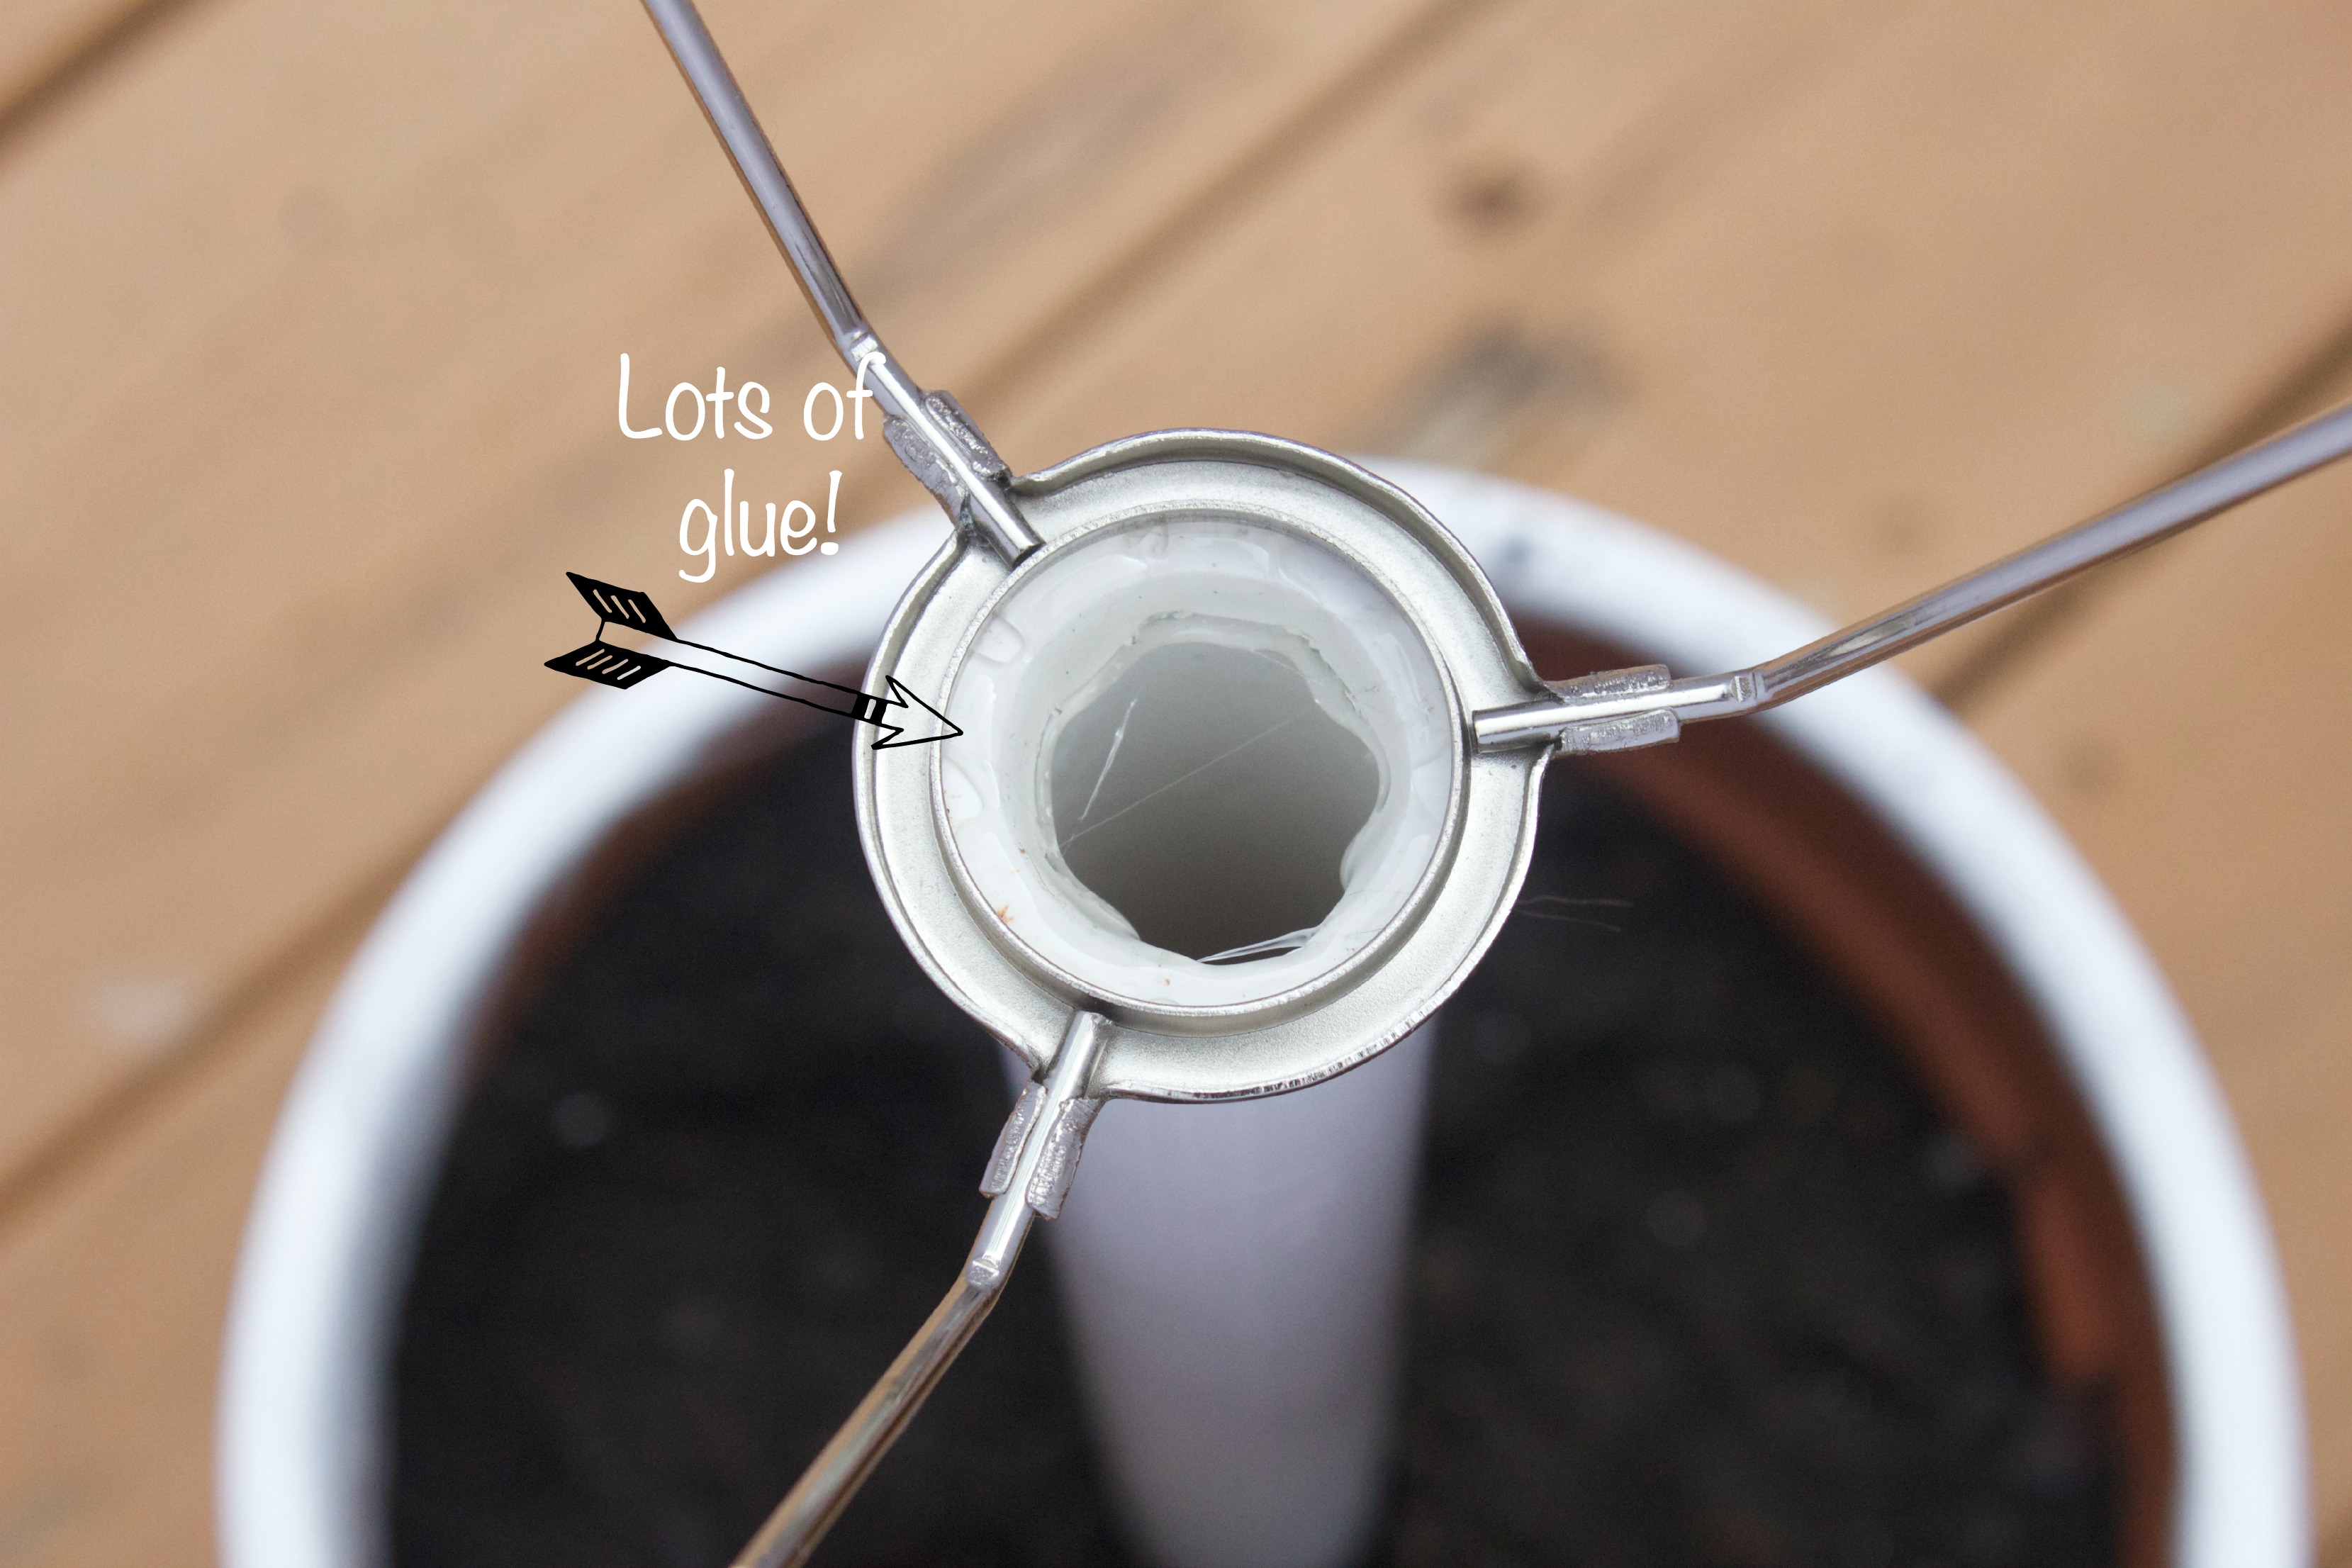
First, I attached the shade to the PVC pipe
with a lot of hot glue.
(Because my tube of E6000 adhesive was
nowhere to be found.)
Solar Power Lamp by The Everyday Home
I would suggest you use a stronger adhesive when
making yours, but the glue did hold
reasonably well. Next, I disassembled the
spike from the garden light.
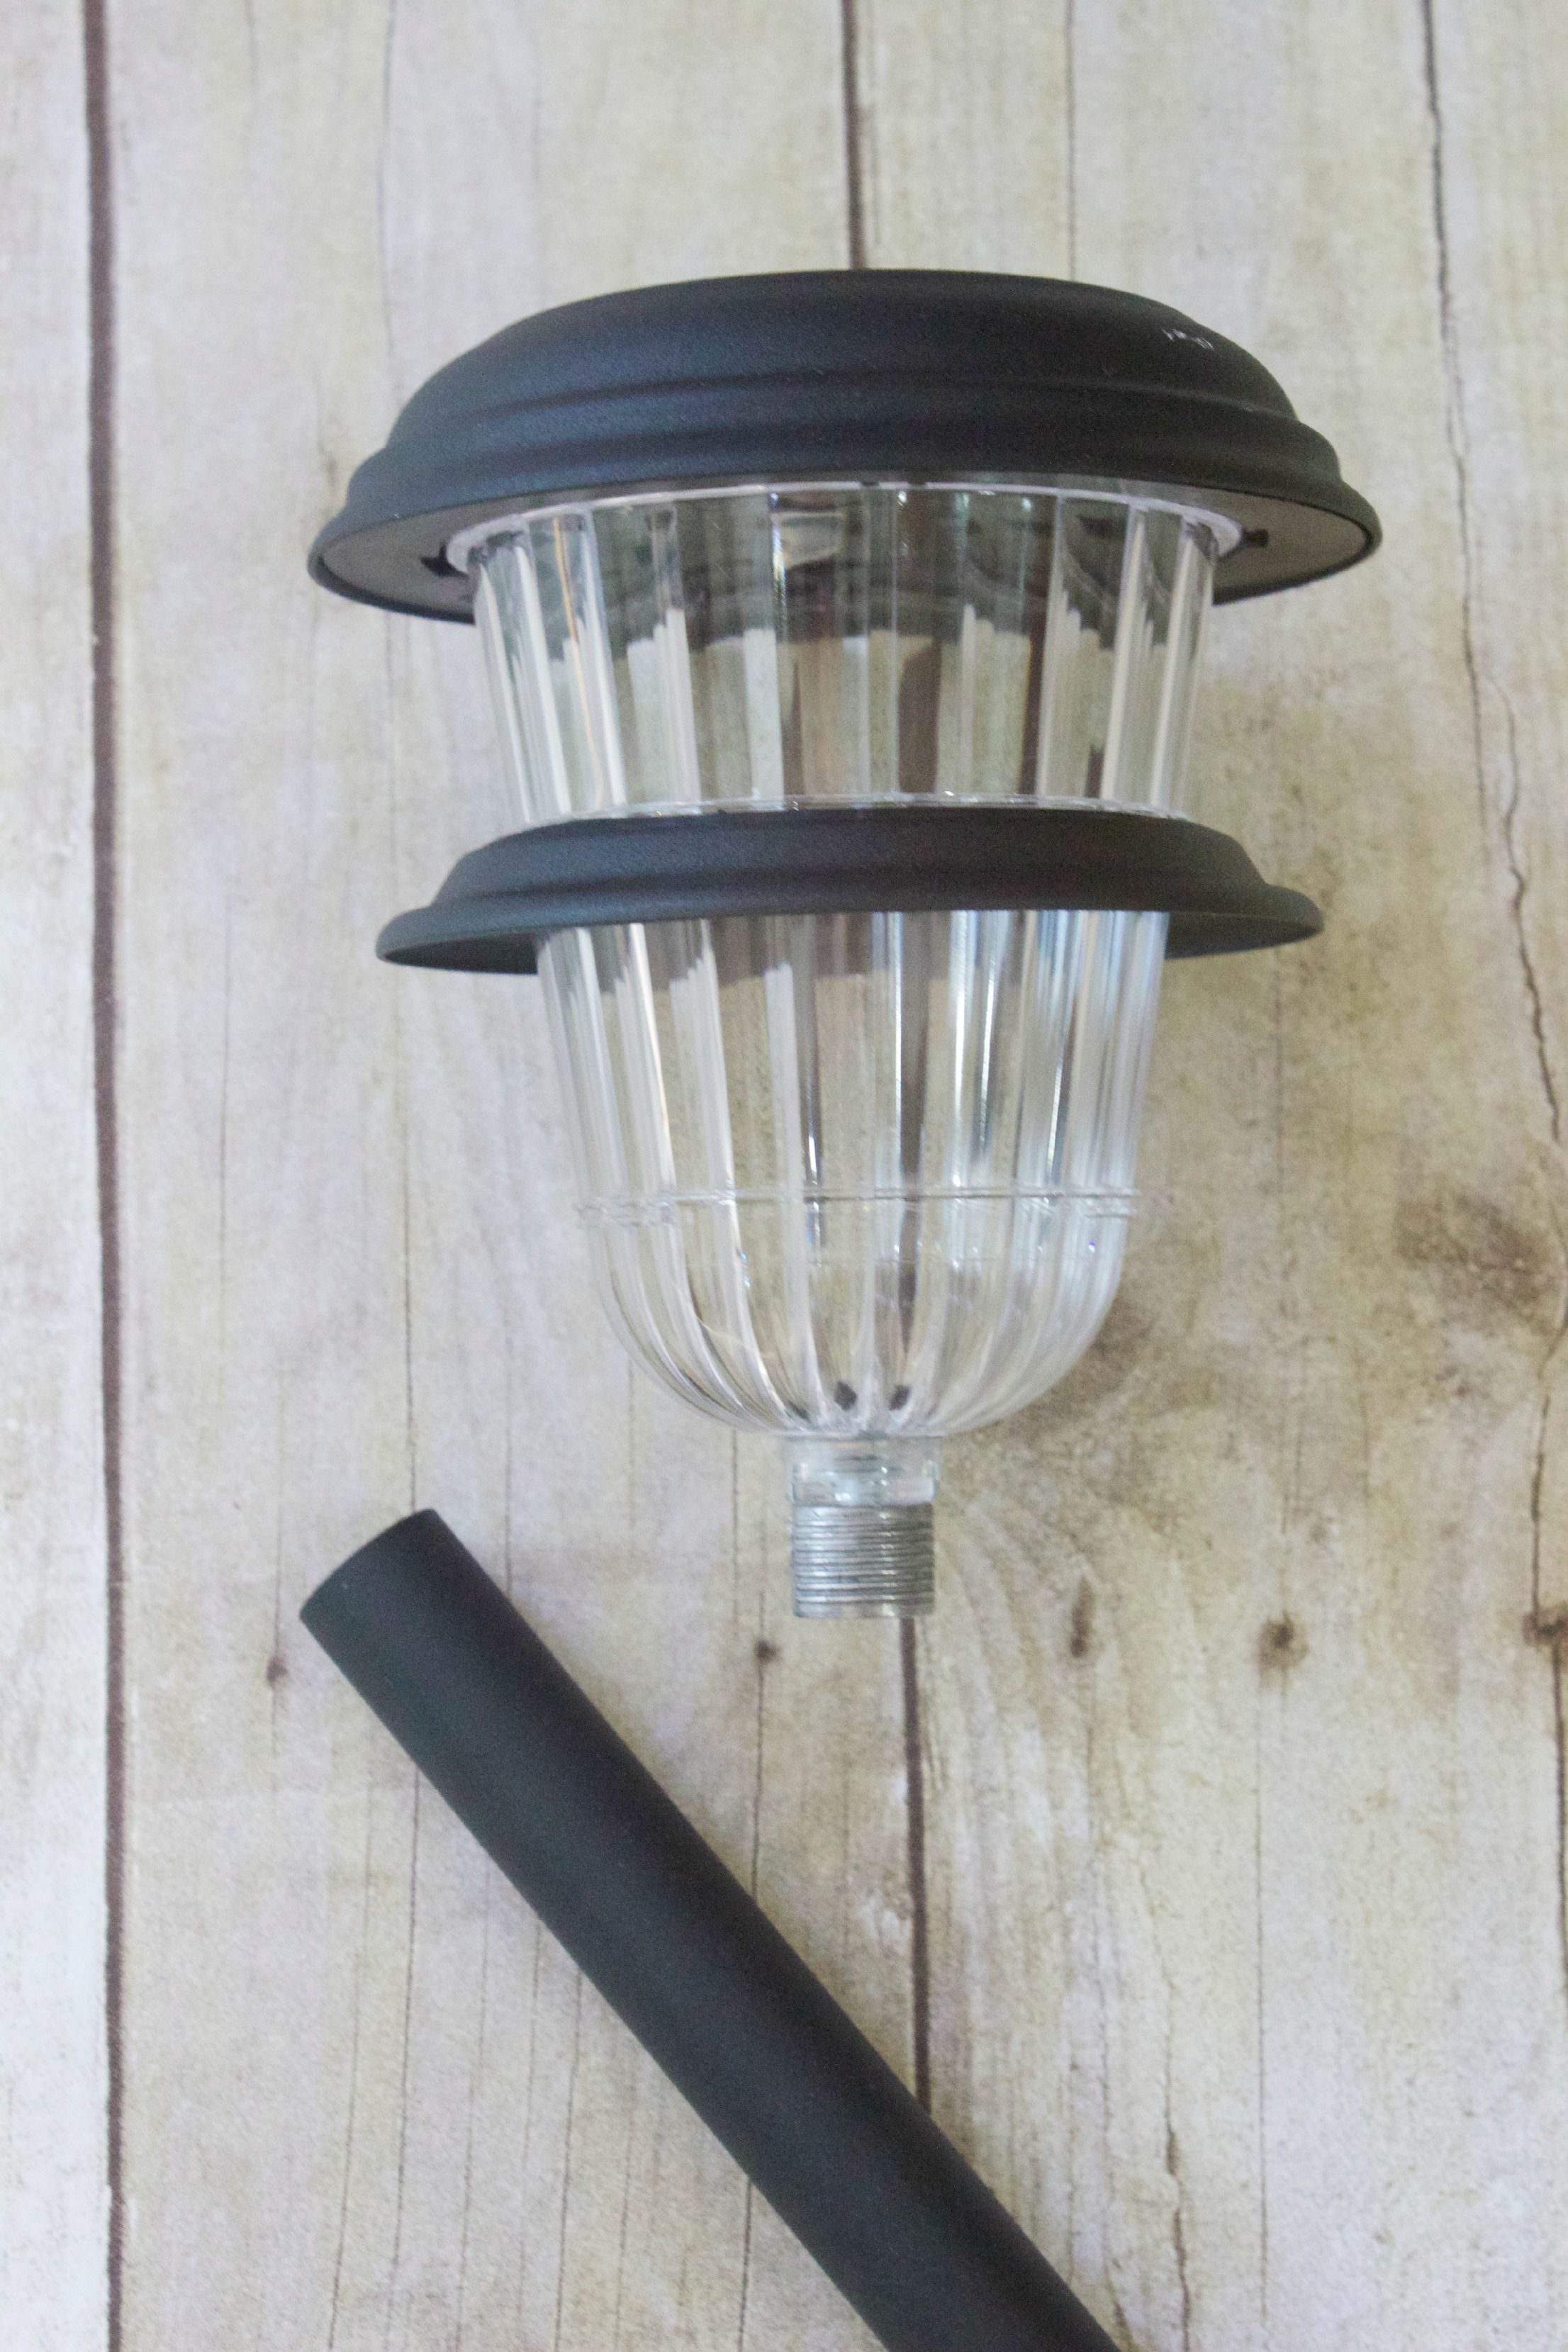
Solar Power Lamp by The Everyday Home
Here is #2
DO WHAT I SAY AND NOT WHAT I DO…
(Hey – it was a learning process, and I am here to teach!)
😀
If you choose a slightly larger PVC Pipe,
you won’t have to remove the spike, because it will
slip right inside the pipe.
But, since I did not think that far ahead…
I simply sat the solar light right inside the lamp.
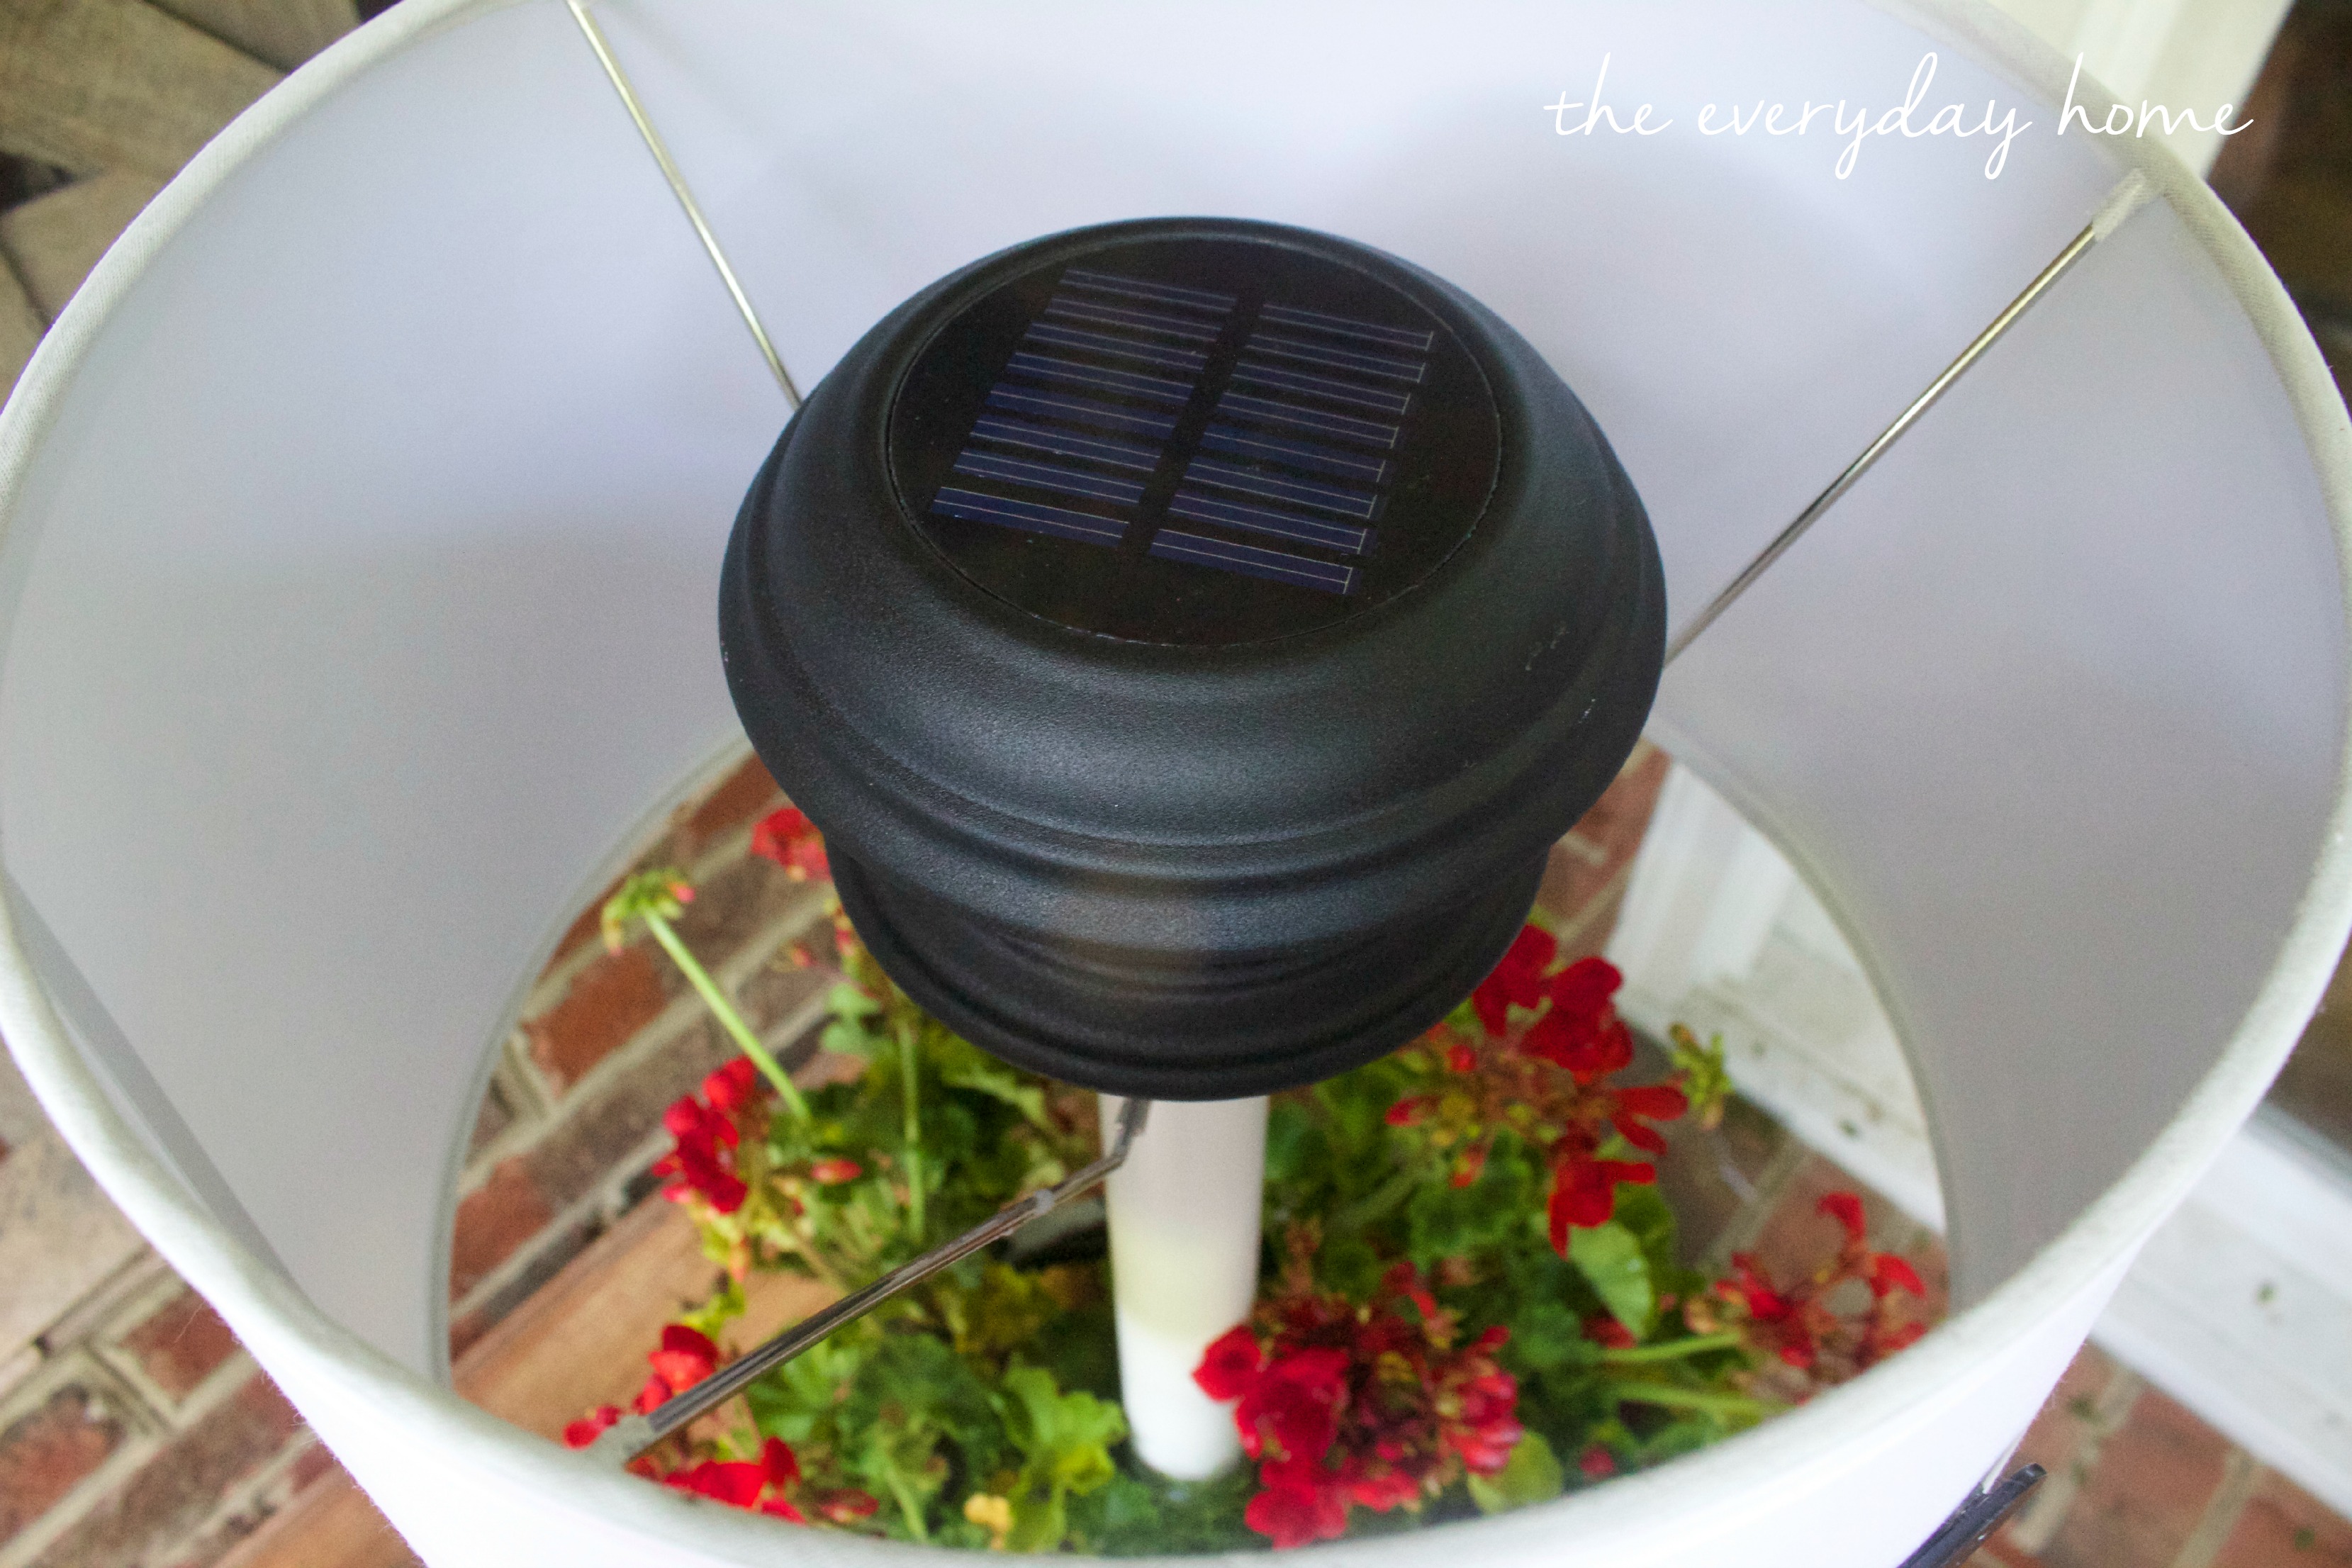
Solar Power Lamp by The Everyday Home
It actually worked fine.
The only thing I purchased, at the last minute,
was three metal house numbers for $1.49/ea.
I would like to say it was part of the plan
all along because I am brilliant that way…
but I had to go take a pee-pee break reaallllly
bad and the numbers just happened to be on my way….
and a lightbulb went off.
But, only after I had my pee-pee break.
(when you’re 50, you have to prioritize) 😀
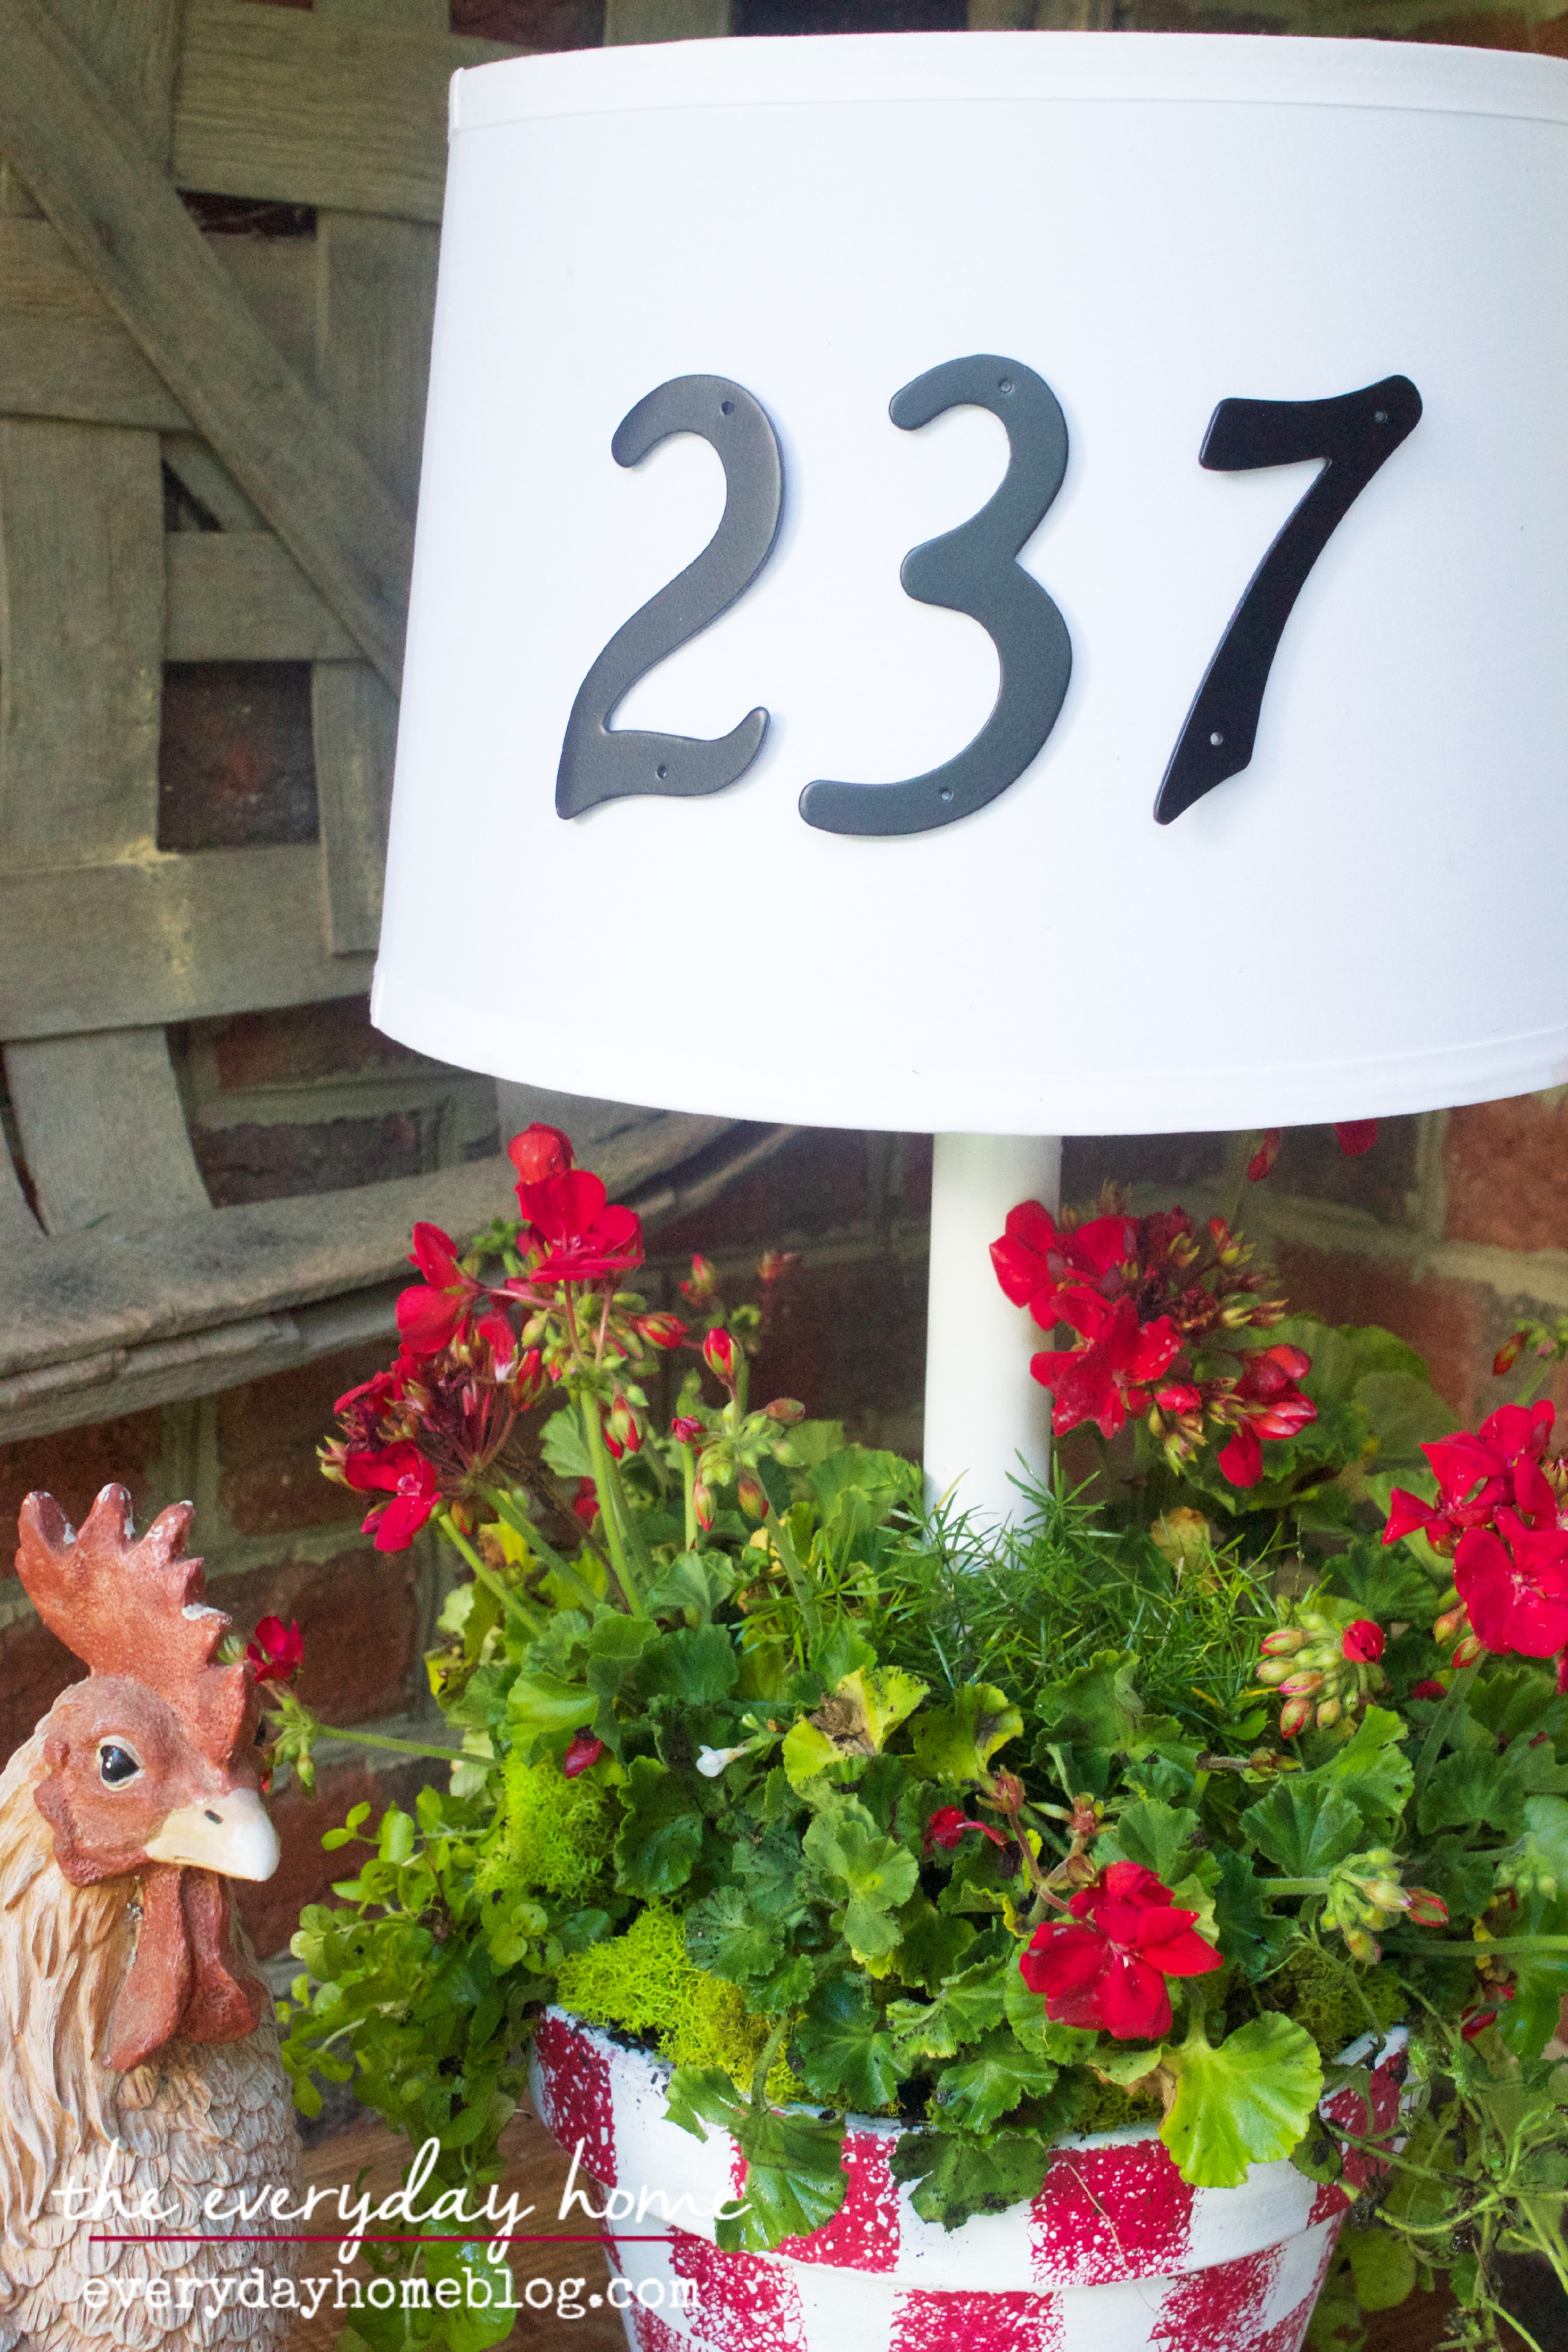
Solar Power Lamp by The Everyday Home
It was the perfect final touch!
I think I may add some black trim to the shade.
I think it still needs something-something.
But, I could not be happier with it…
Solar Power Lamp by The Everyday Home
It sets the stage for my Country Farmhouse-Style
Front Porch I will share soon.
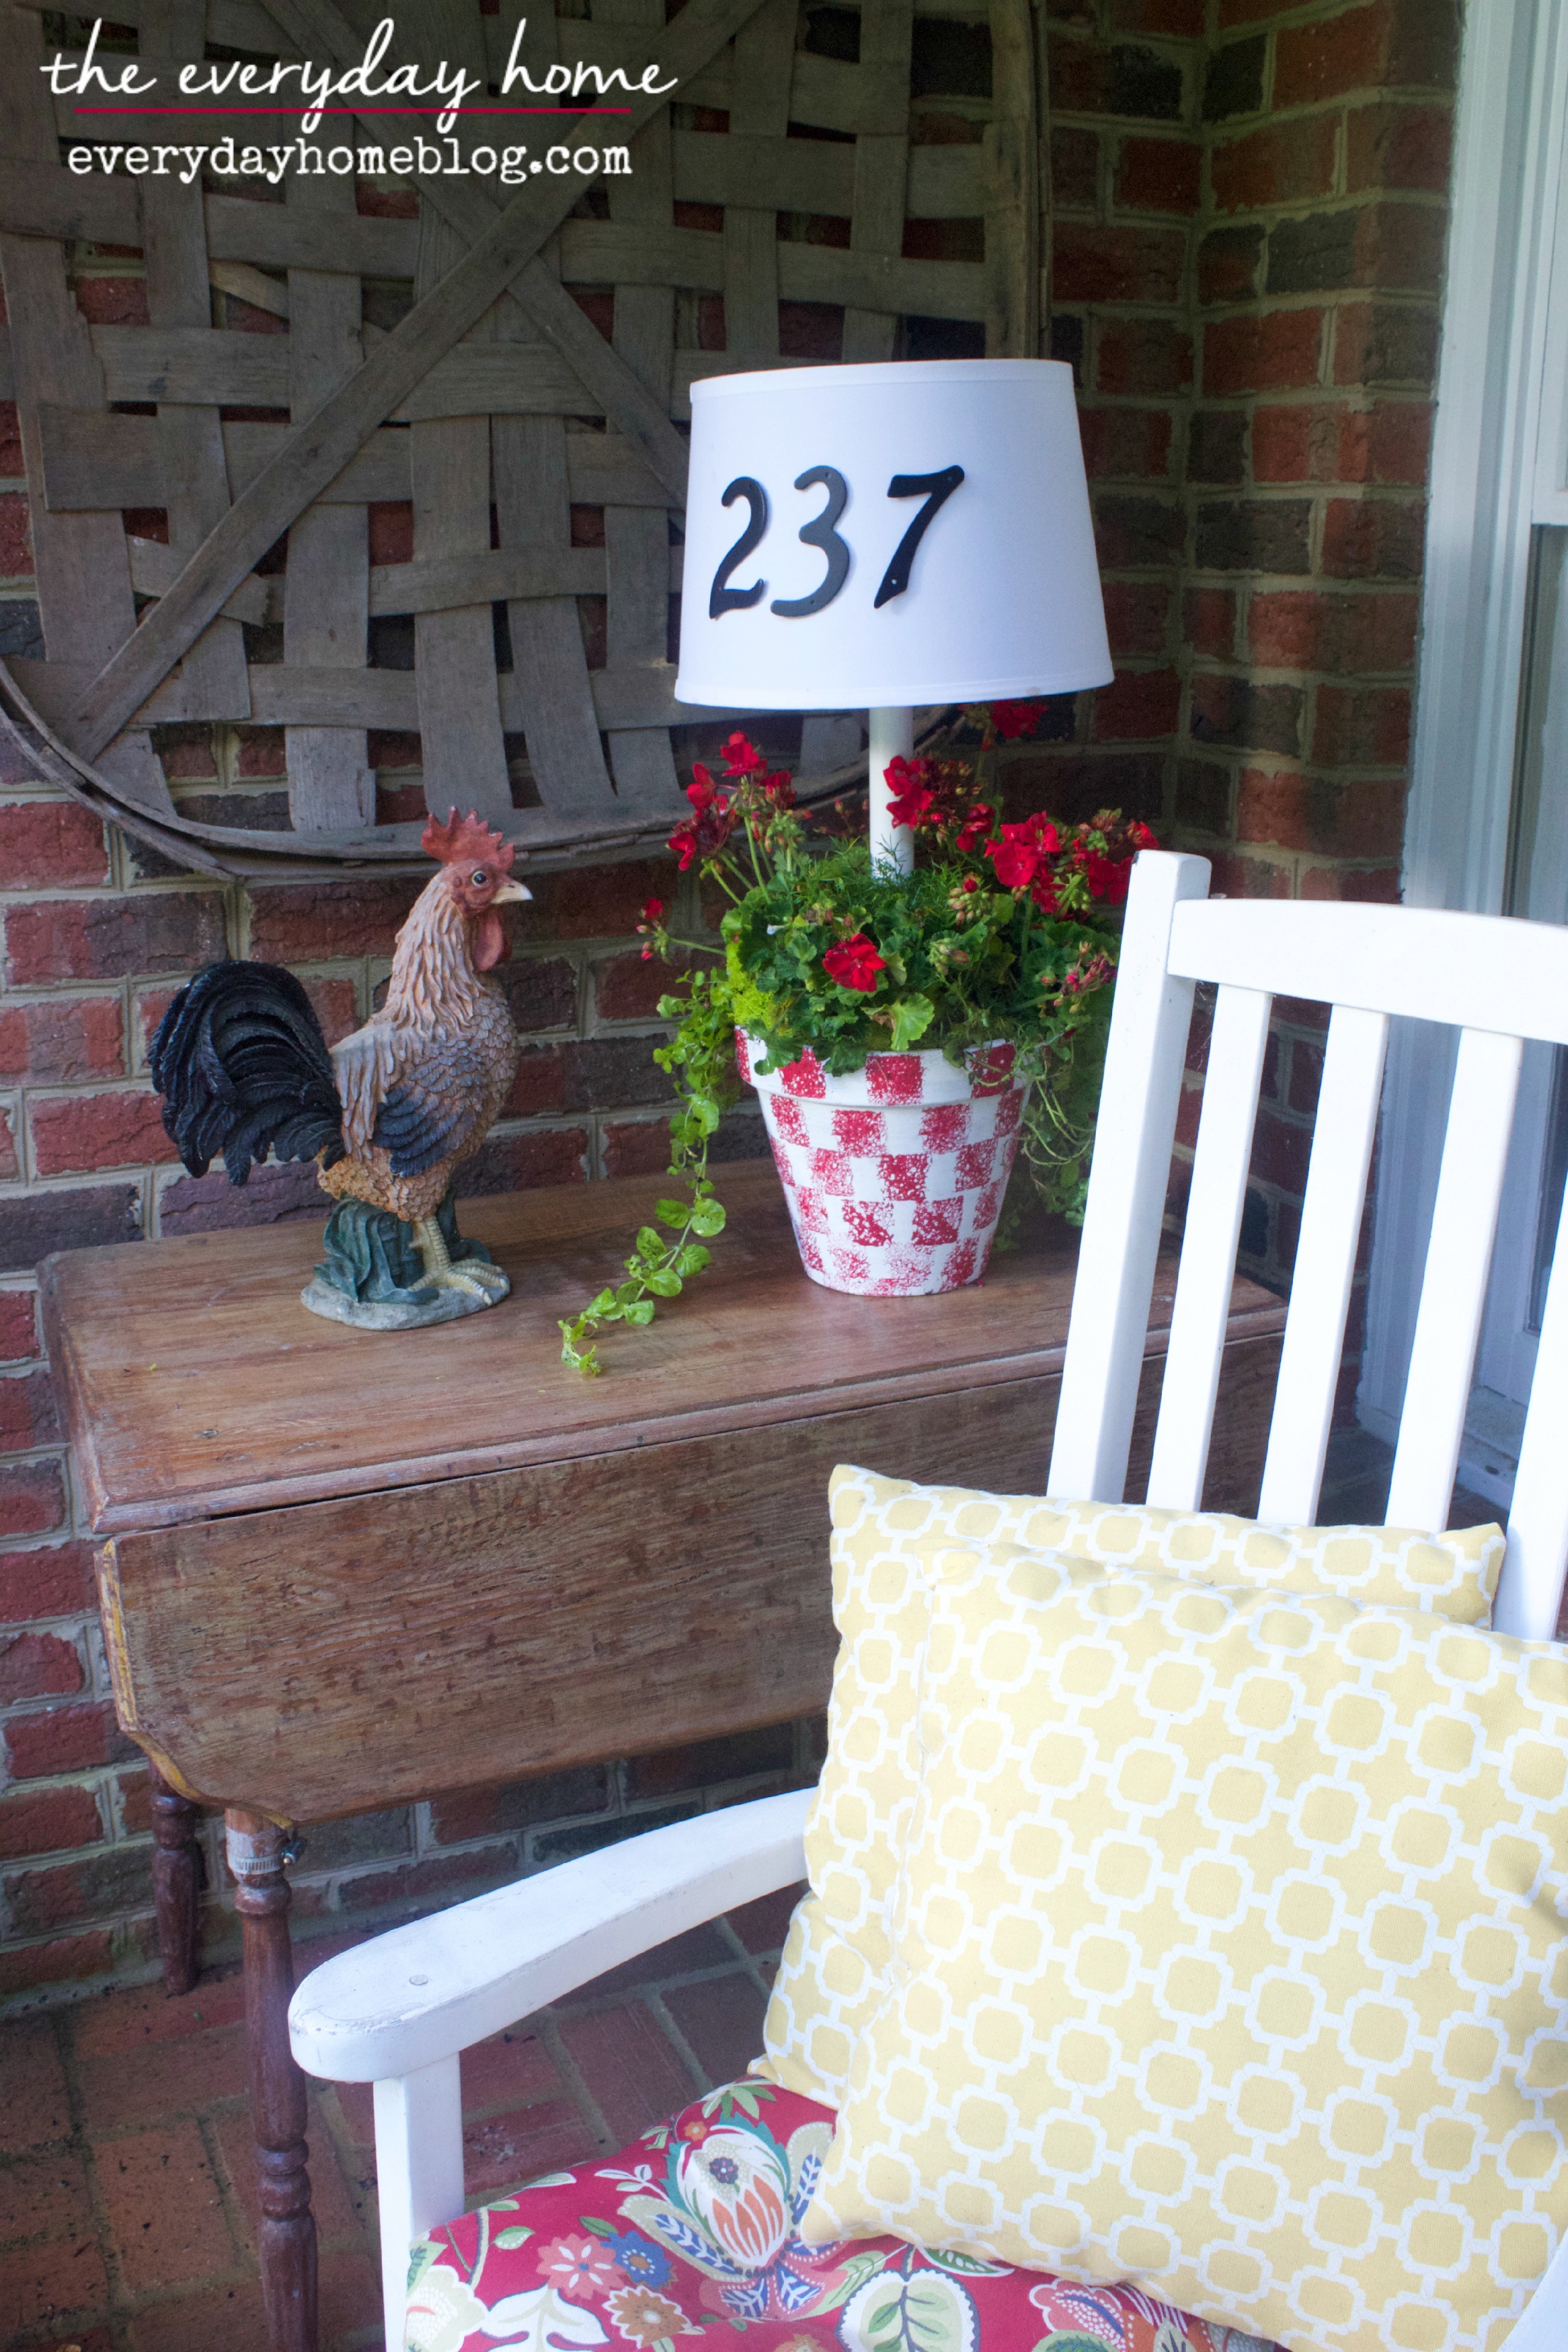
Solar Power Lamp by The Everyday Home
With the drop-leaf Farmhouse Table,
Tobacco Basket, Roo Statue and White Rockers…
I think I am well on the way, don’t you?
Solar Power Lamp by The Everyday Home
Before I go, I thought I would share a quick pic of
just how pretty it glows at night…
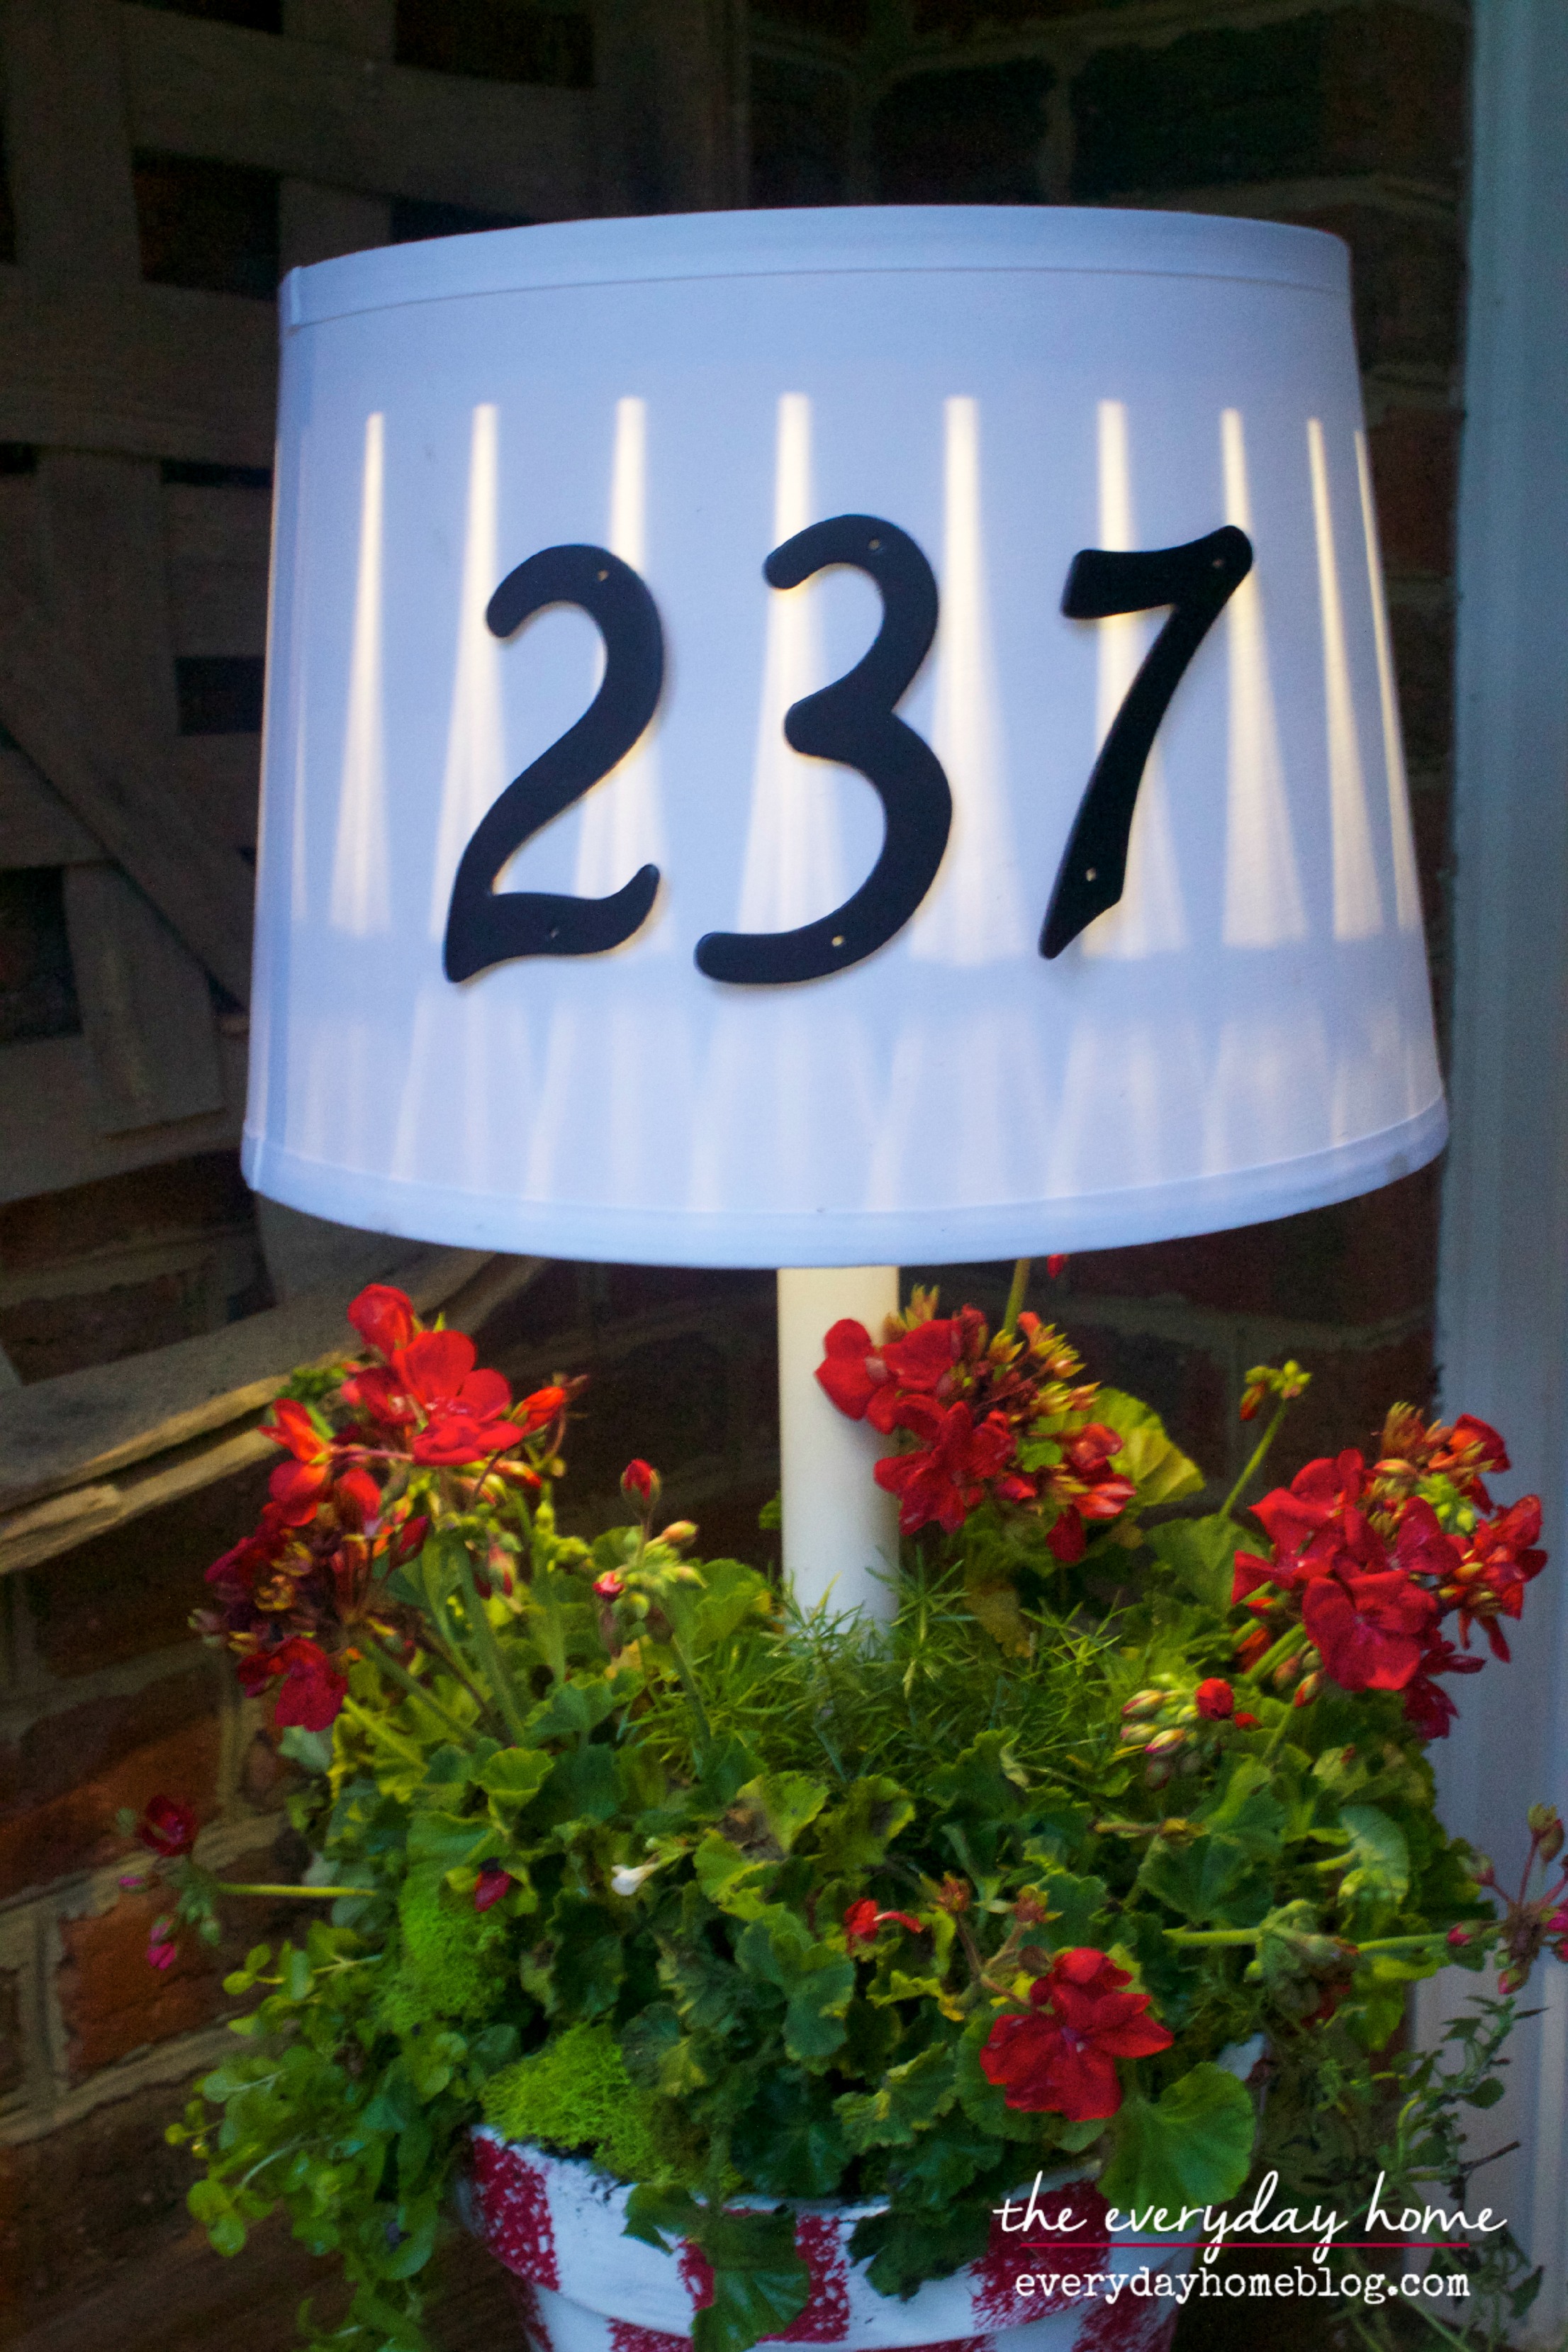
Solar Power Lamp by The Everyday Home
I like how the light makes the shade look “pleated.”
Now, I need to add a gazillion of my
Homemade Mason Jar Citronella Candles
to keep the skeeters away.
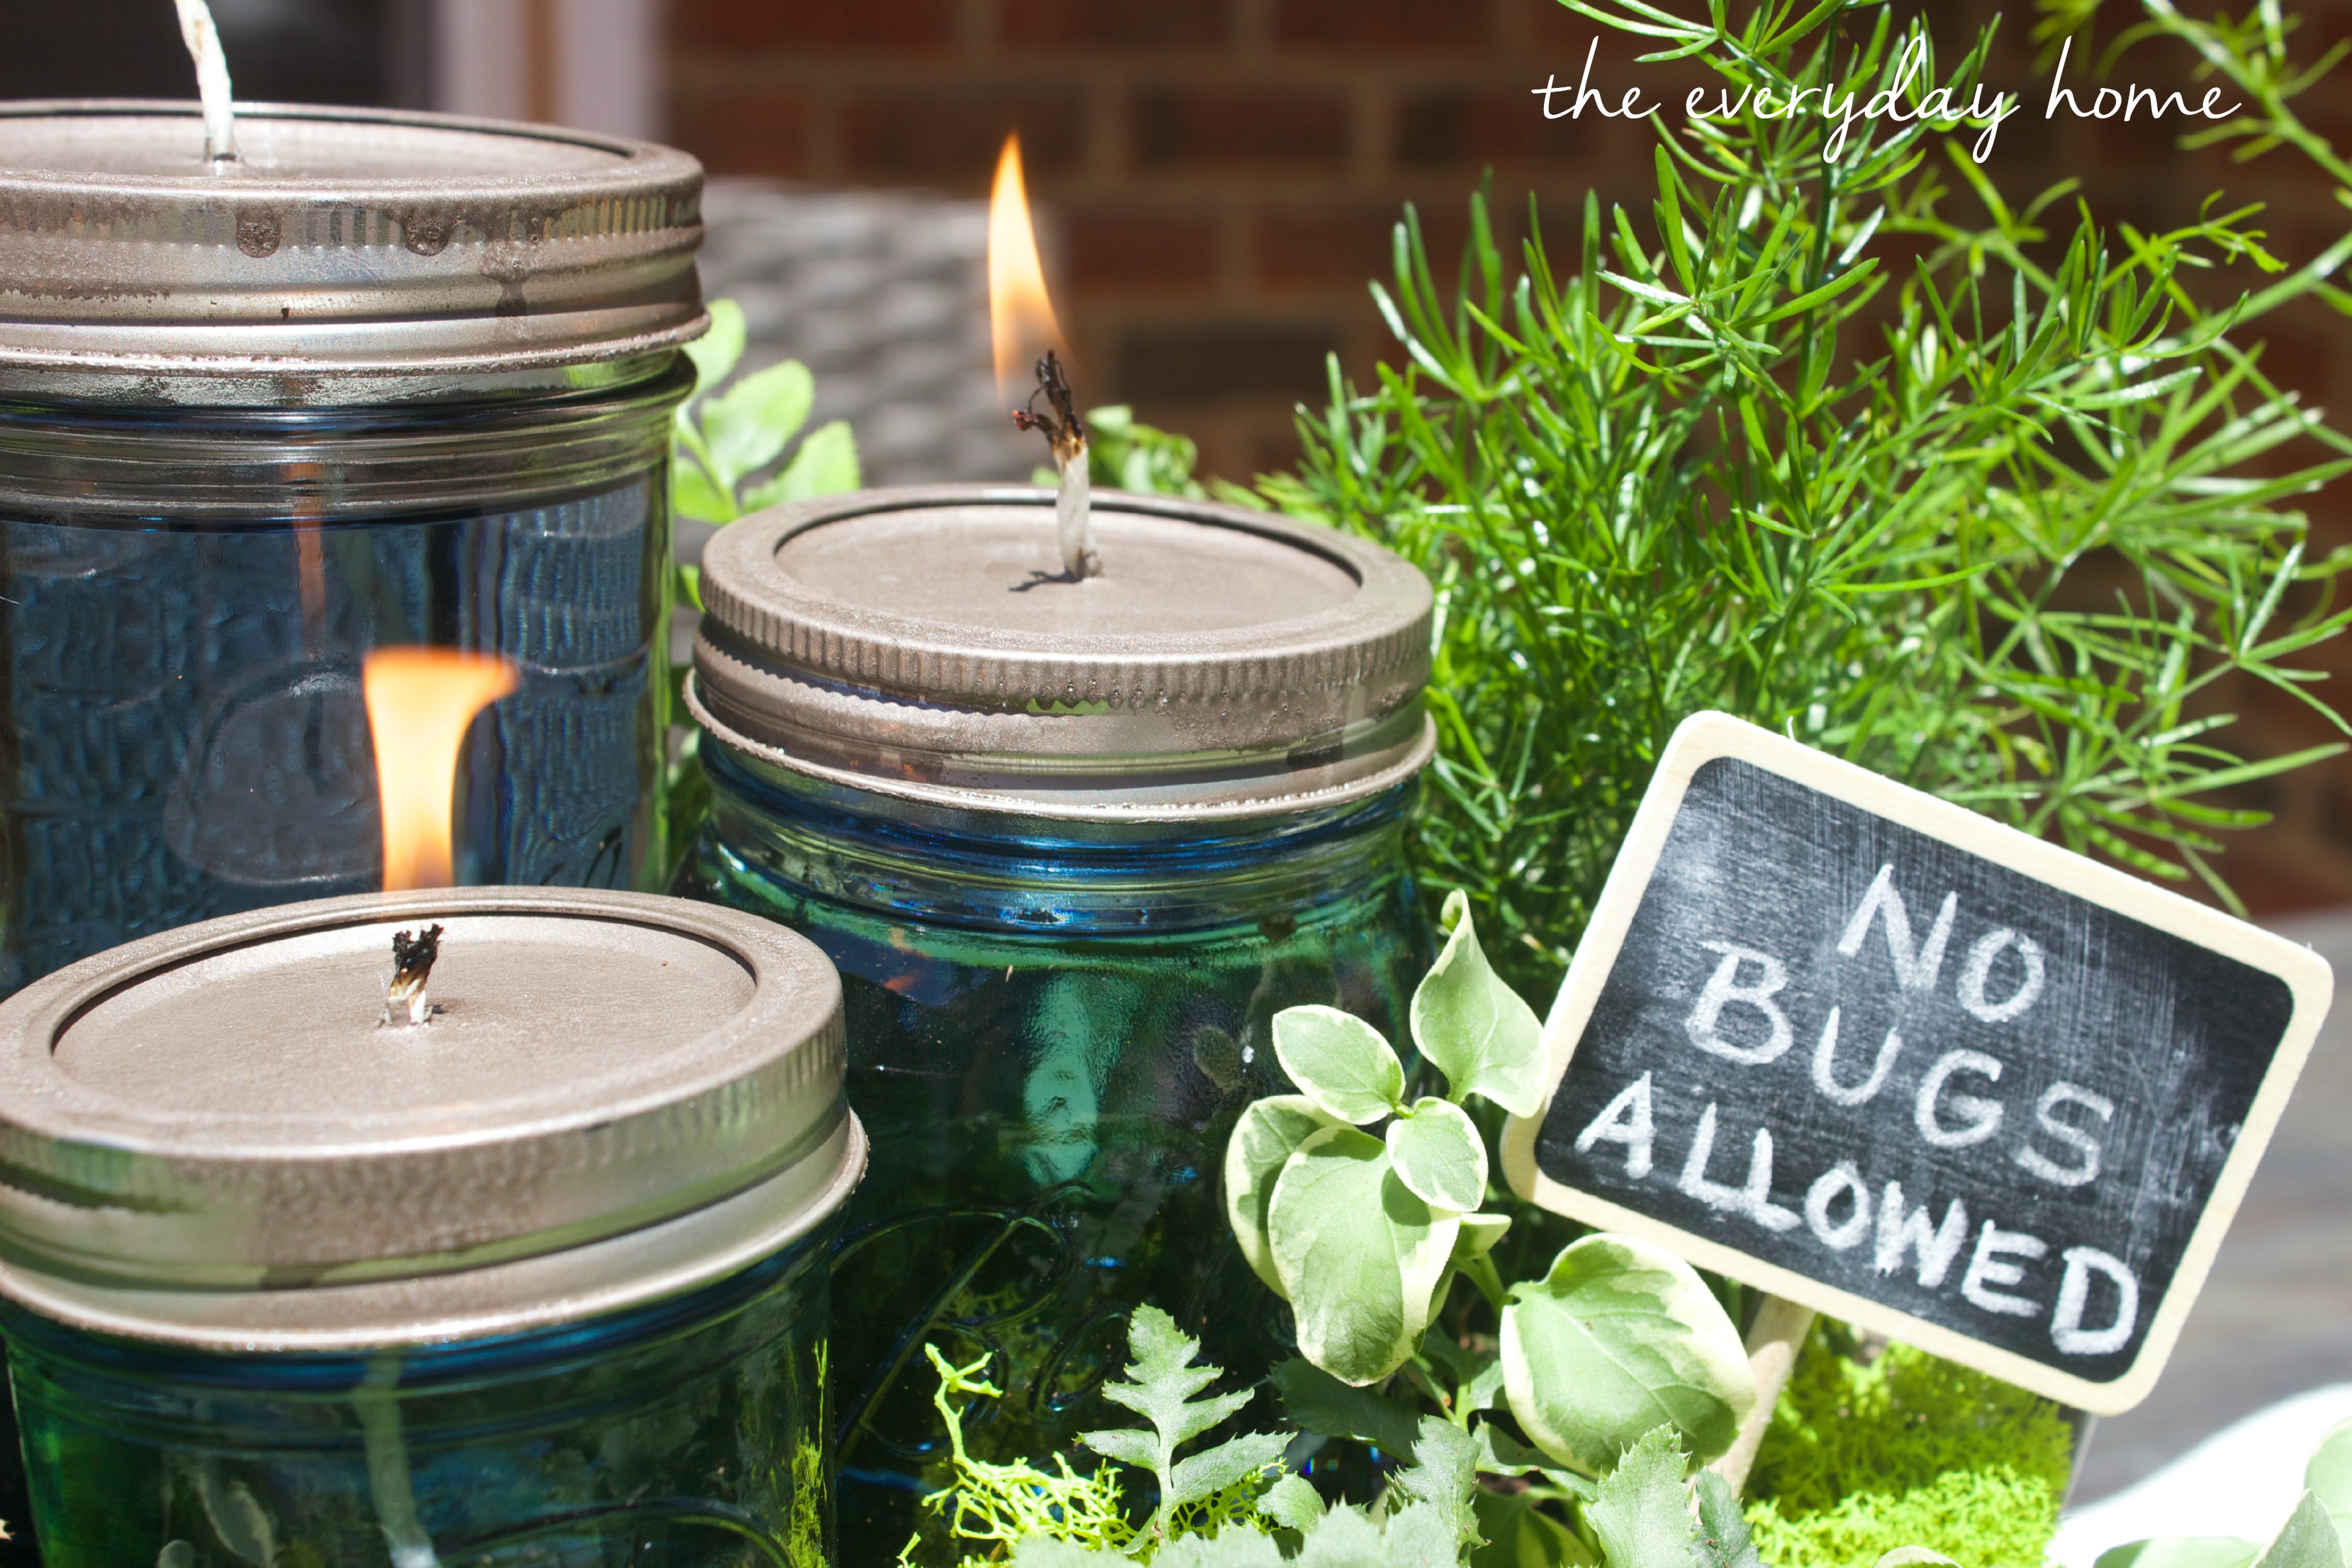
Now I can’t wait to finish the other projects for the porch.
Oh to have three of me!
😀

If you liked this project, and would
like to save it for future reference, please
Pin these images…
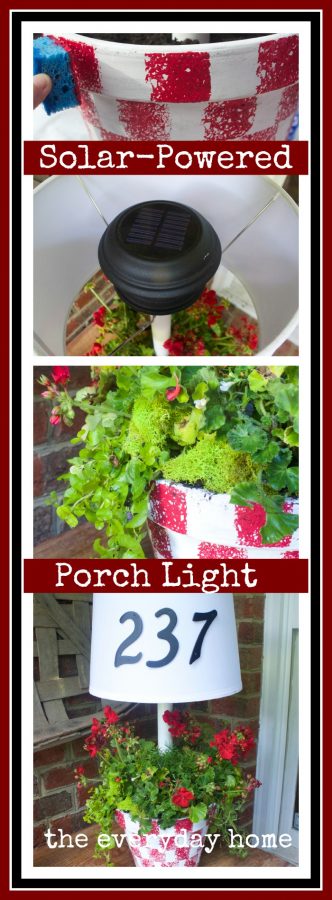


Join me Monday for a fabulous
Farmhouse Furniture Makeover project
and a fun giveaway!
Thank you for spending a few minutes
of your day here with me!
You can also follow along with me at:
xxoo, Barb
*** This post may be shared on several Link Parties.
Please check out my LINK PARTY PAGE to see
some of the blogs I may be sharing with.


Cute and clever idea! But it’s that rooster that really speaks to me! 🙂
View CommentAdorable idea! I got great solar lamps at BIG LOTS @ $4.50 that are wonderful, too. I agree with your idea of a trim…black, or maybe burlap ribbon? Looking forward to the big porch reveal:-)
View CommentOh this is super super cute. fondly ~lynne~
View CommentWhat a wonderful idea. It is so charming. I am sure it makes the evening porch a very cozy place to be. I can add it to my project list to do.
View CommentI love, love, love this!! Great DIY project and I love how you made it in a flower pot. Thanks for sharing it………..
View CommentThat is just seriously too clever! And really cute, too. Adding the house numbers is the perfect touch. Thanks so much for sharing!!
View CommentThanks Carolyn, it really was a last minute idea. I would like to say it was “part of the plan” all along. 🙂
View CommentThanks for stopping by and leaving such kind words. Have a great day, Barb
I absolutely LOVE this plant lamp or lamp plant.? I am definitely making this to match my home decor. Does the PVC pipe stay straight with just being held in by dirt? Thank you for this great idea. Looking forward to seeing your farmhouse porch completed.
View CommentYes, it stays secure with just the dirt. 🙂
View Commentthis is the cutest idea i love it thanks for sharing and where did you get that roo he looks real xx
View CommentChris – I have had that Roo, believe it or not, for about 10 years or more. Gosh, maybe even 15 now that I think about it. I used to have a matching hen but alas, she “passed away.” LOL Glad you liked the lamp project. Thanks for stopping by. Barb
View CommentHow does it et enough sunlight to charge being on the porch & below the top of the shade? I’m asking because I really love it!!
View CommentI upgraded to a more substantial quality light, $8 for an 8x brighter light. It does get enough sun. Keep in mind this was never intended to provide enough light for security reasons, etc. I just wanted something soft and cozy looking under the porch when the porch lights were turned off. 🙂
View CommentI’m wondering that also. I suppose that if there’s enough sunshine for a geranium to grow, it’s enough for a light to charge !
View CommentMy front porch gets an ample amount of morning sun so I didn’t have any trouble except maybe on cloudy, rainy days. 🙂
View CommentLove it! Where did you find your lamp shade?
View CommentKarin I already had it from a lamp that broke. I have about 4-5 shades in the basement. Never realized I wasca shade hoarder. 🙂
View CommentKarin – I have a small (hoarded) collection of shades in the basement. I never realized how many I had until I went searching for one. LOL Thanks for stopping by, Barb
View CommentAbsolutely beautiful! Thanks for sharing this easy and fun idea!
View CommentYou’re very welcome, thank you for your kind words and for stopping by. Let me know if you give this project a try! Have a blessed day, Barb
View CommentBarb, I am coming over from Hometalk ( Love that site) where I saw your post. I had to come by to see the whole project and I am in love with your blog!! Thanks for sharing Barb!
View CommentWelcome, welcome!!!! I am so glad you found your way over here. Thank you for your kind words and I hope you’ll be coming back often. Have a blessed day, Barb
View CommentOh my goodness I found you post in the Brags Pinterest Party and had to pop over to see this cute little lamp. It turned out great and really quit easy, I think I might just have to try this. I have made a few painted pots, one that is not finished and the idea of using sponge in a square to decorate is perfect to finish. Great inspiration.
Would love to have you stop by and share your party and other posts as well on the #OMHGWW already in progress.!
View CommentHope you have a great week!
Karren
Barb, this is such an awesome project. I love that it’s so many things, all in one! Thanks for sharing at Project Inspire{d} this week, and I hope that all your appointments are going well. Take care – Steph
View CommentThis is so wonderful! I am looking around the house for the supplies as soon as I leave the computer! What a great project and tutorial!
View CommentBarb, this is stunning. I would love to give this a try, it really looks doable. Thanks so much for sharing with Foodie Friends Friday party this weekend.
We look forward to seeing you again soon with another great post.
View CommentA FFF co-host,
Joanne
OMG great idea! I’m pinning!
Tania
View CommentWhat a creative idea! I have been thinking about making solar lamps lately. But my idea was much more boring!
View CommentYour lamp absolutely rocks 🙂
Could you not just use the ‘spike’ that comes with the solar light? Maybe paint it and add the shade? I’m thinking of doing this too!
View CommentI’m thinking the spike won’t be long enough to go into the terracotta pot. That’s why you need the Pvc pipe.
View CommentHi Darlene – that is correct and also I used the pipe to give it more of a “lamp” look. 🙂
View CommentI have a question? I would like to leave out on a table. Is there a certain type of lampshade that would be better out in the weather? Also, If I put lamp on my porch (that is coered), do you think it would get enough light to power the solar light? I just love it and hope I can get it to work with my covered porch.
View CommentDebbie, mine stays out on my covered porch also. I do have to set it on the steps every few days to get a better charge. I also should have used a more expensive solar light than I did. LOL I used an older shade I had and it held up well. I would suggest maybe giving your shade a good spray of a fabric protectant product. Good luck, hope this works for you. Thanks for stopping by. ~barb
View CommentJust lovely. I’d add some wide rick-rack, either red or black to the top and bottom of the shade. It’s country and would finish off the look.
View CommentI think blue for the trim instead of black would look nice, or blue ribbon in a bow at the top. I got my solar light, soil, glue & etc. at the dollar tree, everything there is a dollar…can’t beat that price lol. Beautiful idea, thanks! ?
View CommentHope it works out for you. Good luck and please let me know how it turns out. 🙂 Thanks for stopping by. ~Barb
View CommentThis is just the best on all 3 levels you originally mentioned, light, plants, cute. My question is:
View CommentI would like to make this for my son and wife for their UNcovered patio. I’m thinking this is not the optimum condition for a lamp shade. Any suggestions? Cloth, metal to rust in the rain, all factors of weather are involved in their area.
Thanks,
Lindy
Linda,
View CommentOne option (and I have been wanting to do this) is to remove all fabric from an older shade and just have the metal showing, if they like the industrial look. But, I want to take it one step further and either wrap the shade frame with moss (wire it on) and let ivy grow on it like a topiary, or you could even weave and wrap wire or jute twine around the shade. Lots of options. Hope this helps. 🙂 ~Barb