I love a weekend filled
with blessings.
And when I say “blessings” I mean time spent
together with family.
The Hubbs and I enjoyed a nice date night
on Friday, then Saturday morning we picked up the
Grandloves and went to breakfast.
Afterwards, we all spent the afternoon on
the beach. Another “blessing” is that we live
literally minutes away from the beach, so we can go
and enjoy a few hours here and there, when we want.
And me being a blogger, I couldn’t help but notice
the pretty beach sand, and from there –
I envisioned these…
Sand Covered Terra Cotta Pots
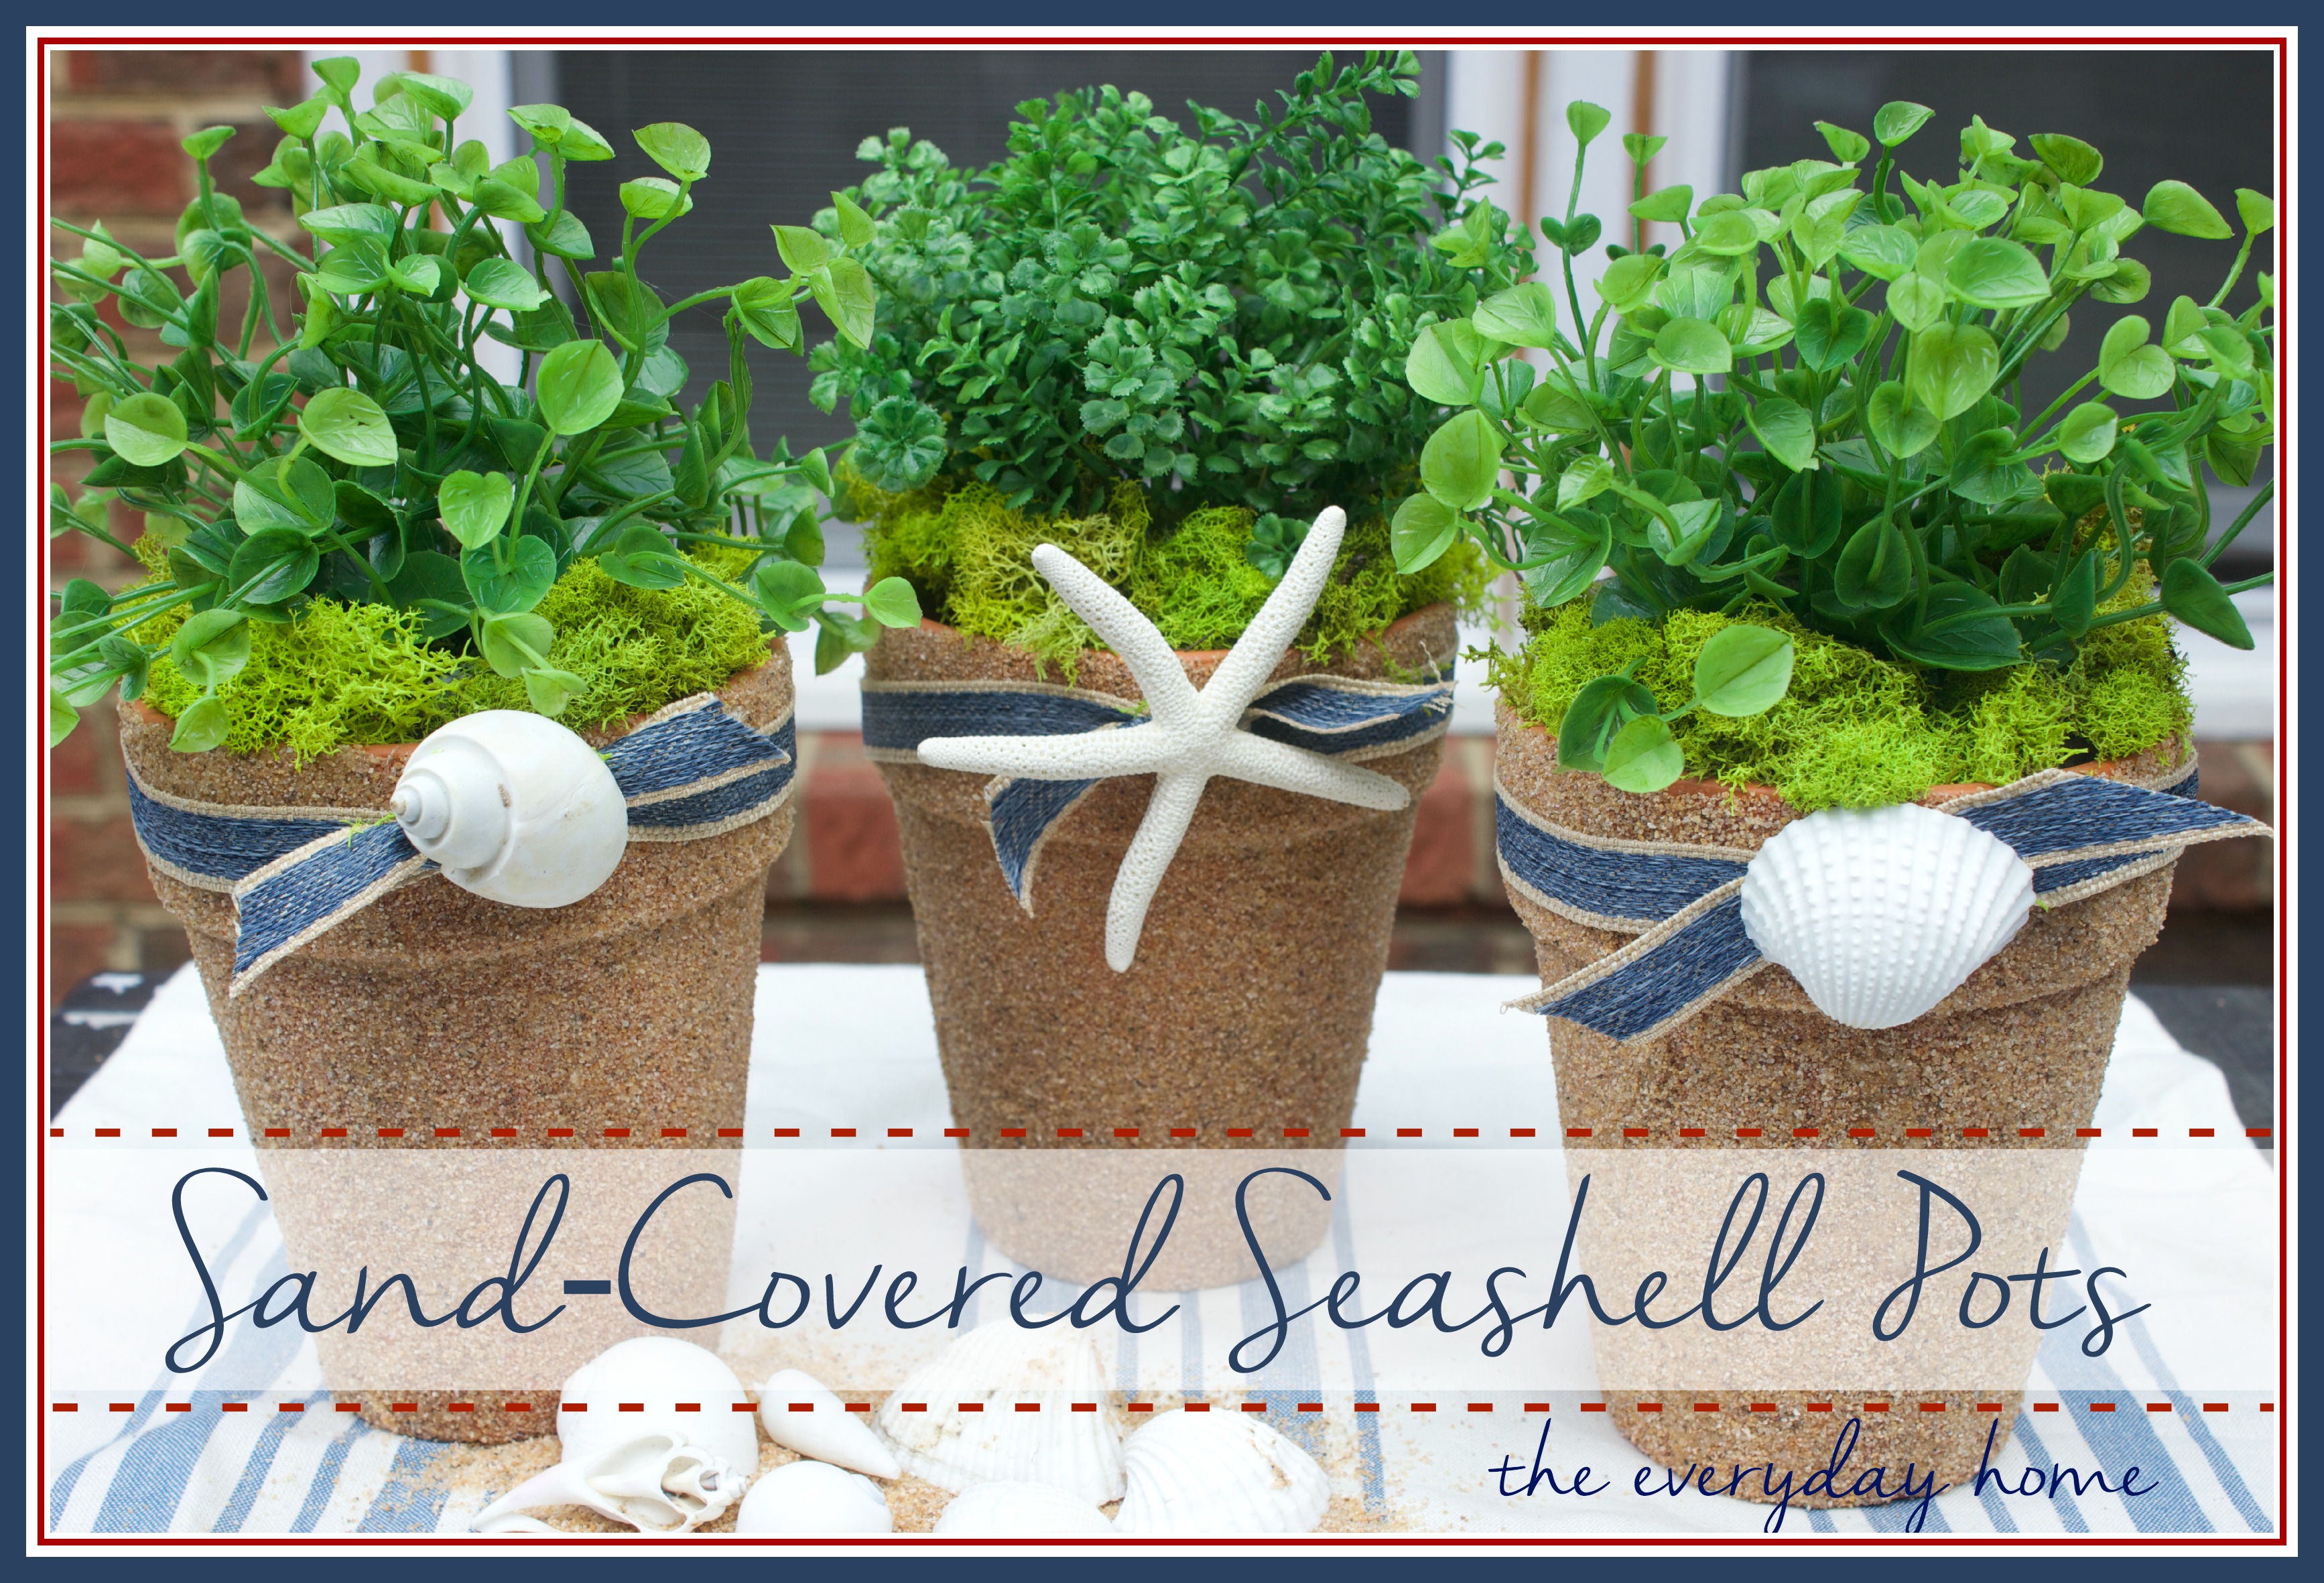
Seashell and Sand Pots by The Everyday Home
So, you’re probably asking yourself how I possibly
went from this…

… to this!
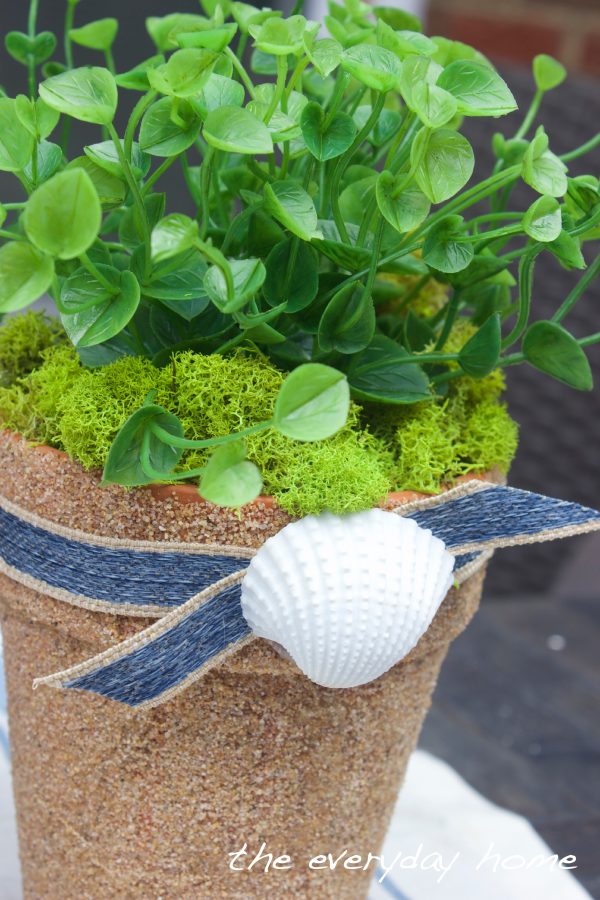
Seashell Decorated Pots by The Everyday Home
When you go to the beach, everything gets
covered with sand. When I spied the sand buckets
partially covered in sand, my creative juices
started flowing. 😀
I just adore the way these pots turned out,
and you won’t believe how fast and easy they were to make.
Here are the supplies…
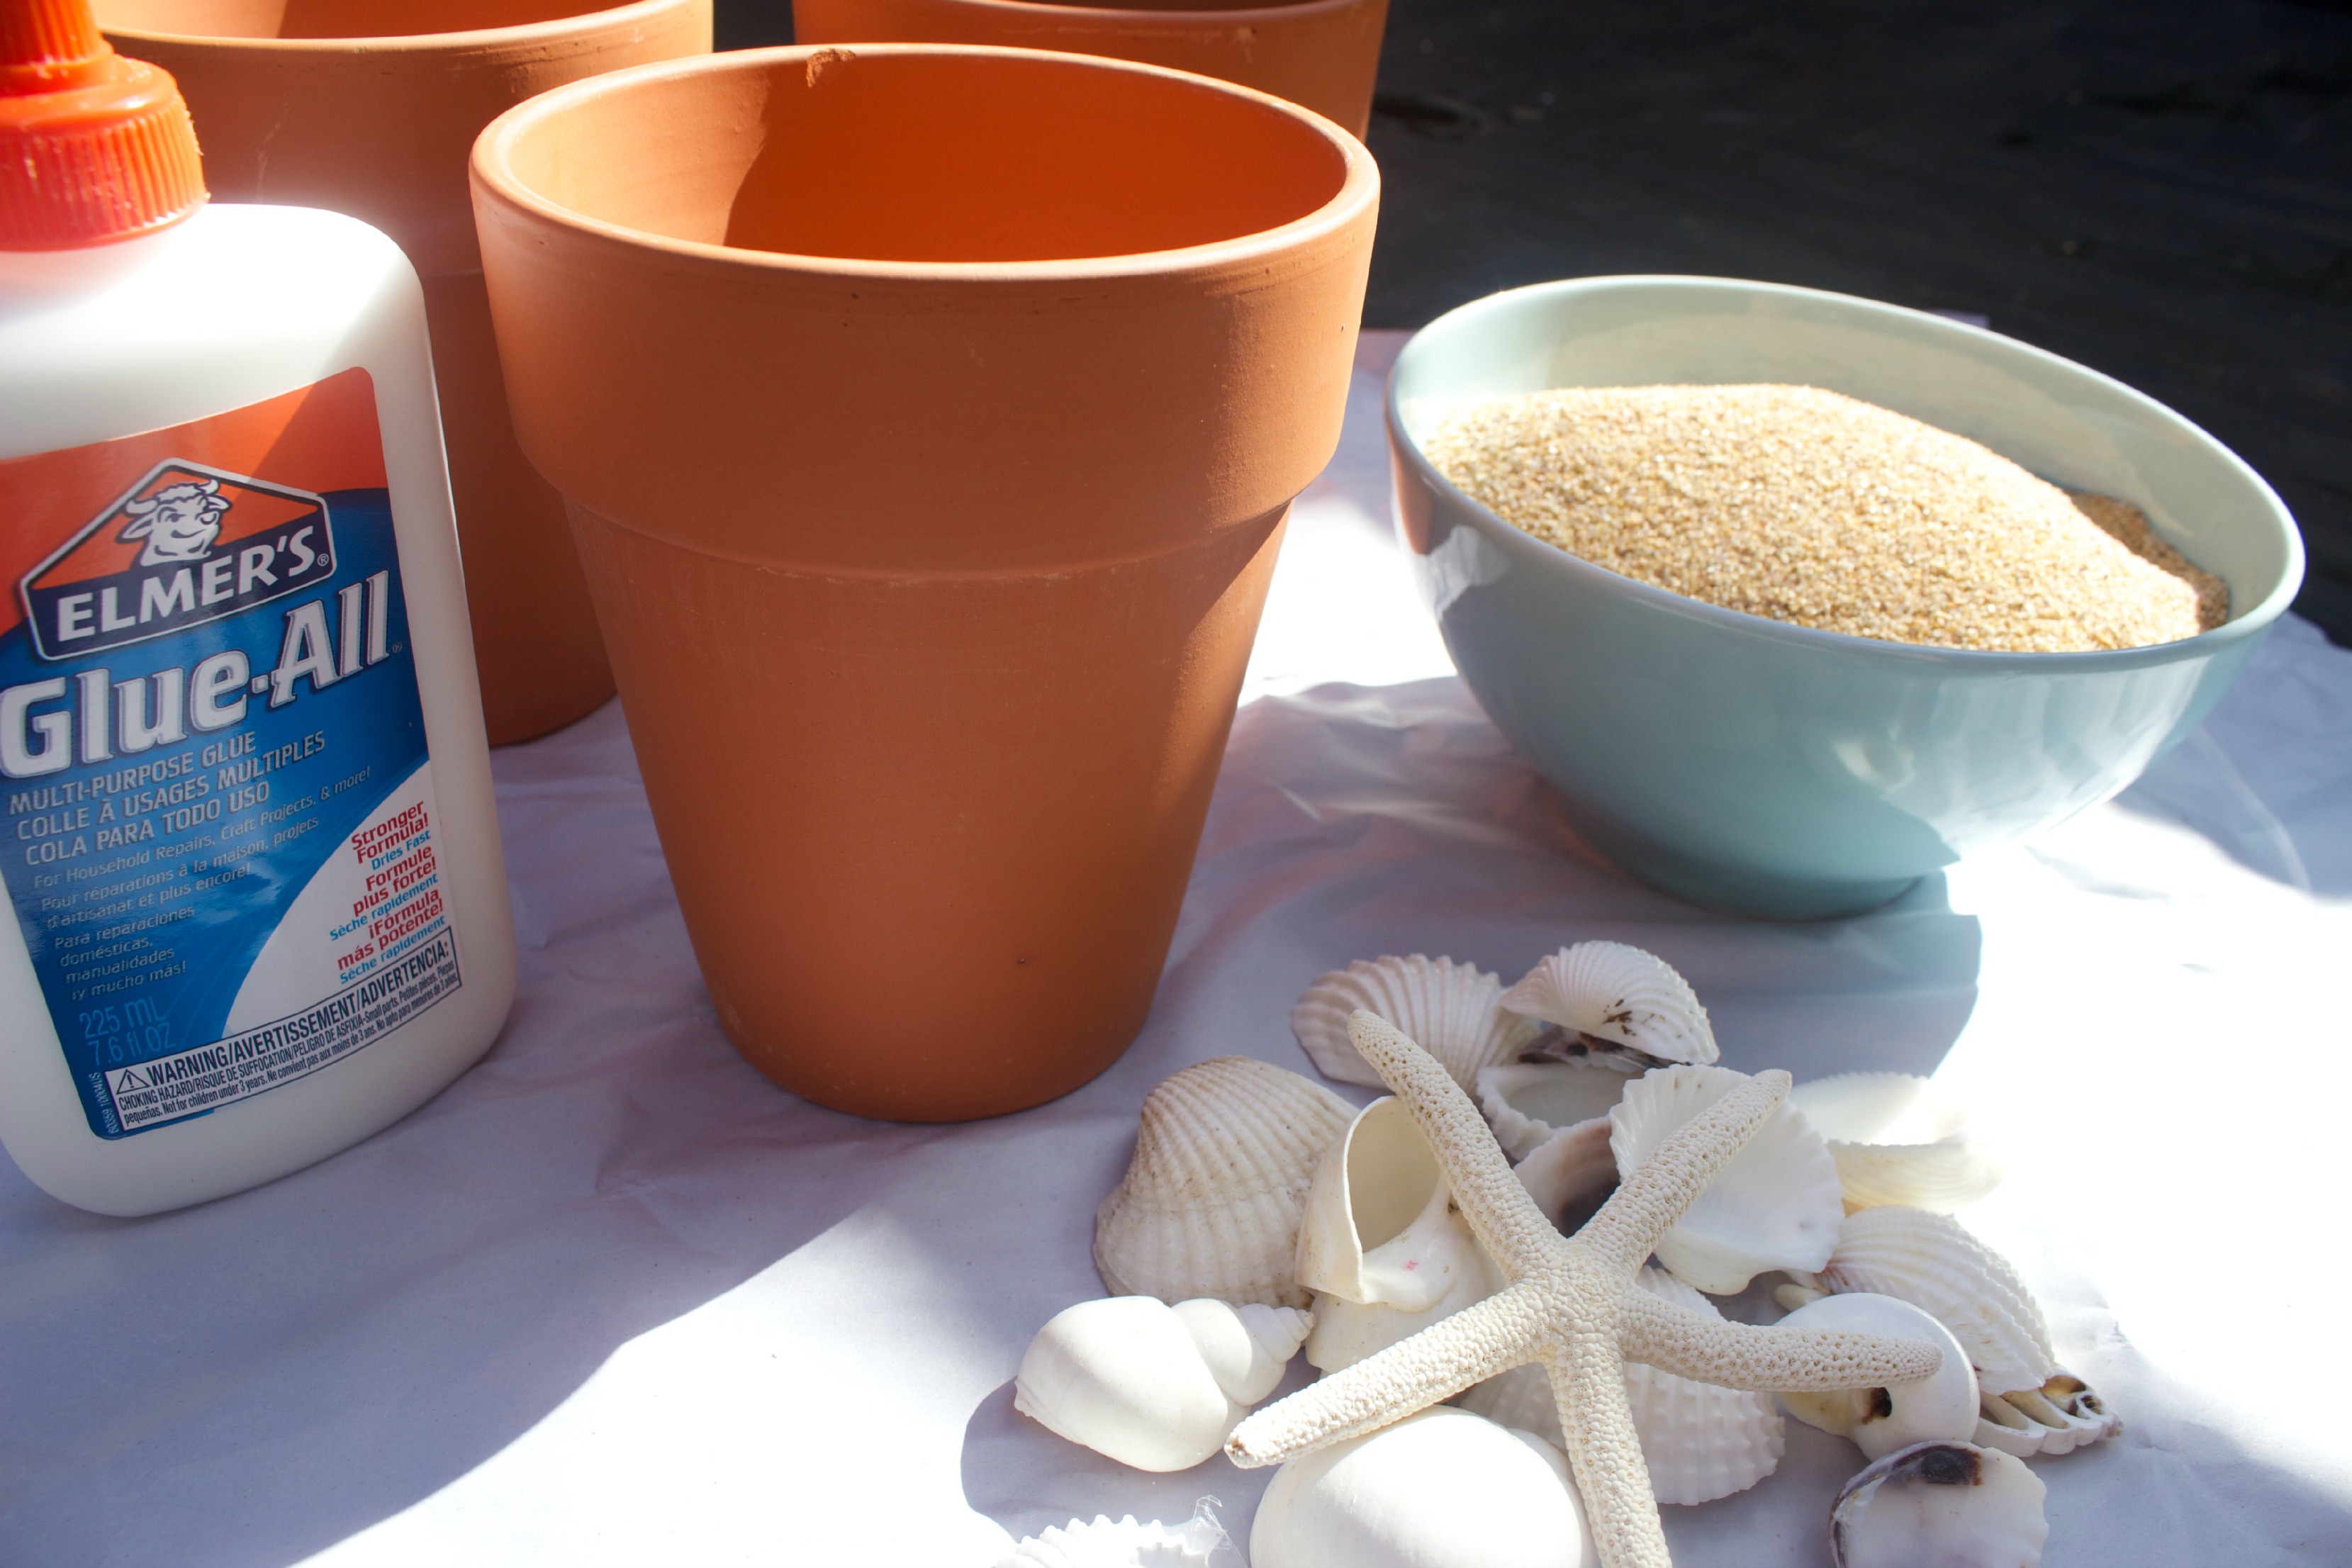
Dollar Store Terra Cotta Pots
Elmer’s Glue
Some Beach Sand
(you can buy craft sand at Michael’s for about $2.99/bag)
Assorted Shells
Sponge Brush.
No project is complete at The Everyday Home
without some super cute Craft Helpers.
I had three… 😀


They were pretty disappointed I was
only making three pots because they had s0
much fun. 🙂
First, I coated the pot in the glue, working
in quarter sections.
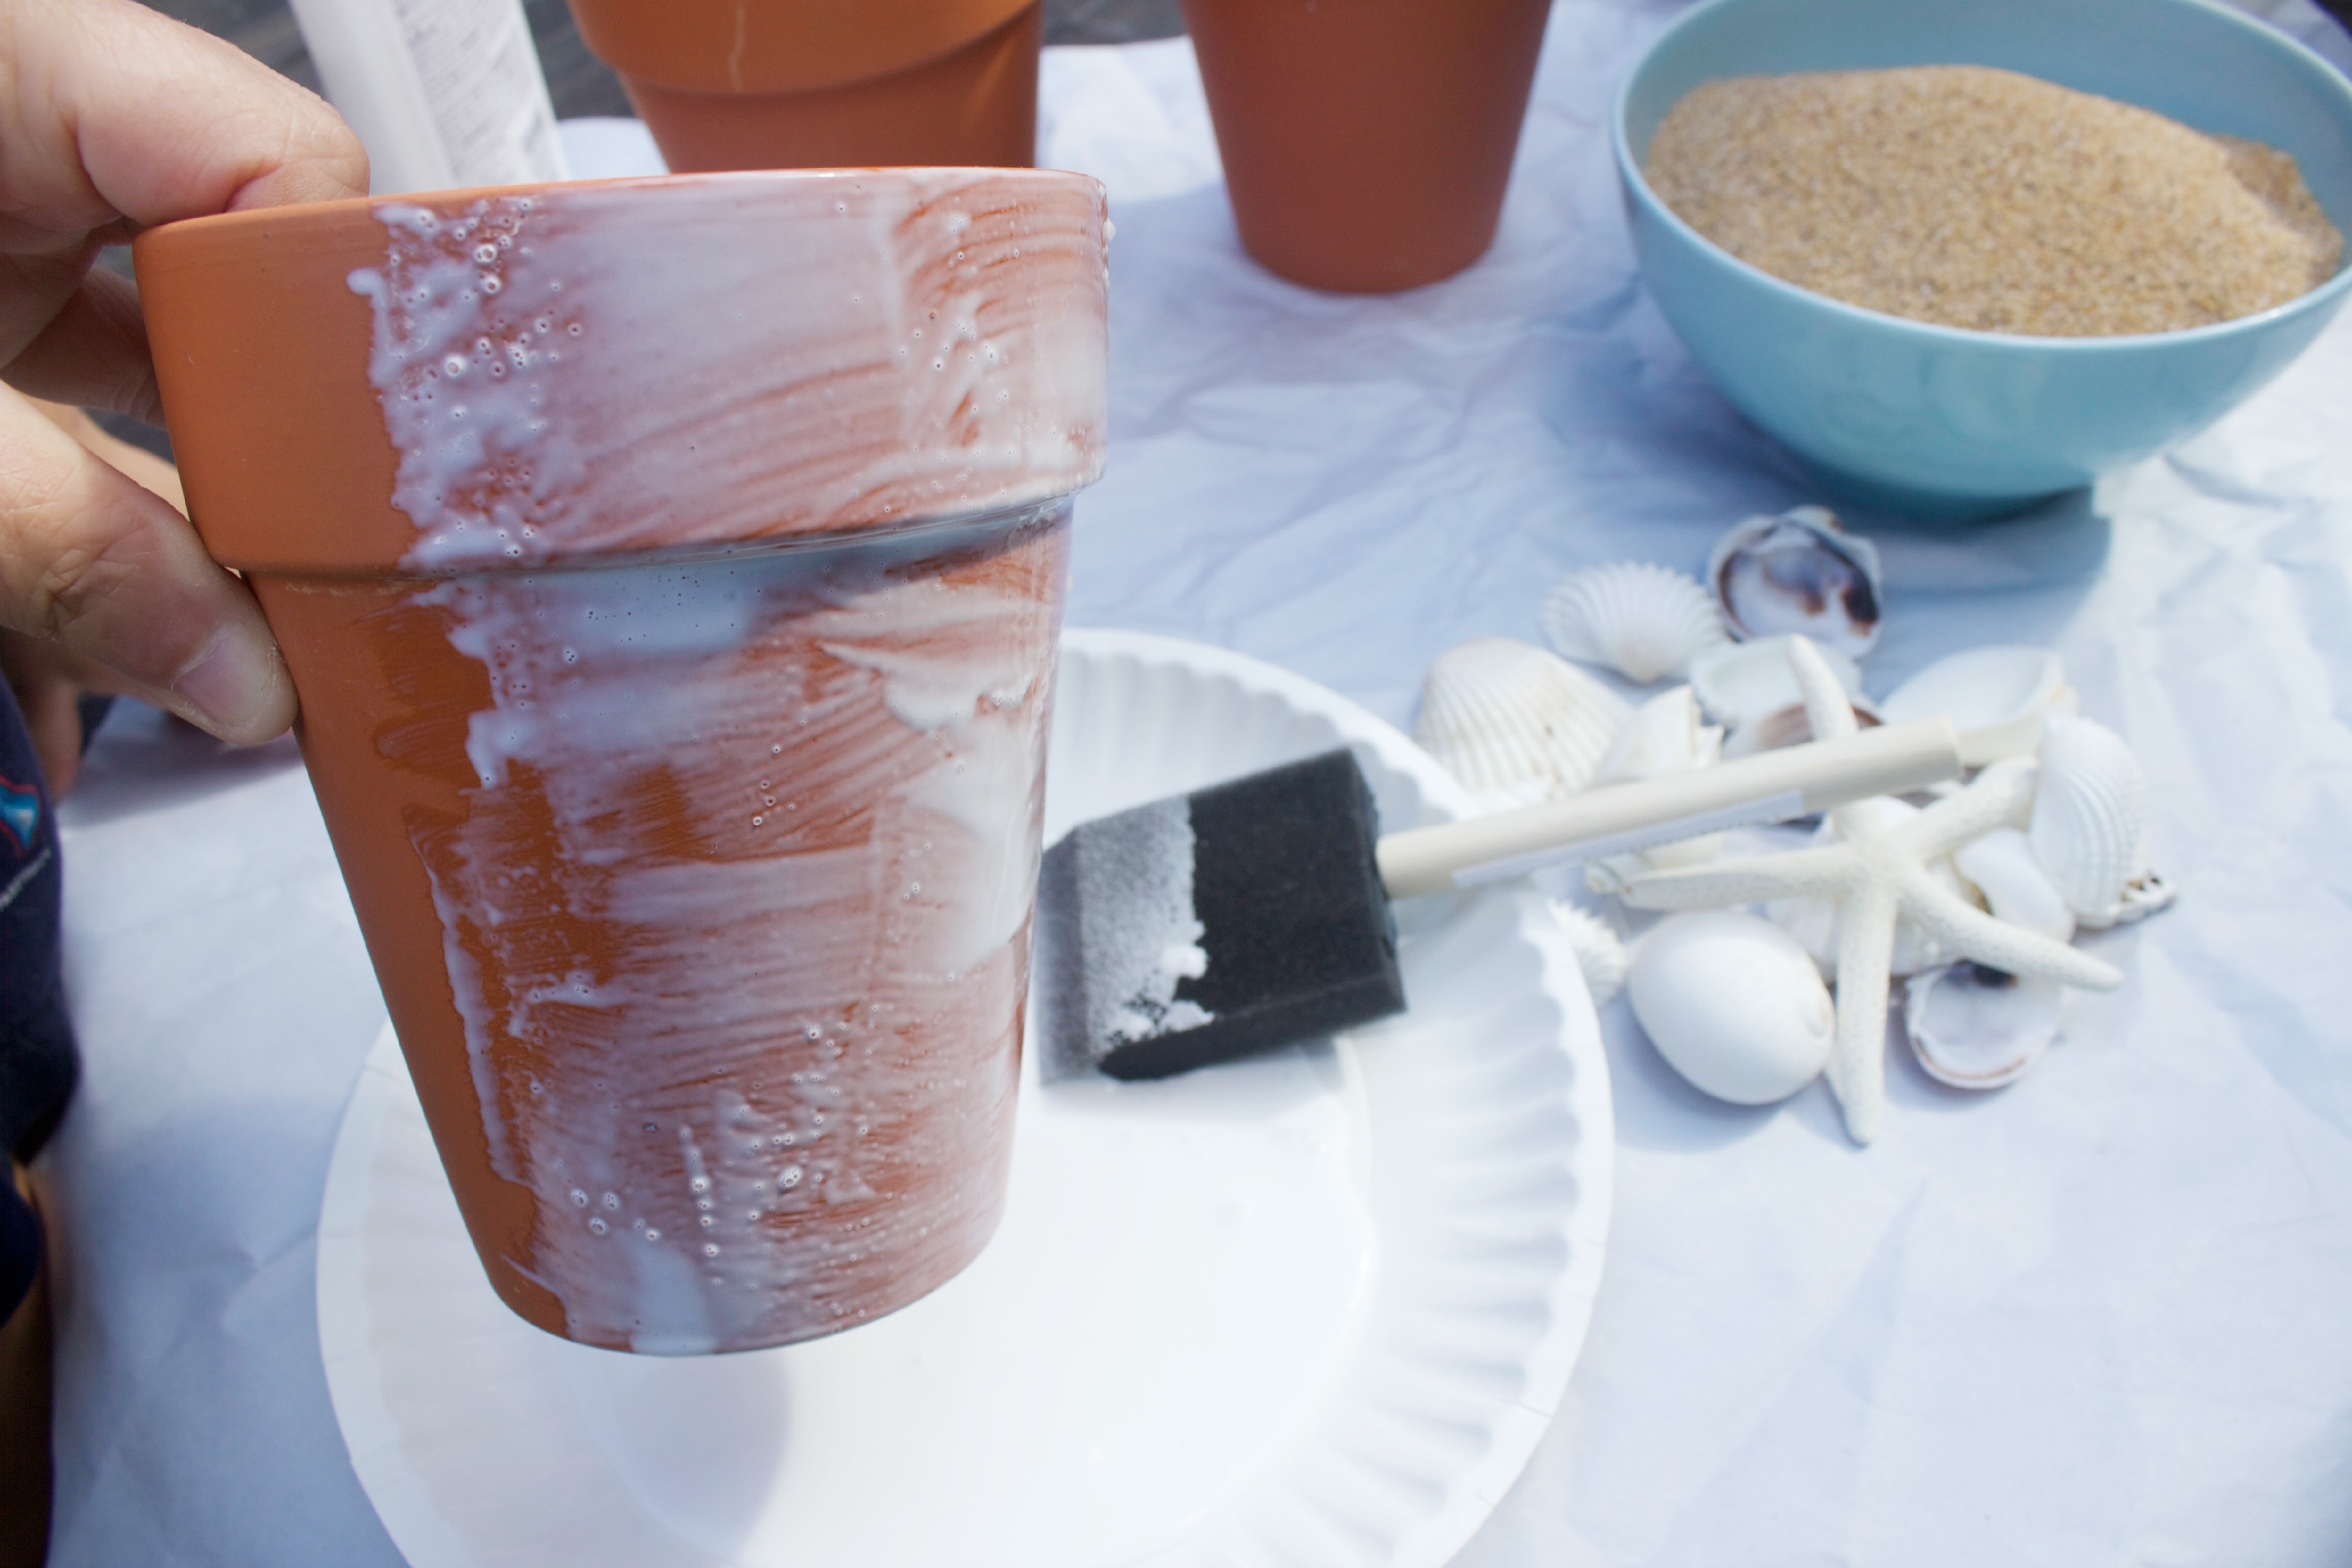
How to Make Sand Covered Pots by The Everyday Home
Then, we dribbled the sand onto the glue-covered pot,
and I patted it lightly to help secure the sand in place.
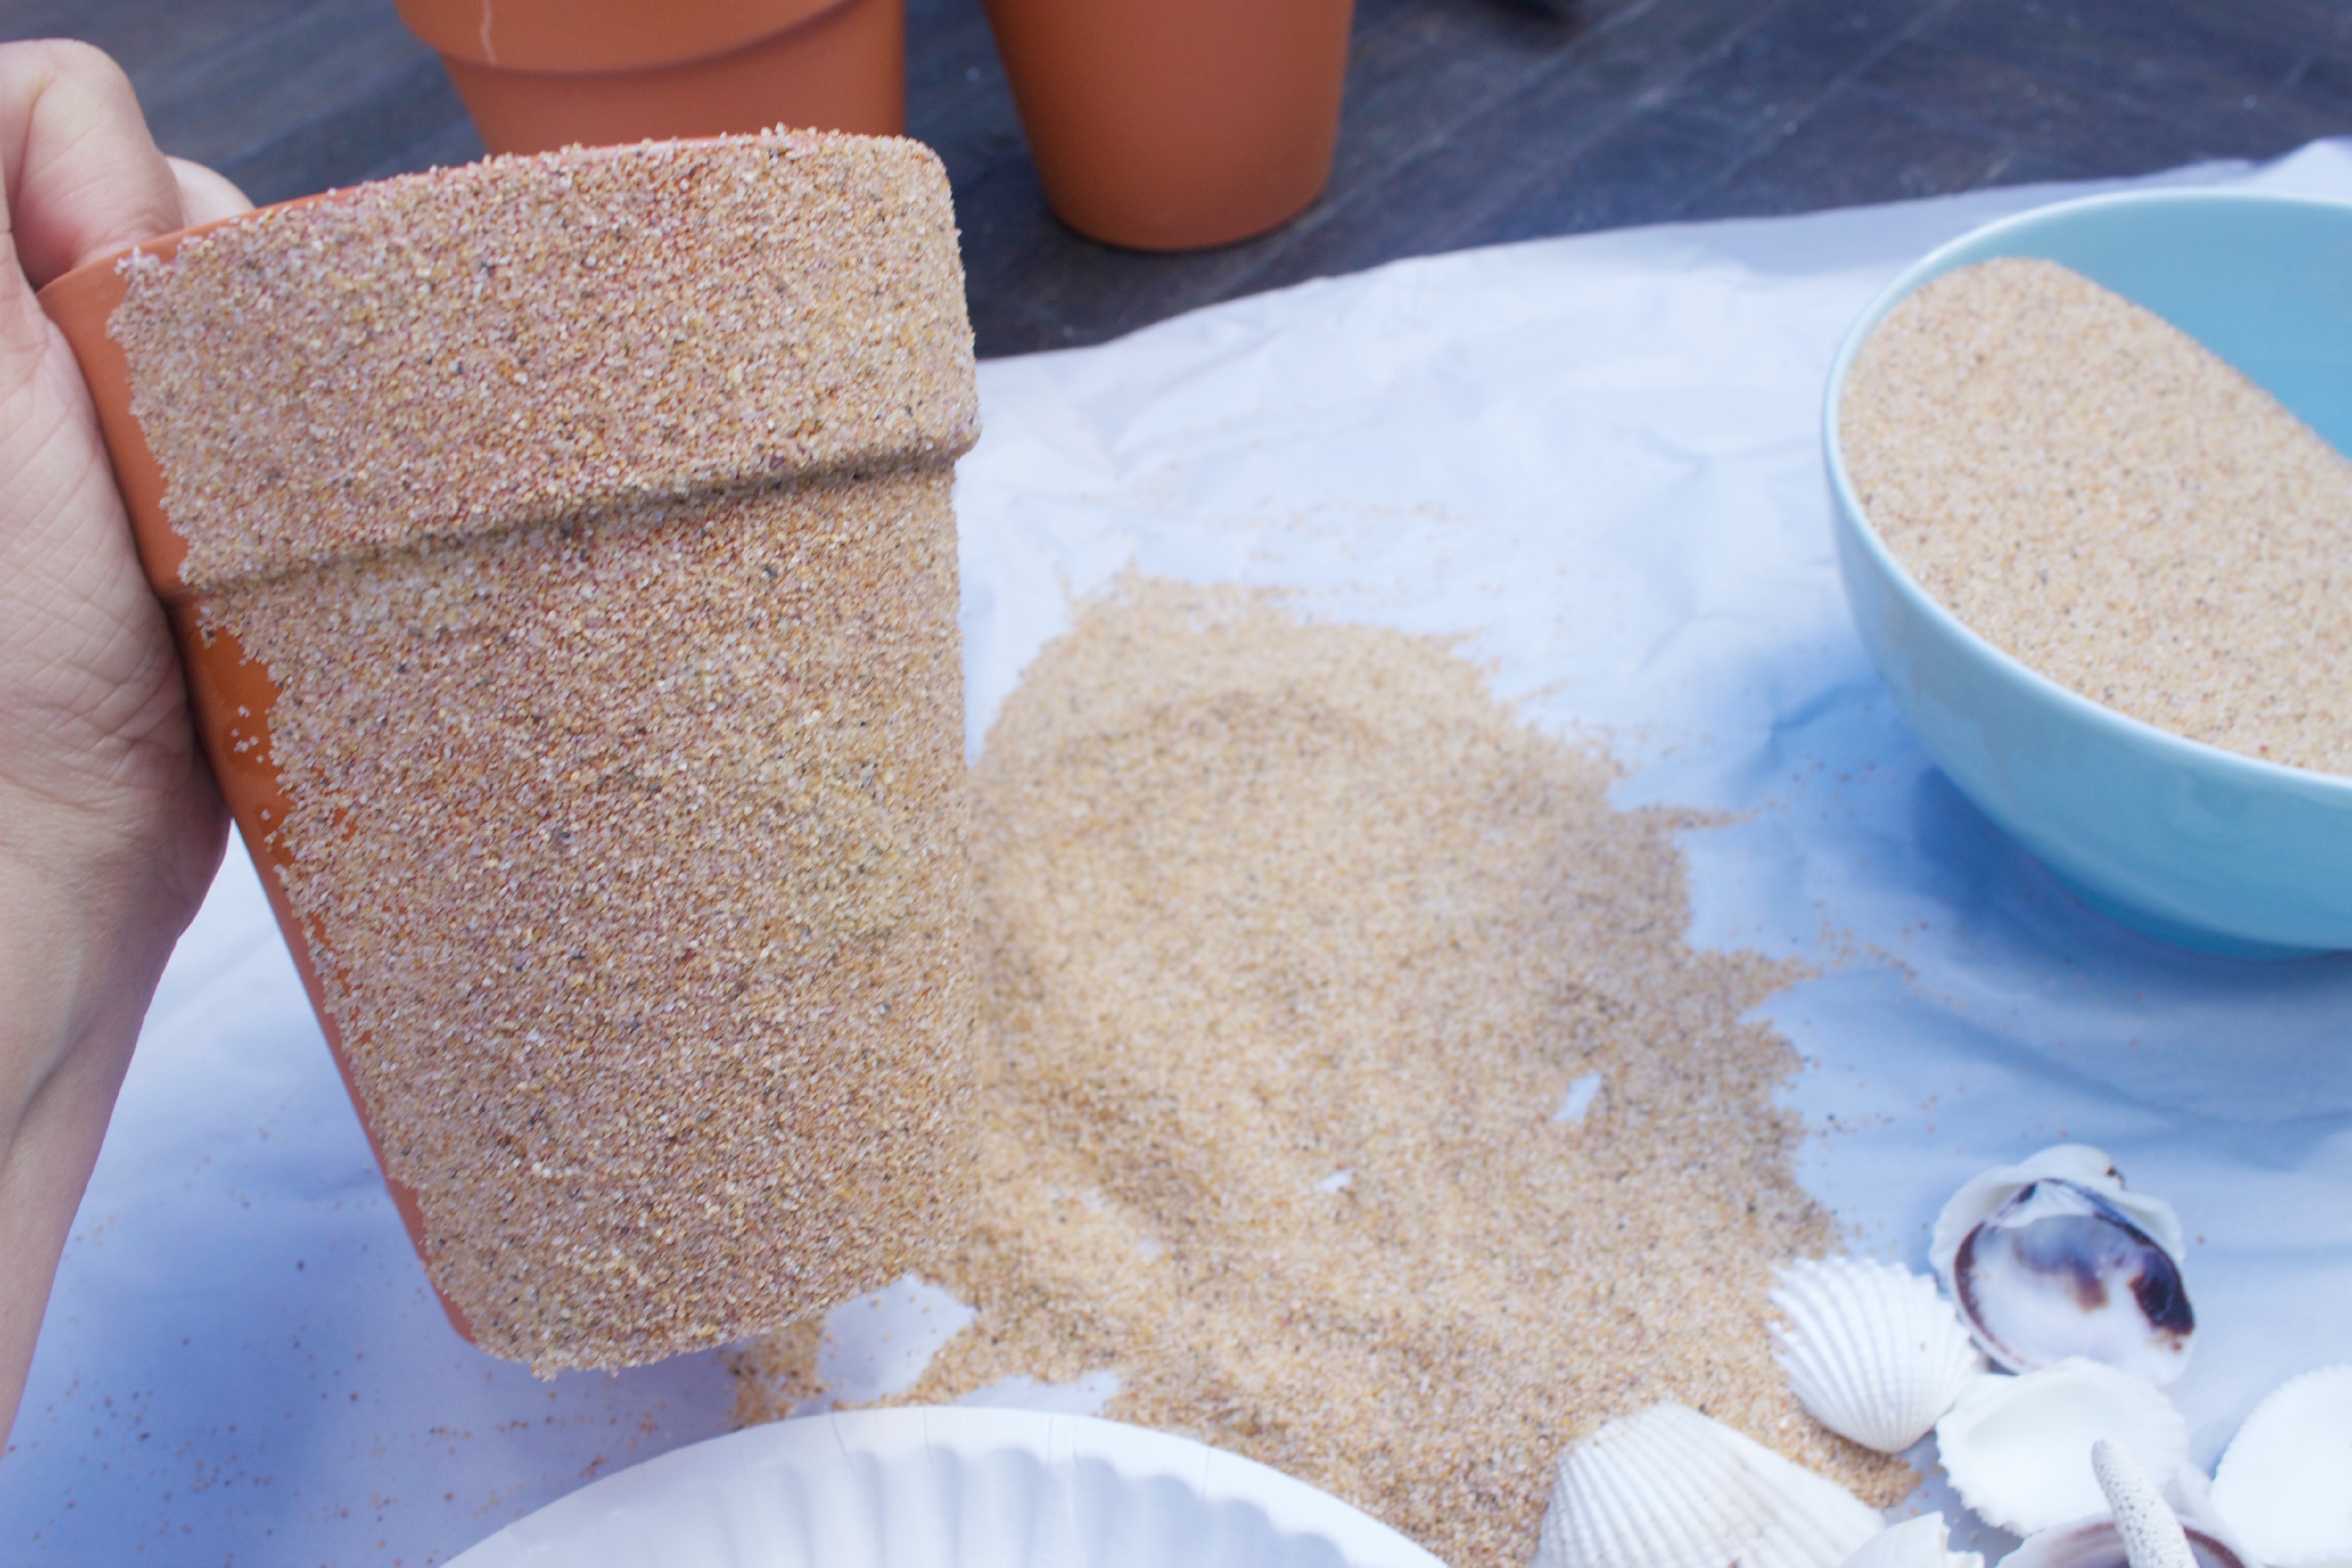
Sand Covered Clay Pots by The Everyday Home
It literally only took minutes to cover each
pot thoroughly.
Finally, we left the pots in the sun for a bit
until the sand hardened and dried.
While the pots were drying, I went digging through
my leftover ribbons, and found a pretty
Nautical-looking burlap ribbon.
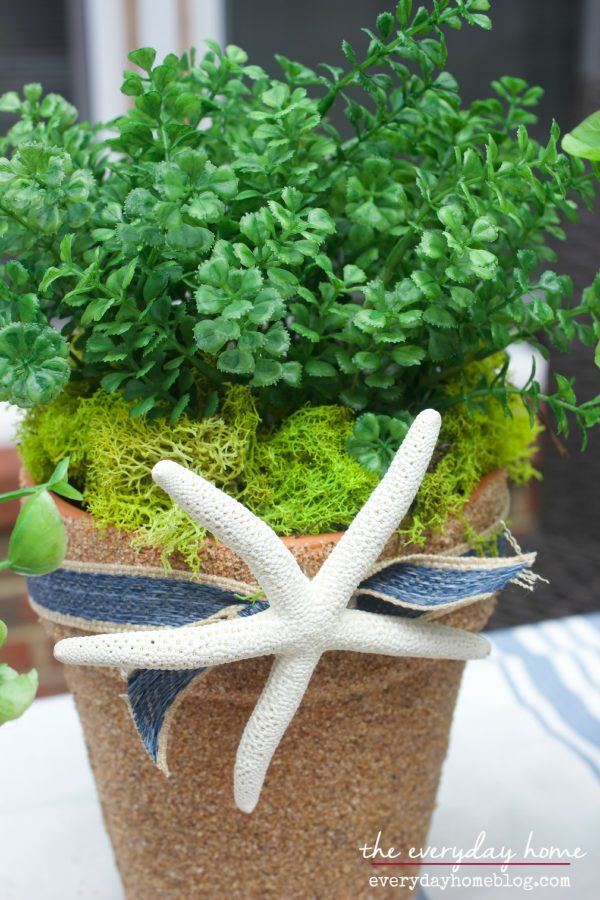
Seashell Planter by The Everyday Home
Once I added the ribbon, I simply
hot-glued a single shell onto each pot.
You could add several smaller shells.
A small faux plant was added to each, and some bright
green moss helped add an extra burst of color.
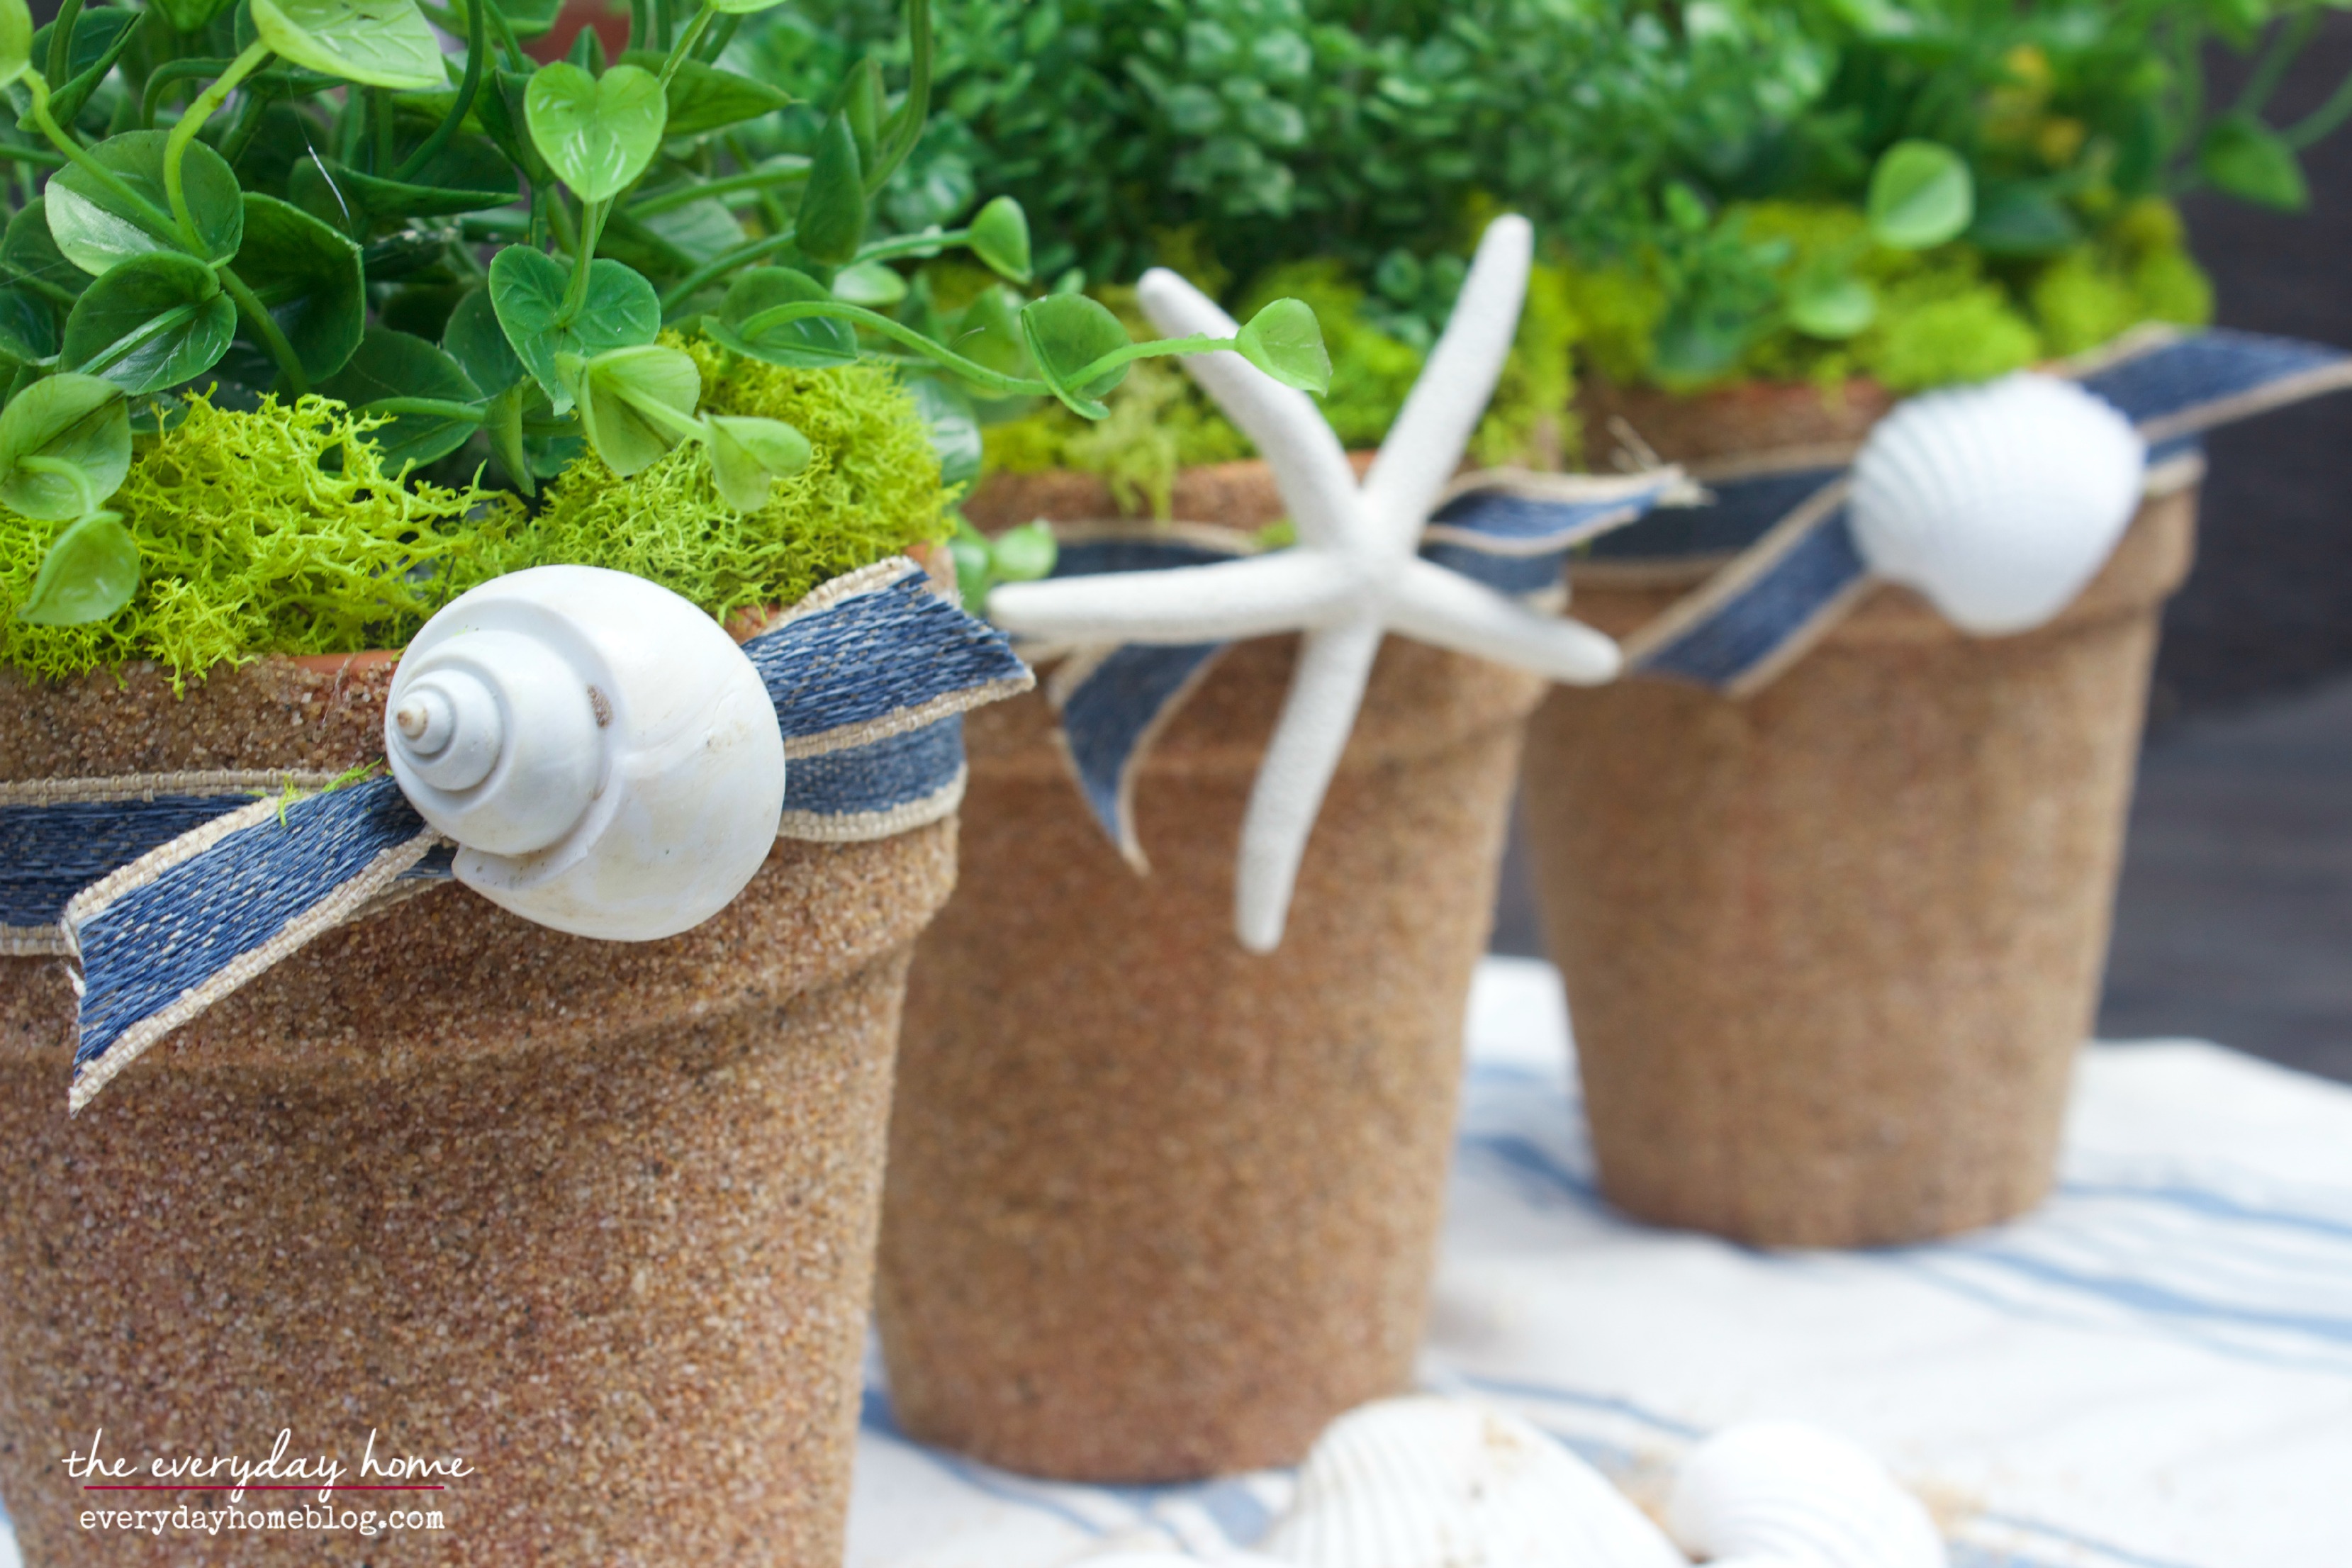
Make a Seashell Planter by The Everyday Home
I made these pots to add a bit of Nautical-style to my
front Foyer chest which is in need of some
“Summer Lovin’.”
I think these three pots, along with a large bowl filled
with the remaining shells will be perfect.
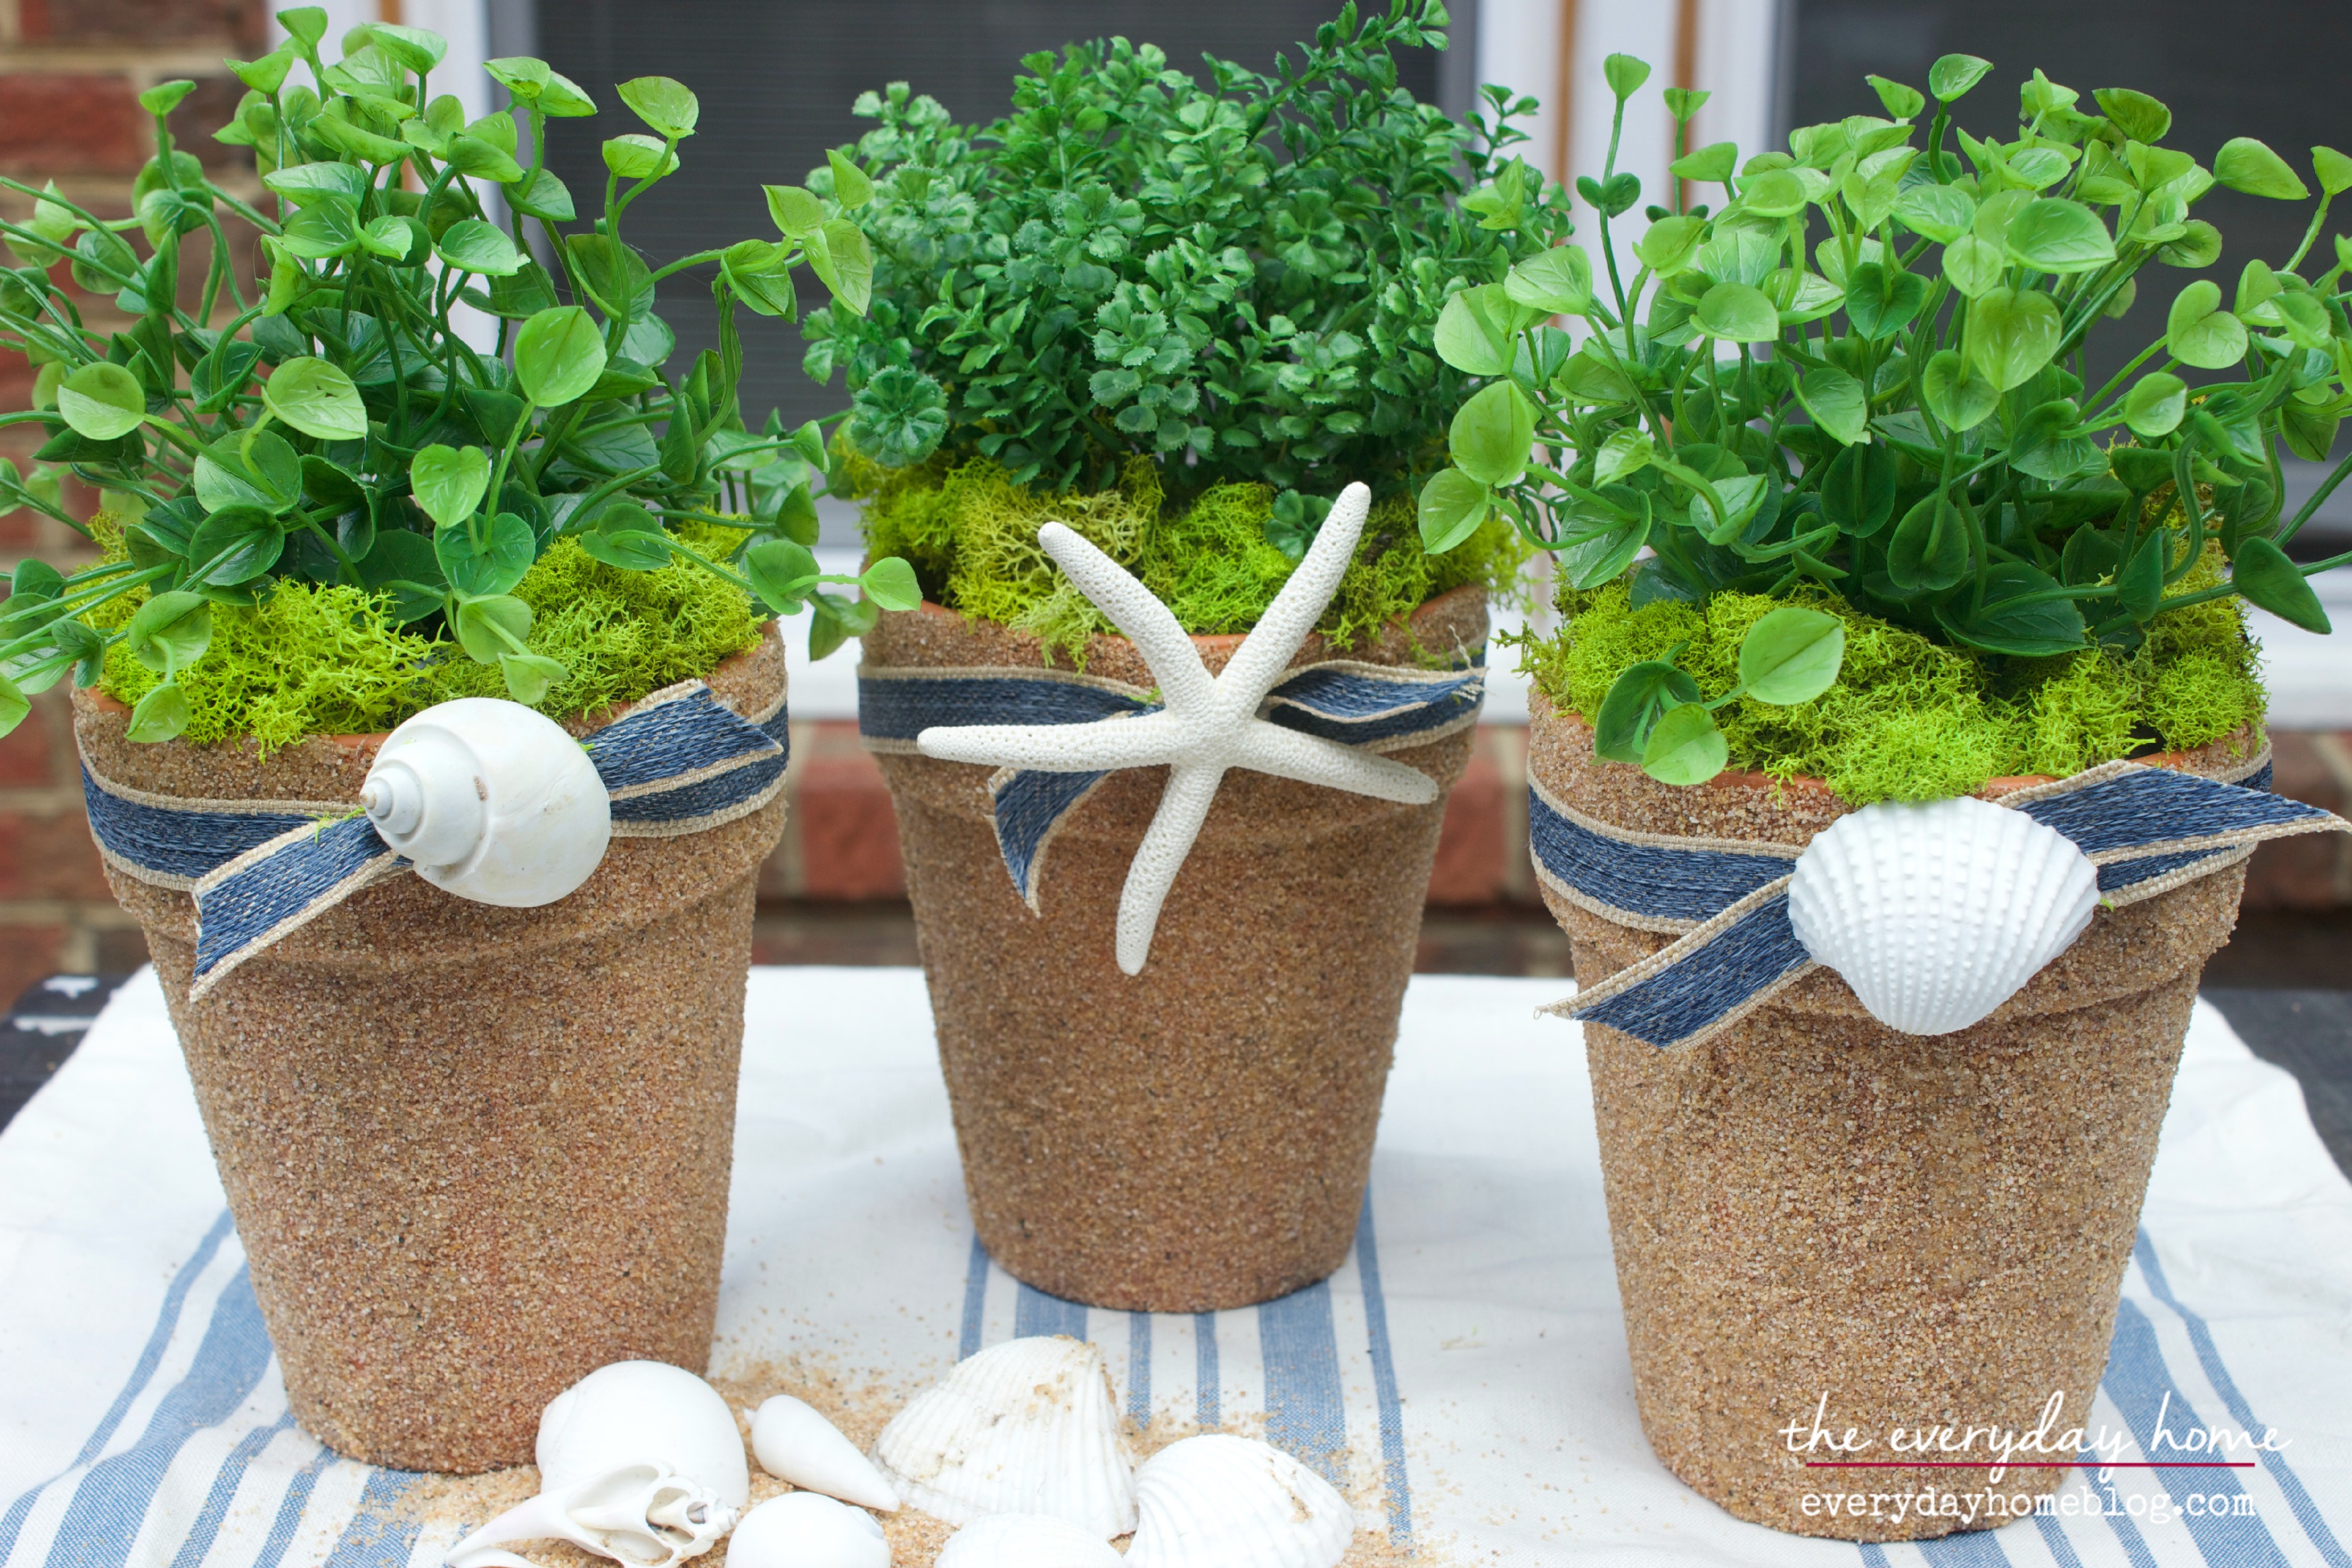
Decorating Pots with Shells by The Everyday
If you didn’t want to add plants, these would be
equally as pretty as candle holders.
Simply place some tape over the hole in the
bottom of the pot, fill with more sand, and
nestle in a white candle.
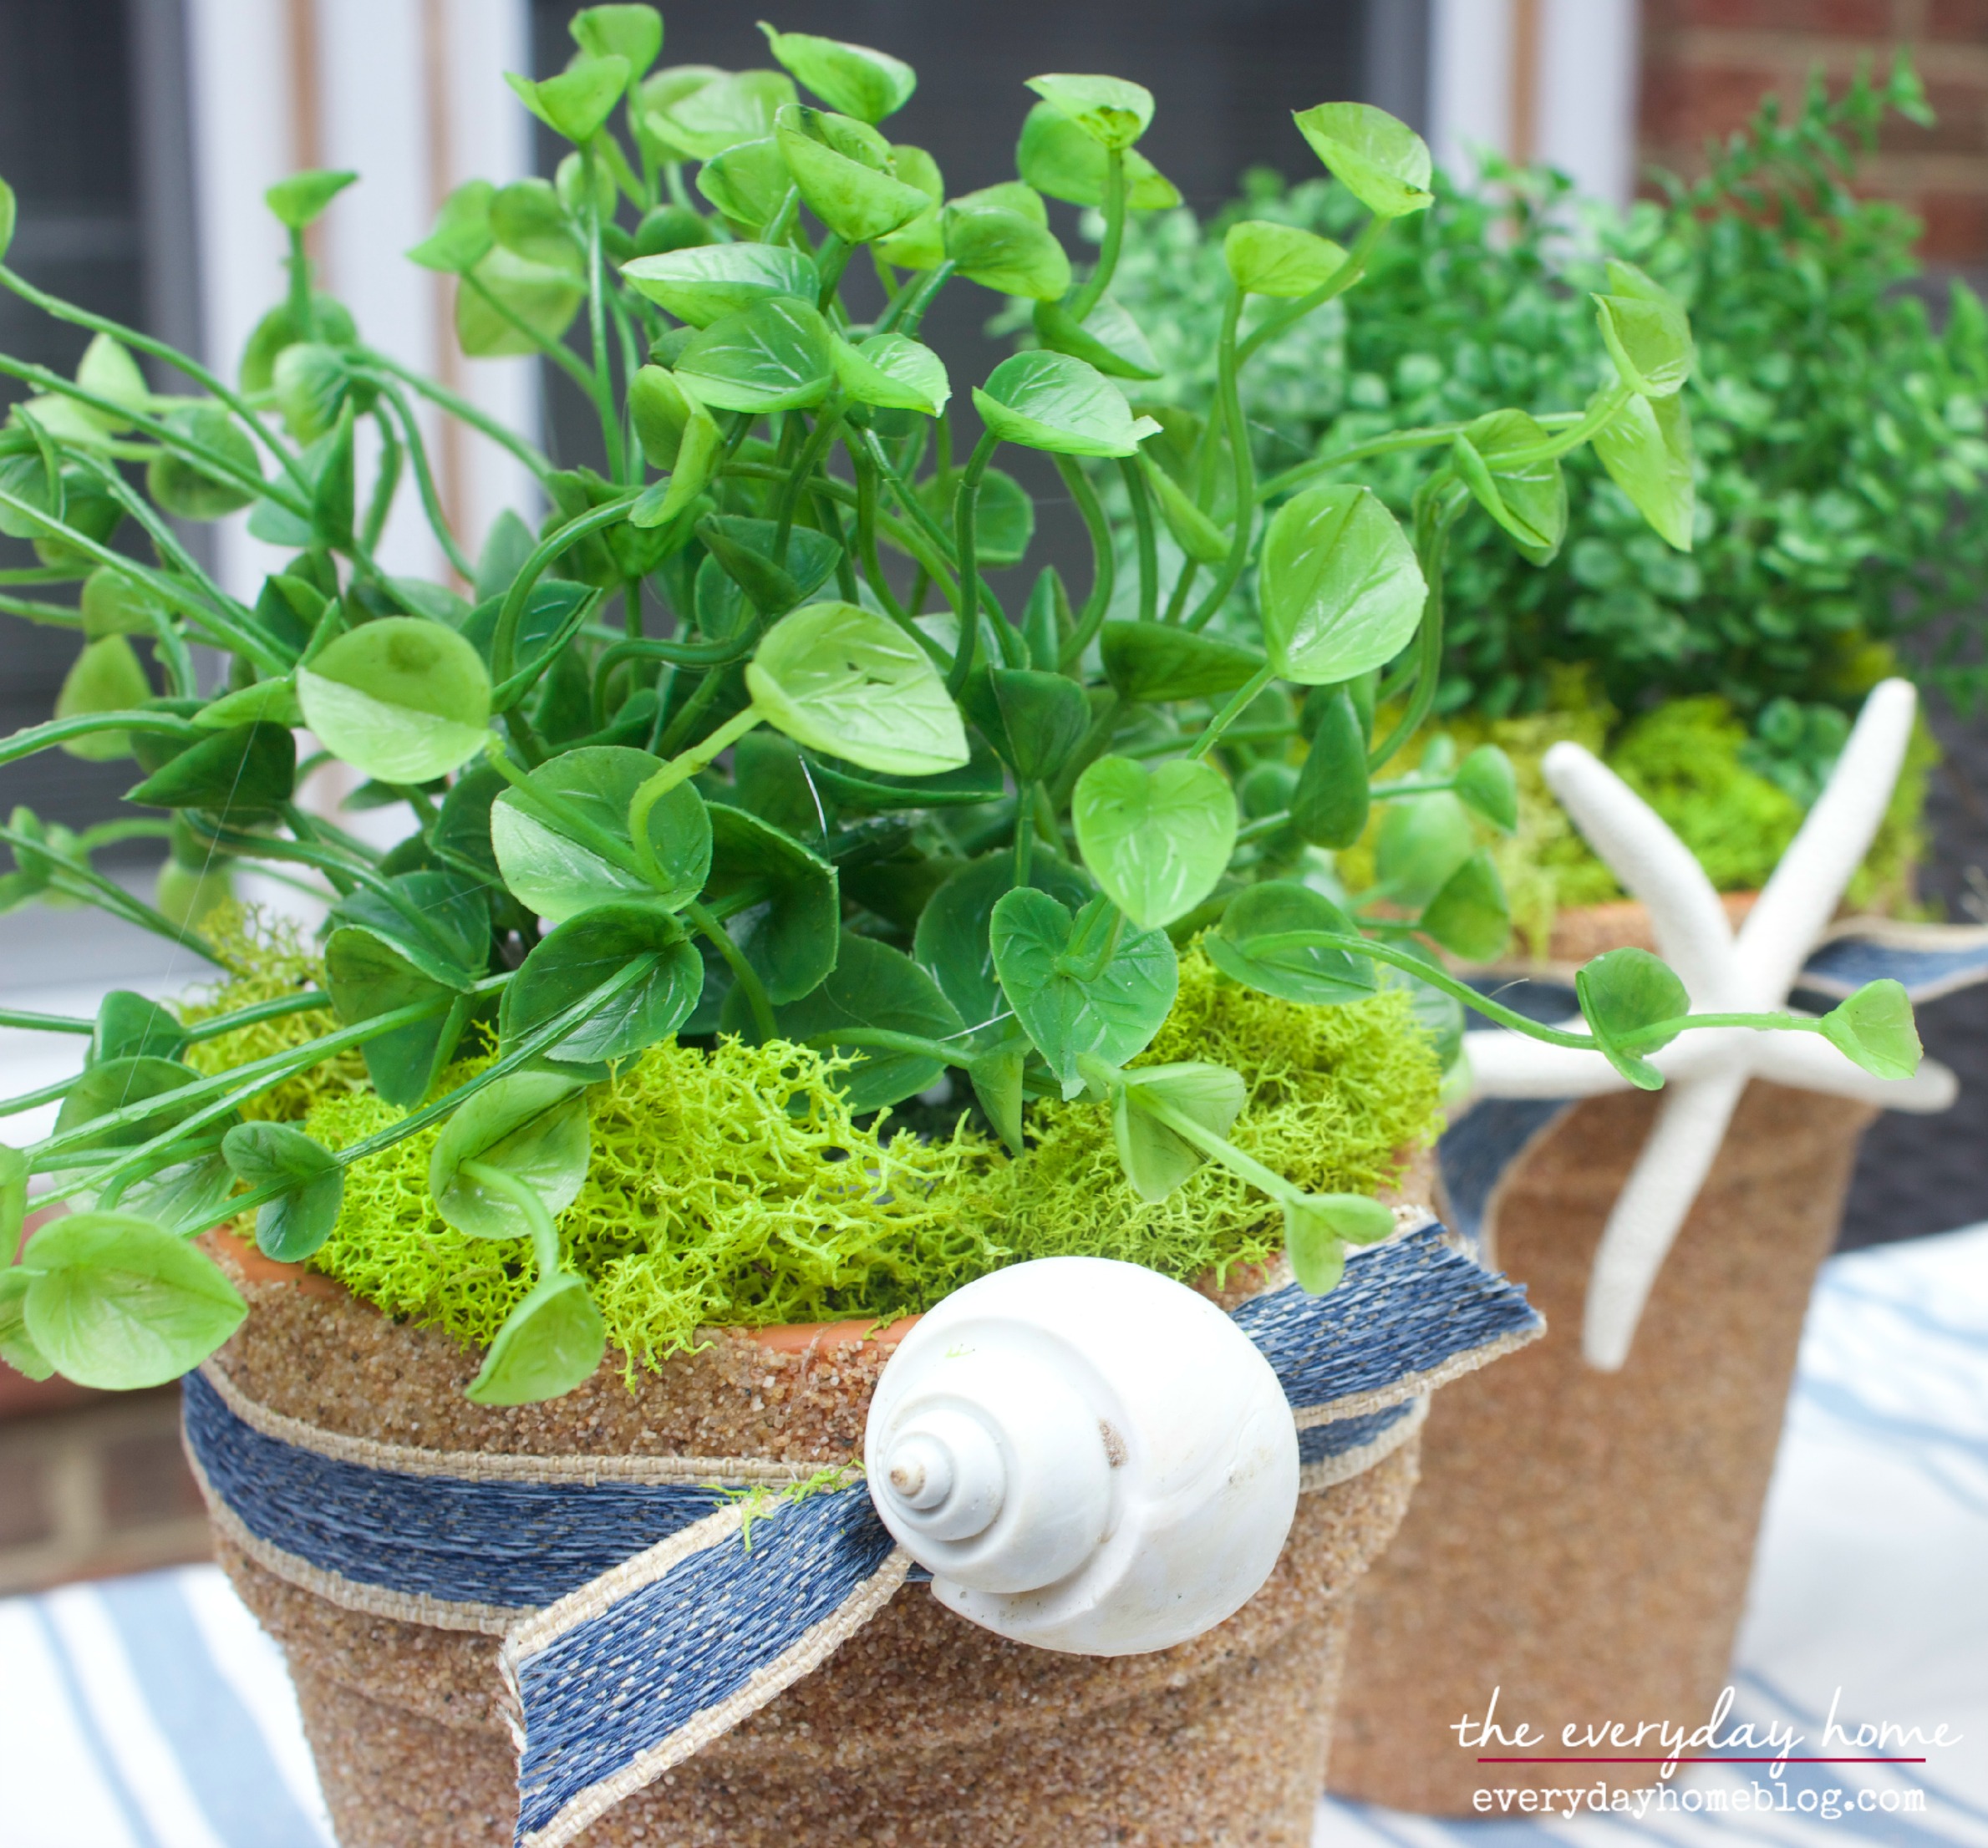
Nautical Shell Pots by The Everyday Home
I can’t wait to work on giving my Foyer Chest
a touch of Nautical-inspired Summer Style.
I promise to share. 🙂

If you likes this project, here is a
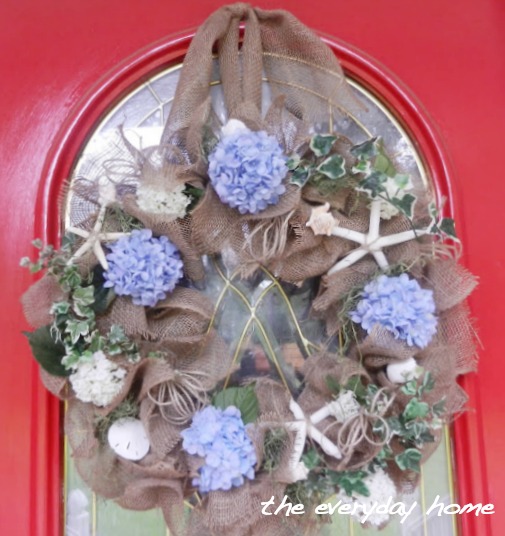
And a Seashell and Hydrangea Door Basket…
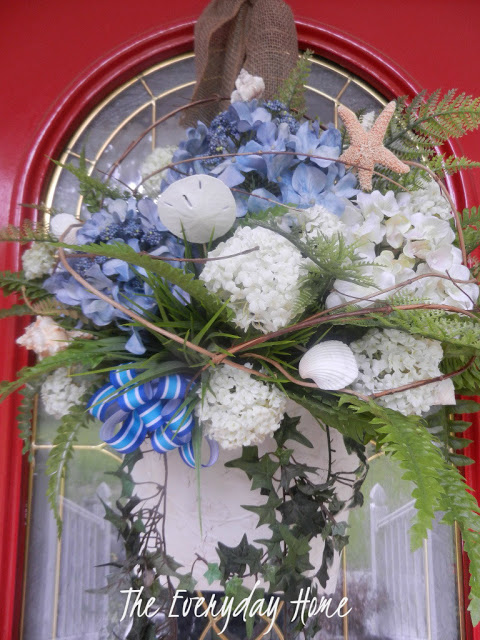

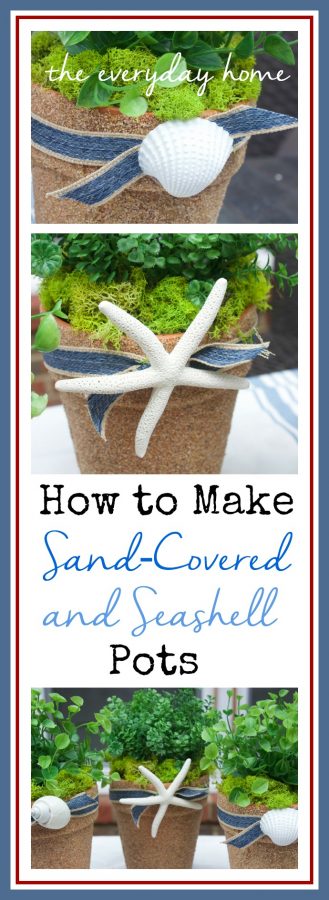
If you would like to save this project
for future reference, I would love for you
to PIN these images to your favorite
Pinterest Boards.


Thank you for spending a few minutes
of your day here with me.
You can also follow along with me at:
xxoo, Barb
I will be sharing this project on several Linky Parties.
Please check out my Link Party Page for some of these host sites.


Please put me on your emailing list. Thank You Jodie
View CommentWhat a great idea! I am definitely going to try this and I love that you call those young’uns “grandloves”. I might have to borrow that someday for my future grandbabies.
View CommentI’m glad you like this project, you definitely have to give it a try. Yep, they are my Grandloves – my little heartbeats. 🙂
Thanks for stopping by and I hope you have a great week. ~barb
View CommentThese are amazing! Love the beachy feel.
View CommentThank you for sharing this week at Brag About It link party on VMG206 (Mondays at Midnight).
~ Megin of VMG206
Your pots look adorable, what a great idea……………and easy too.
They should fix you up with that coastal look you are going for.
Nice your grandloves could help you too, I am sure they loved
every minute of it. Nice yall live near the beach too.
Blessings, Nellie
View CommentLove your sand pots. So easy and so much fun with the kids. Pinning this.
View CommentBev
These are adorable and look like so much fun to make! Thanks for linking up with us at the #HomeMattersParty!
View Commentlove the pots and the starfish!!!!!!!!
View CommentBarb, you truly are blessed! Love your craft ideas for the plant pots!
View CommentI just love this idea. When it comes to the beach, I would love any more ideas y ou have.
View CommentThese pots are gorgeous! Thanks for sharing your crafty inspiration on this week’s Monday Funday Party!
View CommentThese are so cute for summer decorating! I like the addition of the ribbon and shells, too. Thanks for linking up with Merry Monday this week.
View CommentI love the pots; I would use real plants however, as I don’t care for fake things. The moss is a nice touch too.
View CommentThese are prettier than what I once did.
View CommentI took 3 terra cotta pots and painted them white, then I glued sand dollars on that we’d found on the beach. I put herbs in them on my kitchen windowsill. Yours are definitely prettier though.
I’m stealing your idea. Absolutely perfect for my future new home. Will soon be moving to a small town with a huge lake. I wanted some ideas for a nautical look, this is soooo perfect. Thank you!
View CommentFabulous and how exciting for you. So glad you can use this idea. Thanks for stopping by. ~Barb
View CommentAbsolutely fun and gorgeous way to spend time with my grandturds ? I would LOVE to do this on my old planters to give them a face lift but I am concerned that watering will loosen the sand. Any recommendations for a sealer that will hold up and be plant friendly? Thanks a ton for sharing this one, I so look forward to doing it with my lil helpers!
View Comment