Flowers.
I realized, even as a little girl, that flowers were essential to my soul.
I am as drawn to beautiful flowers as I am drawn to the smile of a baby.
It touches my heart. I think it is one of the reasons I love Europe like I do,
and especially England with those fabulous English Gardens. In fact,
my style of flower arranging tends to lean towards the unorganized and
free-flowing English style. But, there really is a method to the madness.
I am sharing it here with you.
How to Arrange Flowers in a Vase Using the Clock Method
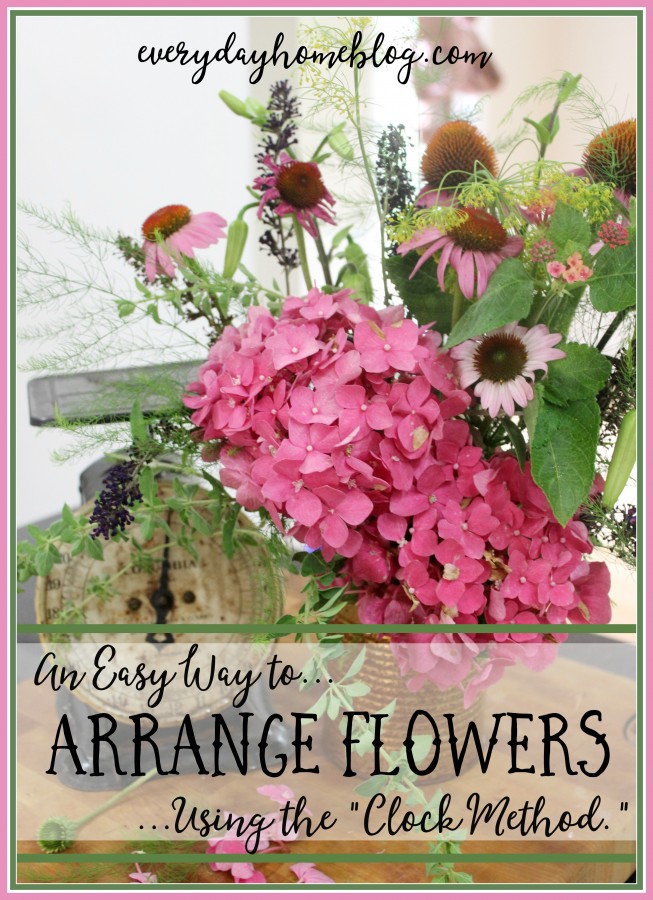
I have never had any type of formal training when it comes to arranging flowers.
My technique is to simply start adding flowers and greenery that I like, and just
let the arrangement speak to me. But, not everyone is a flower whisperer. LOL
Several years ago while I was working with JoAnns Fabrics, I started teaching
floral arranging classes using a method called the “Clock Method.” Particularly,
the 12-3-6 and 9 o’clock times. This technique works in any container. Today, I
am using one of my faves… a rusty tin can. 🙂
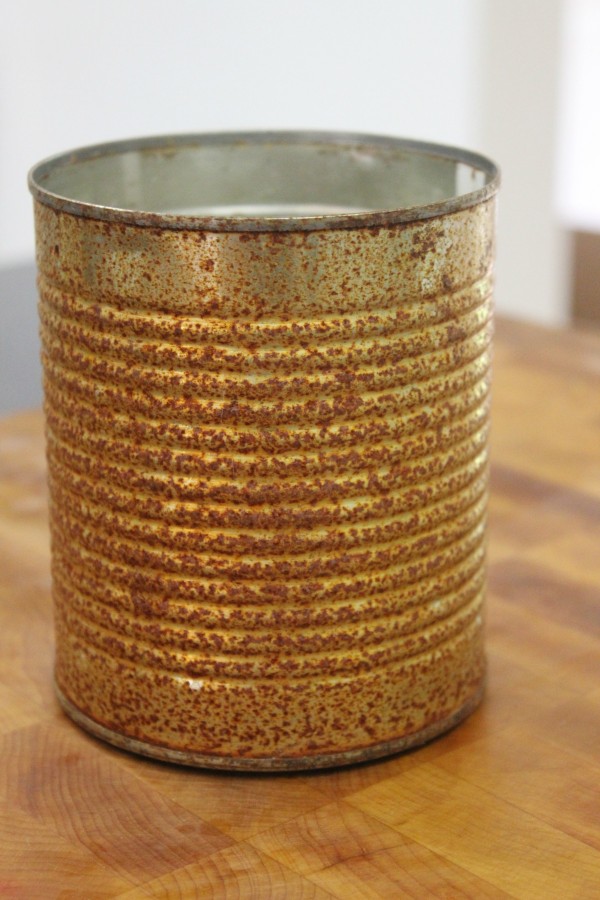
Believe it or not, just a few days ago this beautifully, rustic tin-can was a brand
new can that held tomatoes. Shiny and new and not a rust spot in sight. So how
did it go from a shiny, new can to this rustic beauty so quick? Simple, I took a
bucket of water and submerged the can, and added some rocks in the botom of the
can to weigh it down. Just a few days later…instant rustiness. 🙂
(ssshhh… don’t tell anyone it’s my secret)
Next, you will need some floral foam that fits your container.
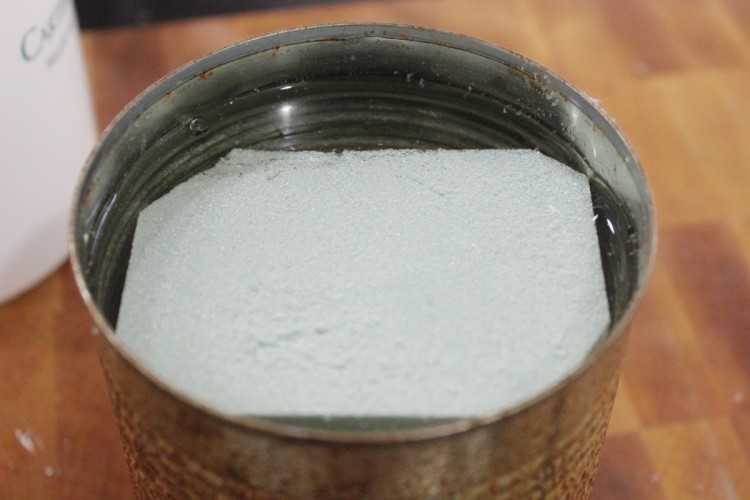
I like to pre-soak my foam in warm water for about 10-15 minutes. Keep the
foam snug so it holds firm. Now comes the fun part. Adding the
flowers and greenery.
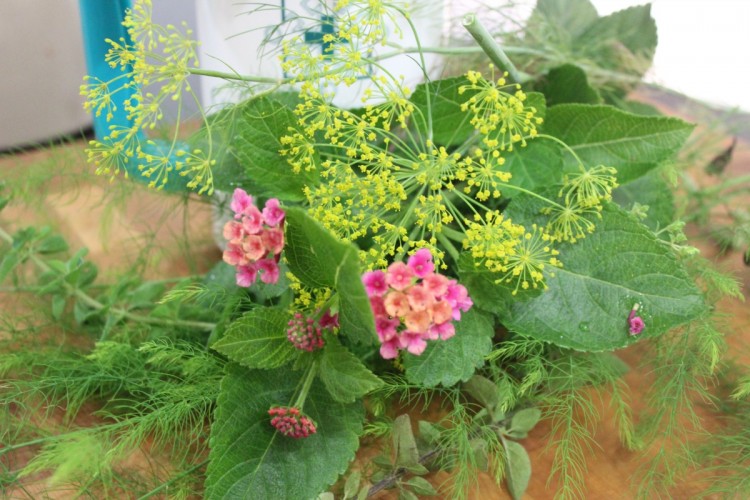
I have two different bundles of flowers and herbs and greenery which I
picked from the garden and from our yard. The above is a mixture of pink
lantana, dill blossoms, asparagus fronds and tendrils of thyme.
Here is the second bundle…
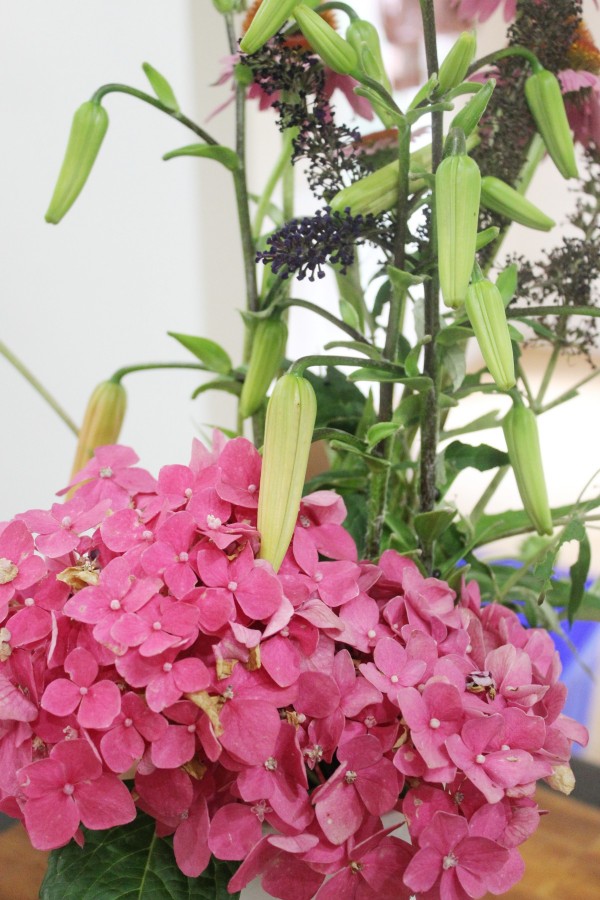
Pink hydrangea, daylilies and purple butterfly bush blossoms and cone flowers.
Perfect!
So, what does four points of a clock face have to do with arranging flowers?
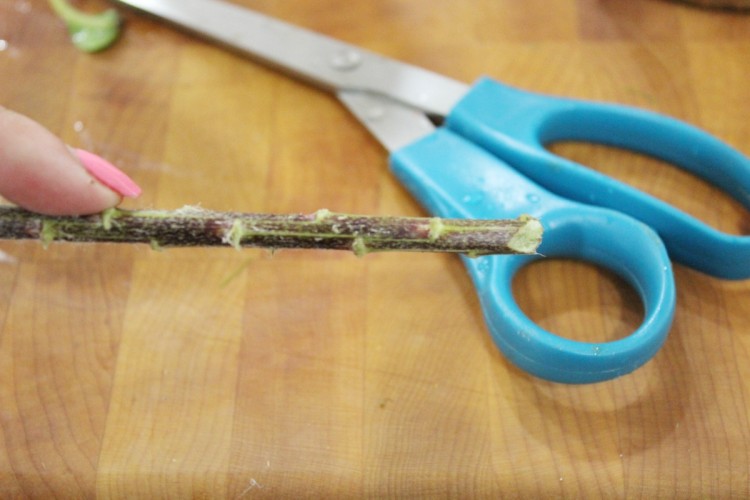
Before I explain it, make sure you have stripped the bottom 1/3 of all stems of
excess leaves. Leaves in the water will lesson the water quality and life of the
arrangement. Also, cut the end of the stem at an angle, preferably under
warm, running water, and remove any dead or diseased-looking leaves and
blossoms, as well.
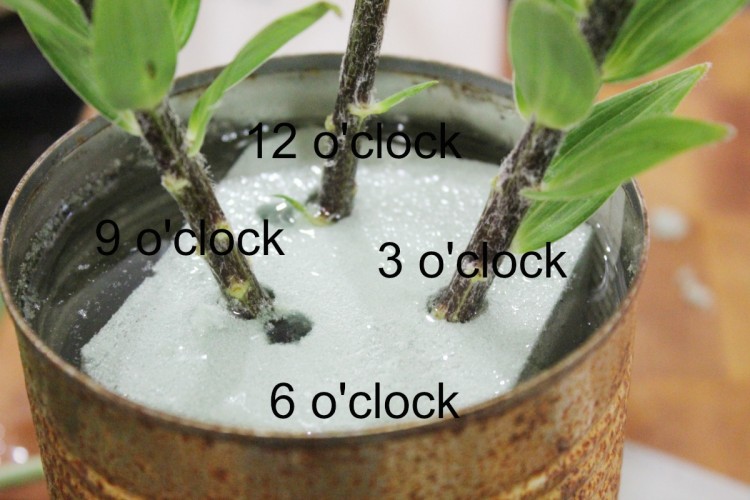
Start with some of the taller flowers at the back. These will be placed at
9, 12 and 3 o’clock. (I will explain why I am leaving 6 o’clock open in a few.)
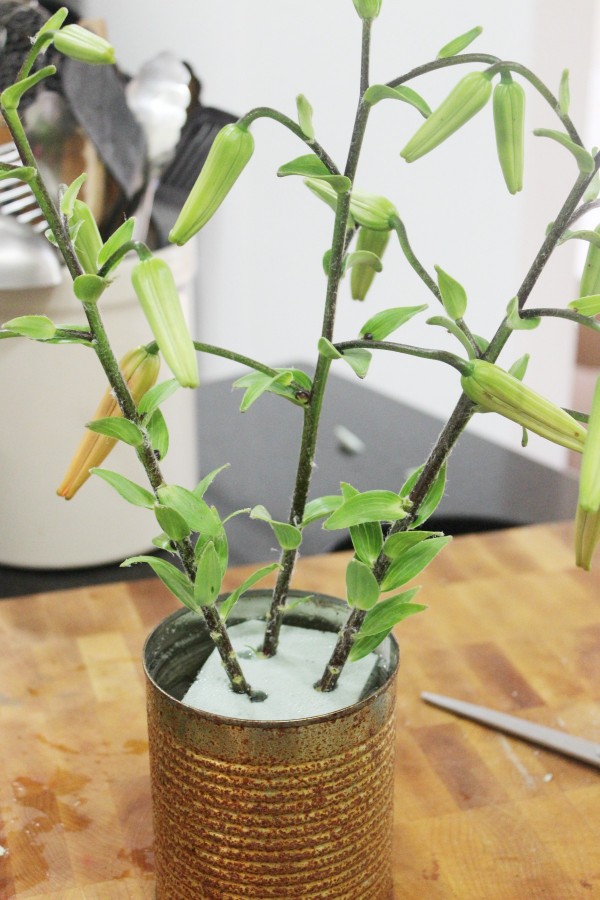
Stand back, and see if the stems look appropriately placed and are not too tall.
The total arrangement should not be much more than about 1 1/2 times the
height of the container to maintain proper scale.
If you are happy with the placement, its simple a matter of continuing to add
more stems in the same clock positions.
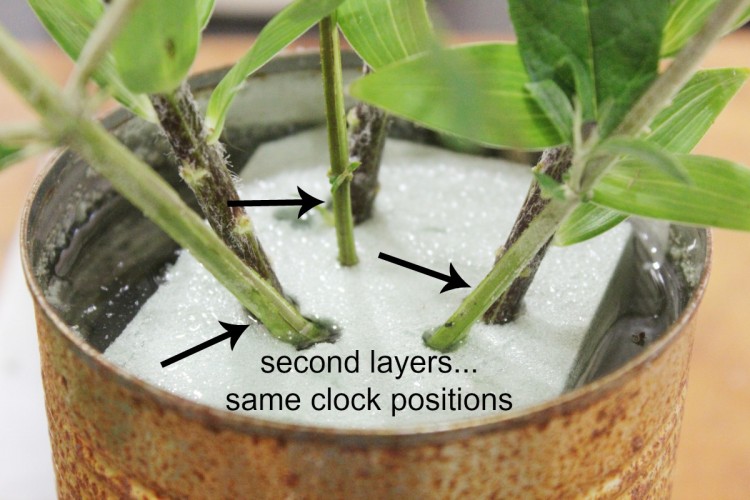
I will add sometimes 5-6 layers of different stems in this general position.
So, why have a left the 6 o’clock position open? Because in this case, the star of this
arrangement will be the two pink hydrangea. I want them to take center stage.
So, the stems of the hydrangea are cut shorter to accommodate a low placement
closer to the top of the container.
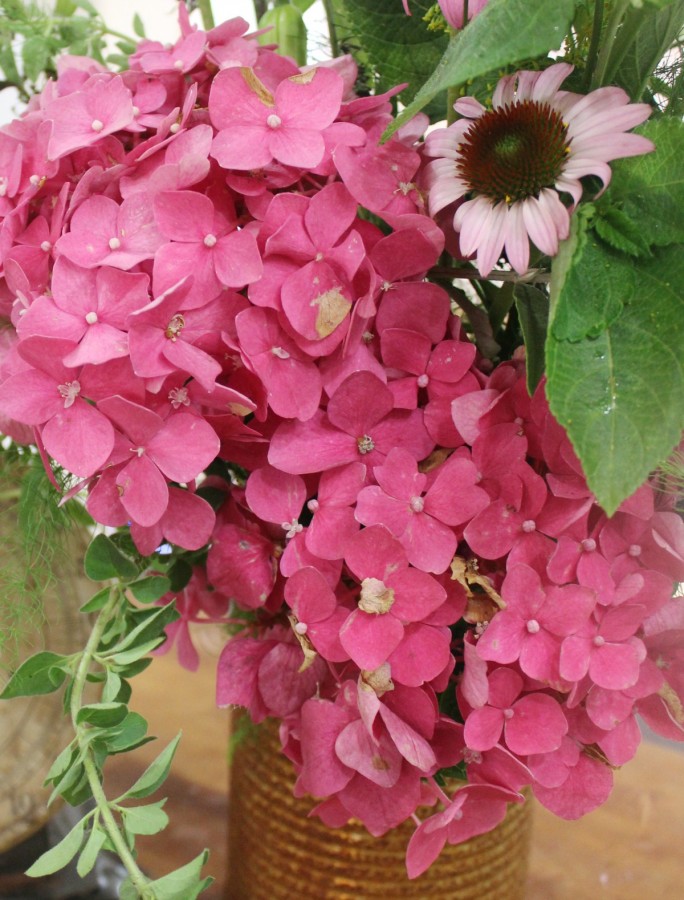
Once you have the 6 o’clock flowers in place, go ahead and fill in with other
flowers. Here is a little hint… having a hard time pushing some stems into the
foam? Take a wood skewer or pencil and create a hole, then the stem will slide
right in effortlessly. When adding filler, etc, the Clock Method is no longer
necessary. Use fronds and greenery and smaller blossoms as filler.
And there you go!
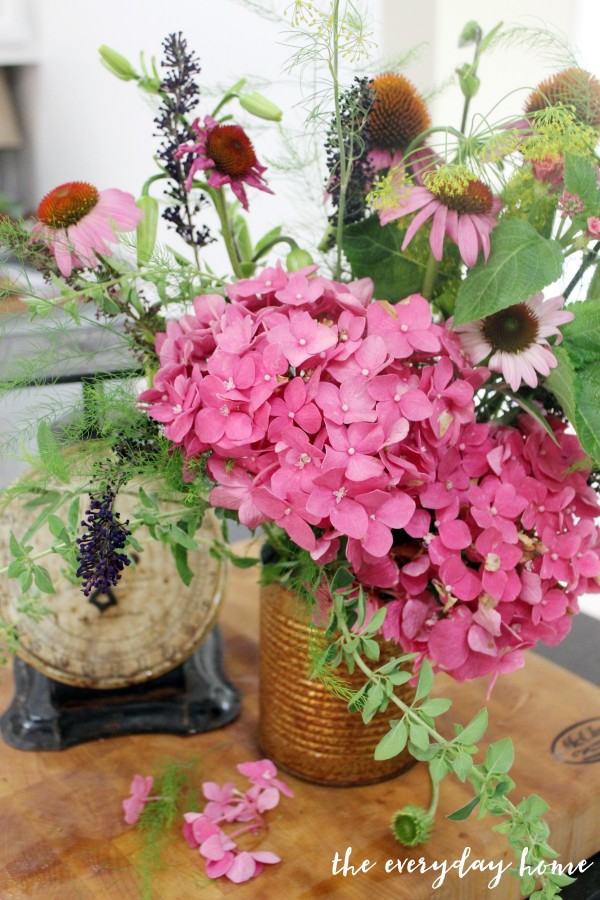
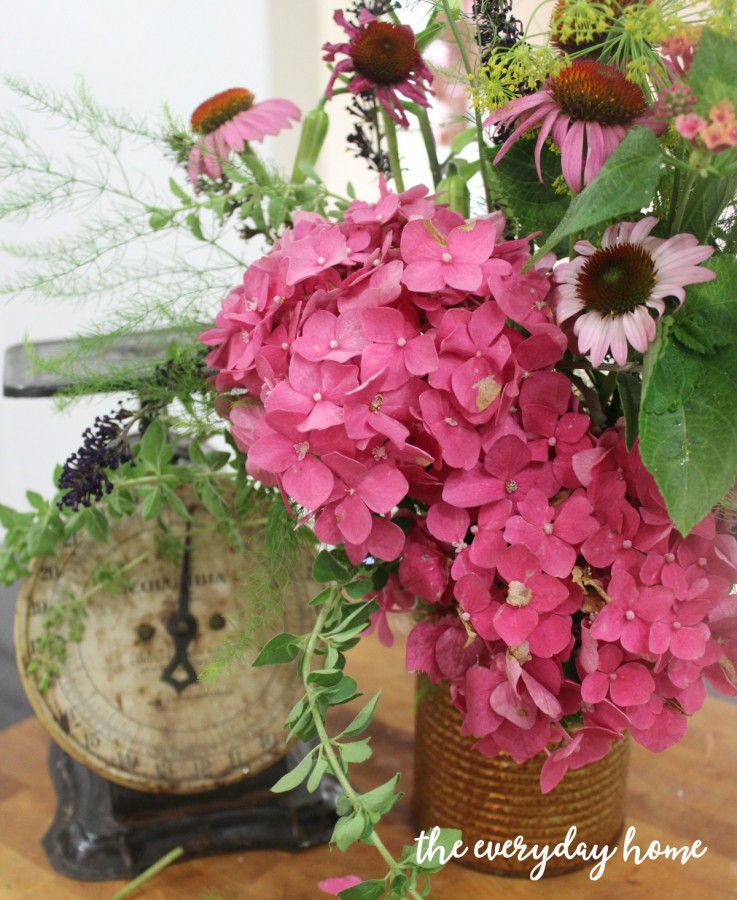
I call this “English Garden in a Can.” Quite poetic, huh? 🙂
I added the tendrils of thyme at the bottom, and the asparagus fronds
work beautifully as light and fluffy filler.
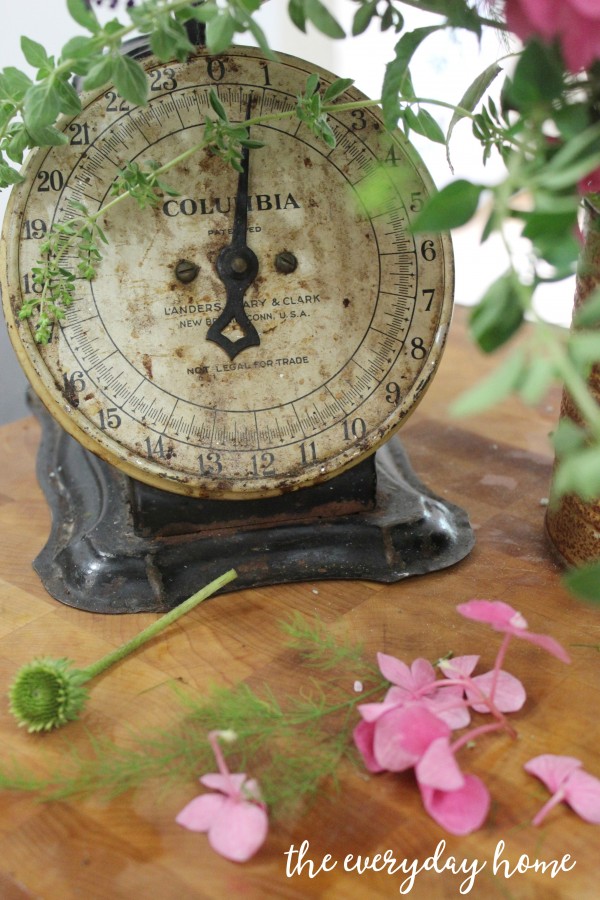
I may not have a huge, English Garden outside our front door.
But, I have some blossoms and herbs that allow me to bring a touch of
the English inside of our home.
Thank you for letting me share this Flower Arranging Technique
with you. If you have trouble arranging flowers, I think if you use this
“Clock Method” you will find it helps you and be arranging all kinds of
beautiful bouquets.
Here is a little sneak peek at my “English Garden in a Can” in our Garden…
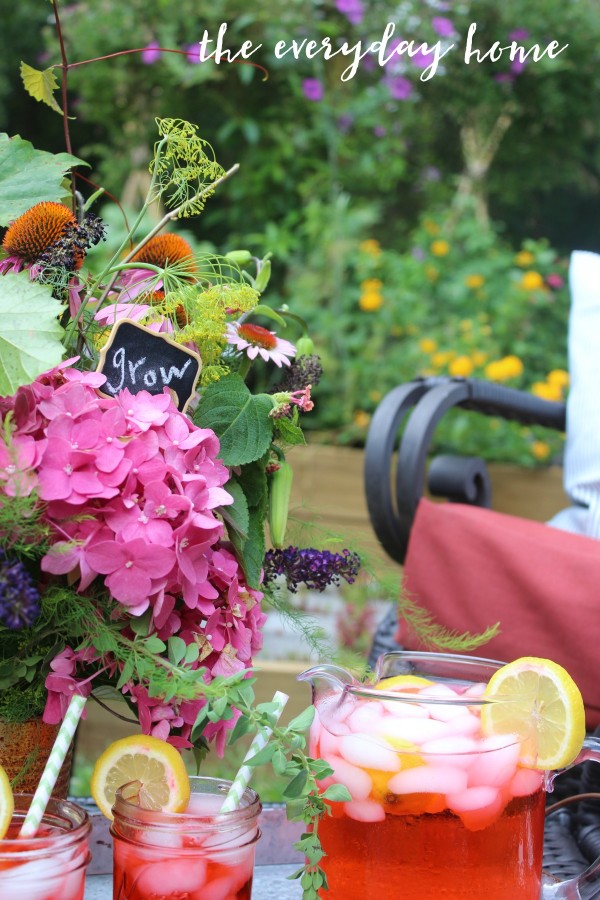
I will share more of this, as well as my French Sparkling Strawberry Lemonade
later this week.
May Your Life Be Filled With Flowers…

……………………………………………………
Here are more “Flower” Posts from The Everyday Home…
5 Reasons Why I Love Grocery Store Flowers

How to Make Silk Flowers Look Real
………………………………………………….
Please don’t forget to PIN IT & SHARE IT!
Do you follow me on Pinterest, Facebook, Twitter & Instagram?
I would love for you to Pin & Share these images on your fave social media sites.
Simply scroll the center of the images and click the icons of your choice.

……………………………………………
Thank you for spending a few
minutes of your day here with me.
You can follow along with
The Everyday Home here….
PINTEREST FACEBOOK TWITTER INSTAGRAM
Here are some of the Link Parties I may be sharing this post with.
You can find more parties on my Linky Party Page.
” Make Yourself at Home! “


Thanks for sharing your tips and tricks. I look forward to trying your ideas soon. Have a great week.
View CommentWhat a useful method! I like the tin can trick too, I’d never considered doing that. 🙂
View CommentI love flowers too. Your arrangement turned out beautiful. Thanks for the great arranging tip!!!
View CommentBeautiful, beautiful, beautiful.
Your method is easy and those flowers could not be prettier.
Thank you for joining Thoughts of Home on Thursday. We are thrilled to have you. Pinning 🙂
View CommentHow neat is that! Thanks for sharing. I’m not a flower whisperer.
View CommentLOL, its ok. You don’t have to be a flower whisperer just use this technique. Have a great weekend. 🙂 ~Barb
View CommentThis is super beautiful! I like that I can do it myself thanks to your amazing tutorial.
Thank you for sharing this with us on the #HomeMattersParty. We hope to see you when we open our doors at 12 AM EST on Friday.
View CommentBarb, seriously–this is brilliant! You never cease to amaze me. I’ve pinned this for future reference and you can be sure I’m going to be using this method!
View CommentYou’re so sweet. It’s an easy way and it works. 🙂 Thanks for stopping by, sweet lady! xxoo
View CommentSo lovely. The rusty tin is a brilliant touch.
View CommentAmalia
xo
This Is a great tutorial. Thanks!
View CommentThank you so much for sharing the clock method of flower arranging! Blessings!
View CommentThanks for sharing your tips and tricks. I look forward to trying your ideas soon. Have a great week.
View CommentI love flowers too. Your arrangement turned out beautiful. Thanks for the great arranging tip!!!
View Comment