Homemade Valentine’s Day Wreath { Part 3 }
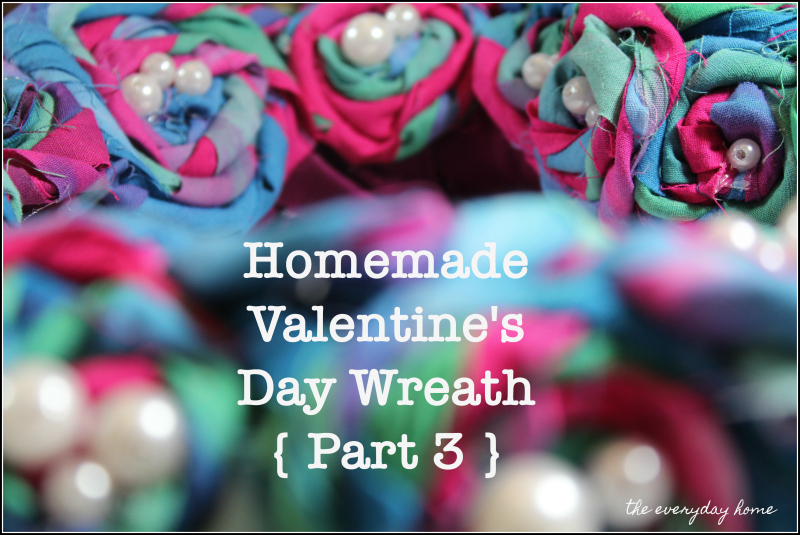
Who doesn’t love a scrap busting home decor project? I used fabric scraps and a product called Freedom Yarn to make the sweetest Valentine’s Day Wreath. Let’s gather up some fabric and make a Homemade Valentine’s Day Wreath { Part 3 } with rosettes using a wreath form, twisted fabric flowers, and pins!
*disclosure: some of the following links are affiliate links which means we may make a small amount of money per purchase, enough to upgrade our coffee to a large. But, it never affects your price at all. Thank you for supporting this blog.
Have you enjoyed the two wreaths I’ve already shown you in Homemade Valentine’s Day Wreath { Part 1 } and Homemade Valentine’s Day Wreath { Part 2 }? This is my last wreath for a while, but I had to include it, as it was so easy to make that my three year old helped me.
I want to admit something. I intended to make a different wreath. I went to Hobby Lobby to buy my material…and saw Freedom Yarn instead. It was perfect for this wreath, and proceeds go to a great cause. You can click here to read about it. That’s not an affiliate link, it’s just something that I really enjoyed using and want to share with you. It’s “yarn” that is really fabric already cut into a really long 1 inch strip, and it was perfect for this project.
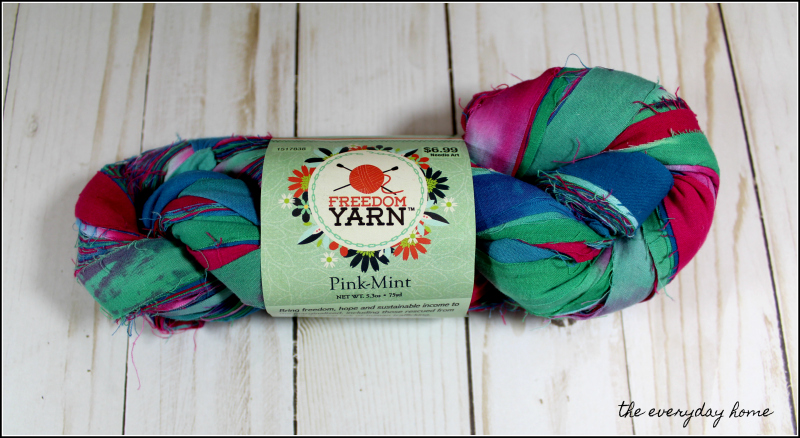
The supplies you will need for this wreath are:
Fabric Strips and/or Freedom Yarn
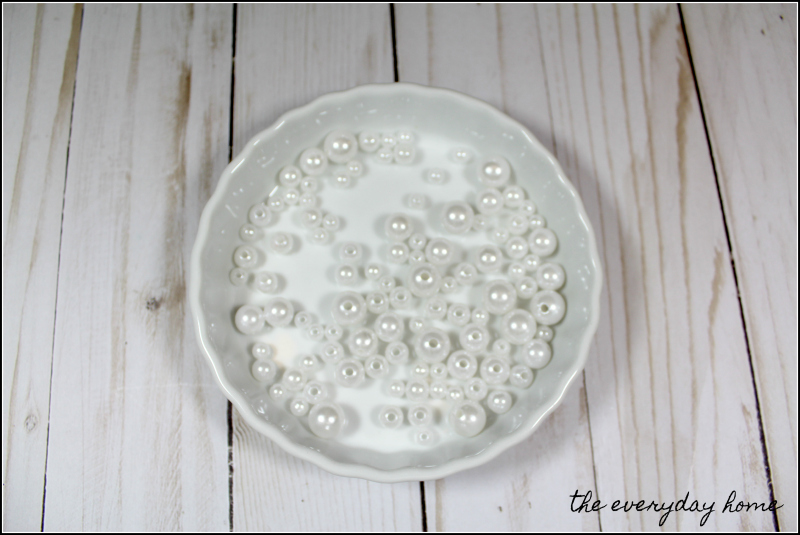
White Pearl Beads for Jewelry Making
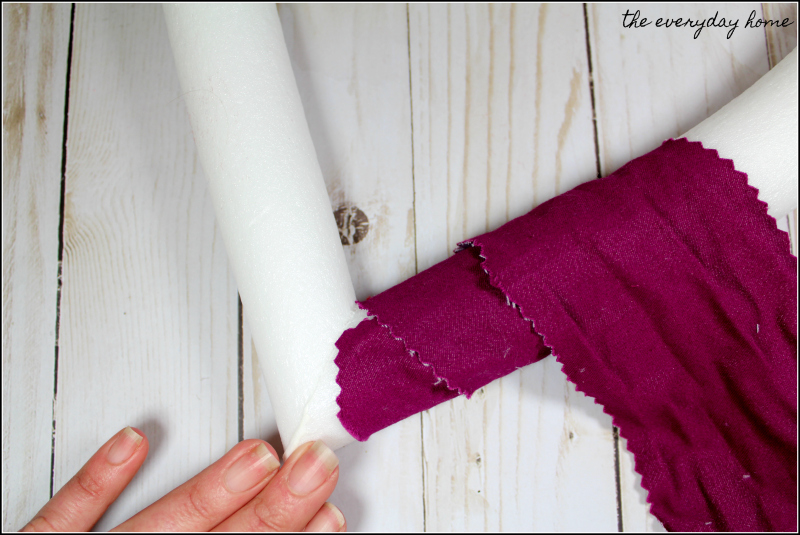
The first step is to wrap your wreath form in fabric. I used a heart wreath form, and 3 inch strips of a scrap fabric that I had in a coordinating color. Using the glue gun, glue the fabric down. Start near the point at the bottom of the heart.
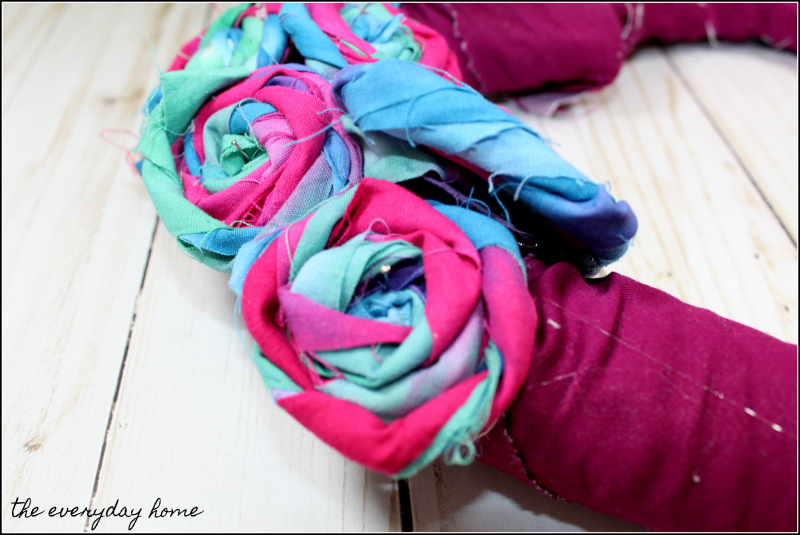
After I had glued down the fabric, I began using the Freedom Yarn to make fabric rosettes. You can use pinking shears to cut strips of your own fabric for the flowers. I tried three inch strips, but didn’t like the appearance of the rosettes. I found that using the 1 inch strip of Freedom Yarn was my favorite option. Here’s how I did it: I cut strips of the Freedom Yarn into either 18 inch or 24 inch lengths. The 18 inch long pieces made smaller rosettes. The 24 inch long made larger rosettes. Then, I grabbed 3 or 4 of those strips and twisted them together. See the picture below.
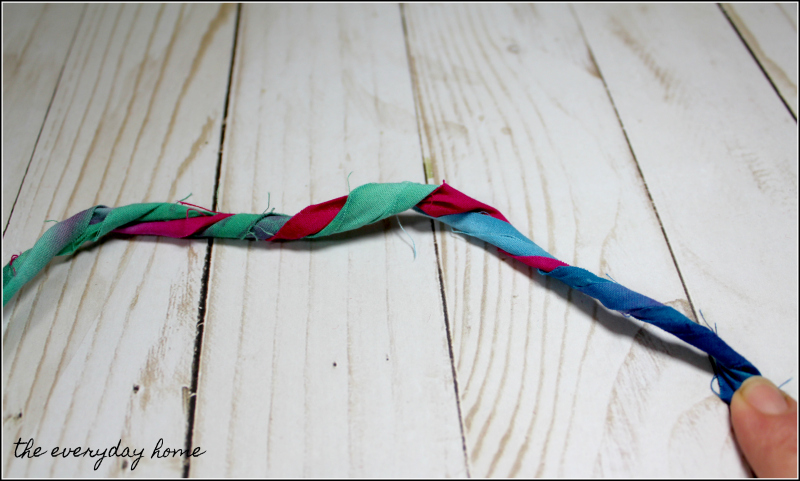
The next step is to roll the twisted strips into a rosette, have your glue gun ready and heated up.
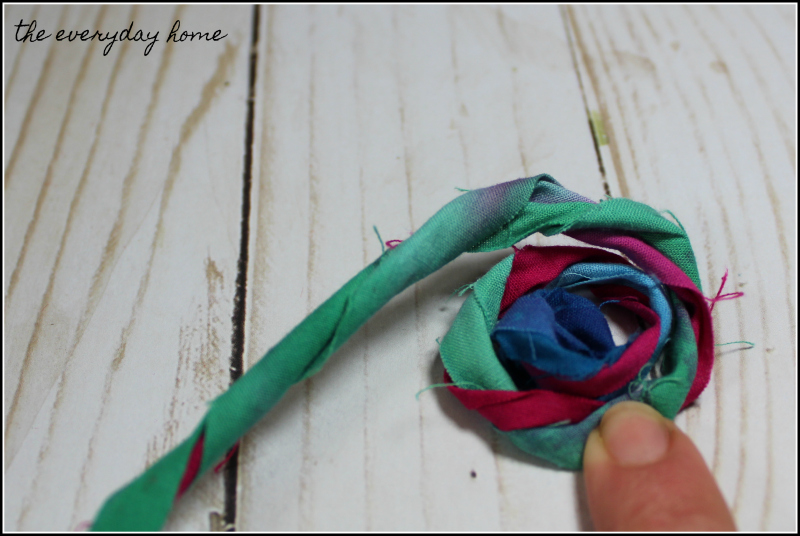
Leave a little tail of fabric at the end to glue down. I ran a string of glue across the rosette, and firmly pressed the remaining tail of fabric into it. This holds the rosette together, and becomes the back of the flower.
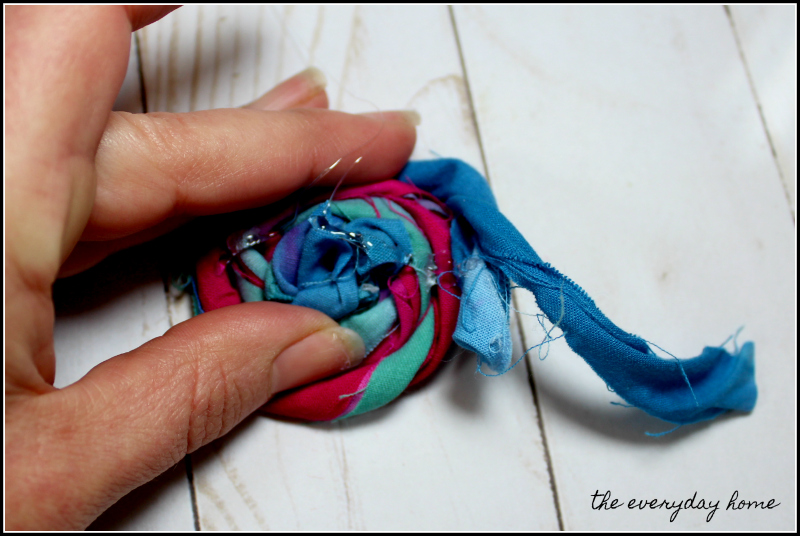
Use the glue gun to glue any part that wants to come apart back together from the back side of the flower.
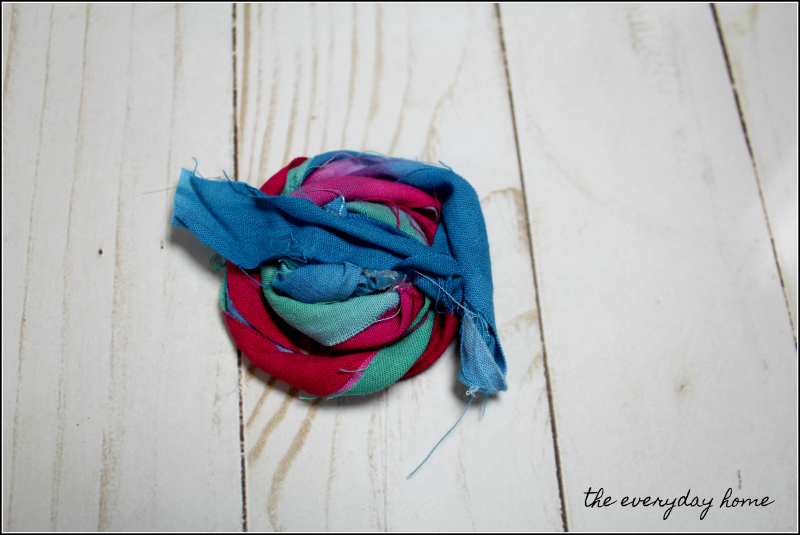
Then, take your finished rosettes and place them around your wreath in a pleasing layout using straight pins. I did not push the pins all the way into the rosette.
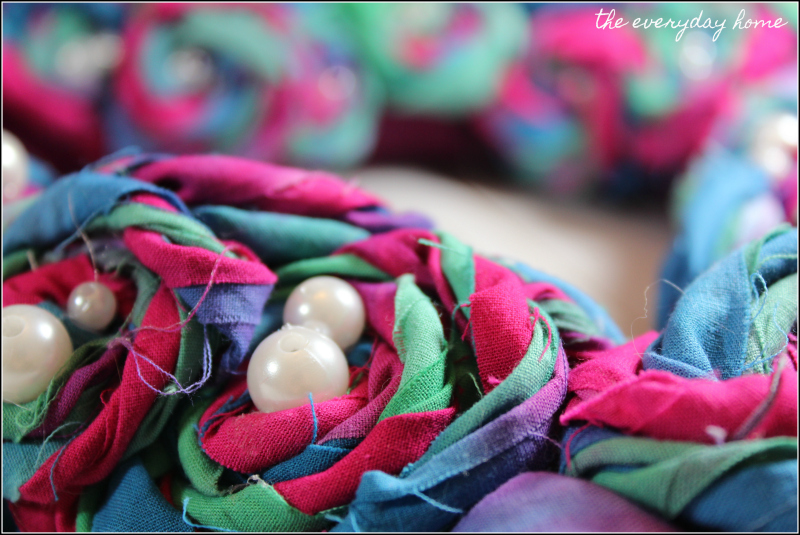
Using your glue gun, apply a tiny amount of glue to the head of the pin and slide a pearl bead over it. I placed 2 or 3 pins with beads on them in the center of each flower.
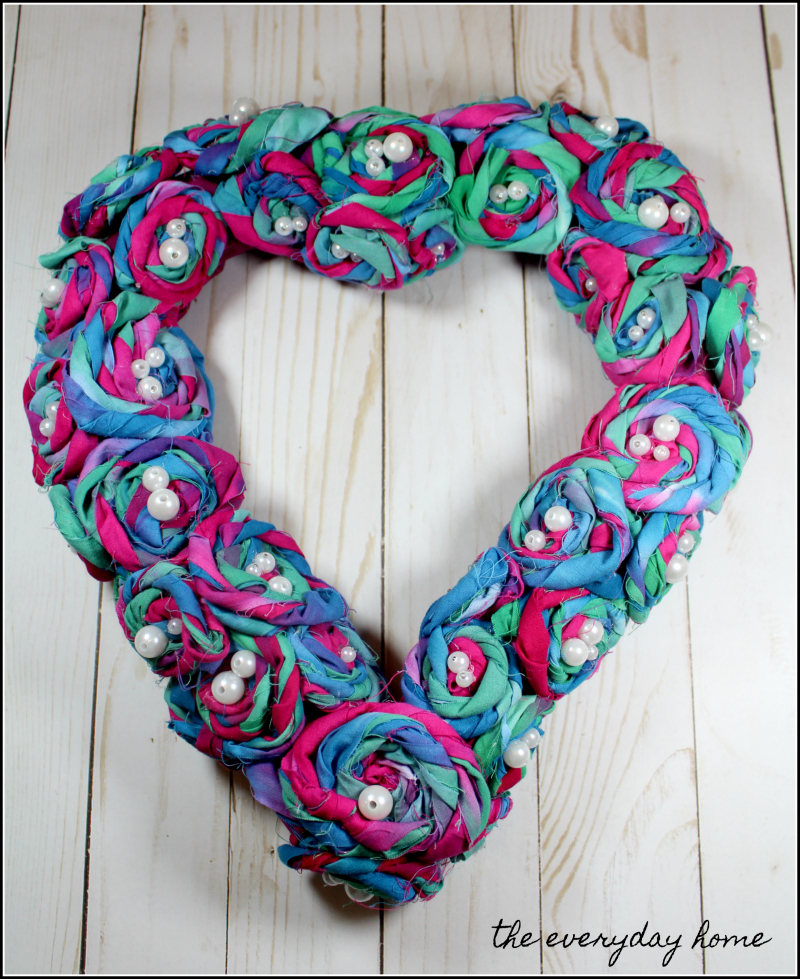
Finally, use the glue gun to glue down the edges of the flowers, and, voila, you are done!
Feel free to visit my Young Living page to explore essential oils and the oil infused products Young Living has to offer, find my email address, or order products. Please let me know if you have any questions or if you want 24% off your oils! My YL Independent Distributor ID is #11346760. You can also follow me on Instagram.
**These statements have not been evaluated by the Food and Drug Administration. Nothing in this post is intended to diagnose, treat, cure, or prevent disease. Consult a physician before starting any weight-management or exercise program.


Do you follow The Everyday Home on Pinterest, Facebook, Twitter & Instagram?
I would love for you to Pin & Share these images on your fave social media sites.
Simply scroll the center of the images and click the icons of your choice.
……………………………………………
Thank you for spending a few
minutes of your day here with me.
You can follow along with
The Everyday Home here….
PINTEREST FACEBOOK TWITTER INSTAGRAM
” …everyday ideas for your home and life! “


Leave a Reply