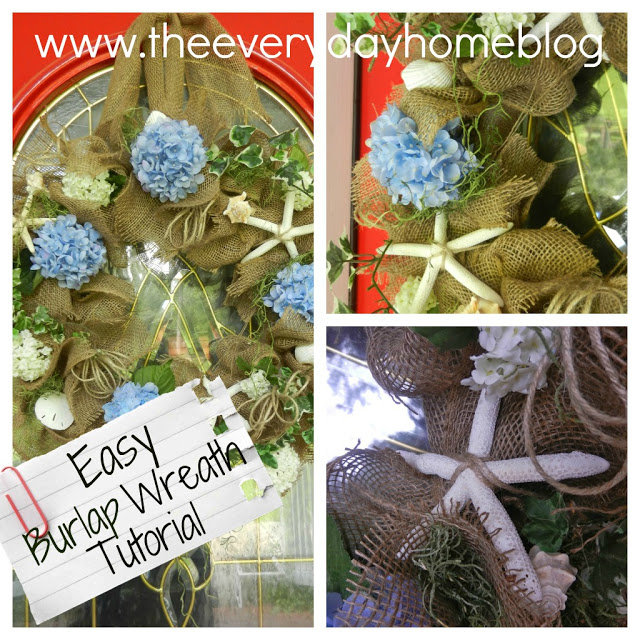
Burlap Wreath Instructions
Burlap Wreath Instructions
It has pretty much rained all weekend.
I am actually okay with that as I caught up with some things which
had been ignored for a while or I may have been behind on:
a) sleep
b) GrandLove hugs and kisses
c) Laundry (well, not exactly “caught up”)
d) and, some various Craft Projects.
Yes, those elusive craft projects that have been calling out to me…
“Finish me. Please, for the love of holy craft guns, just finish me.”


I am guestimating this wreath cost me about $10 with my Michael’s
40% off coupon app on my iPhone. Which I LOVE by the way!

If you have an iPhone and don’t have this app, you are missing out.
Yesterday, I used my 40% off one item coupon and 25% off
ribbon coupon. I never have to worry again that I left my coupon at home.
They just scan the coupon right from your phone.
(I was not compensated in any way to say this about the Michael’s iPhone app,
but if they would like to throw me some gift cards to support my craft habit I will
send you my happy addy.) 


I purchased a roll of this handy-dandy Burlap Ribbon which I LOVE,
and an 18″ foam wreath form.
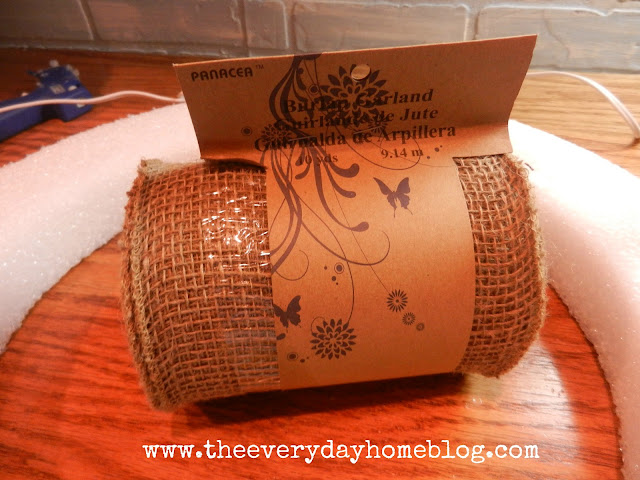
I had every intention of picking up a bag of these…
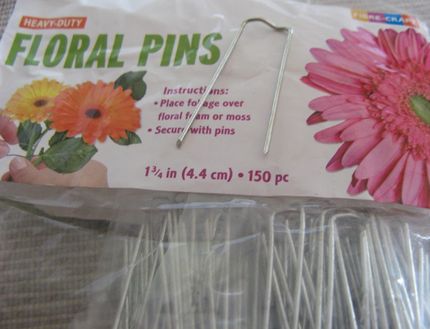
…but they were out.
OUT?! But I needed them. Sigh.
Plan B.
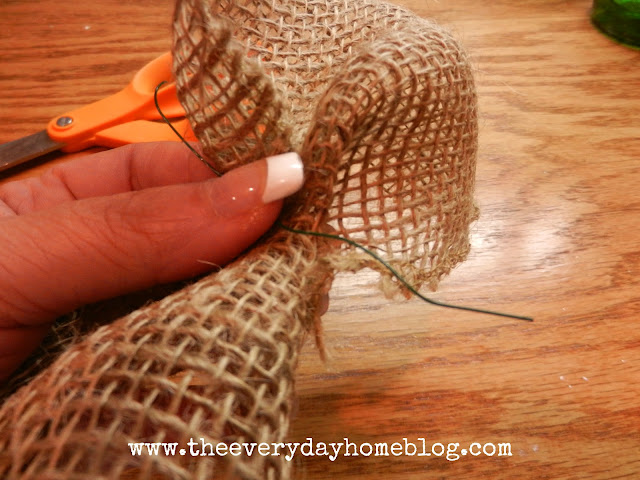
I simply cut 6-8″ lengths of the burlap ribbon, gathered the center and
secured with a small piece of floral wire.
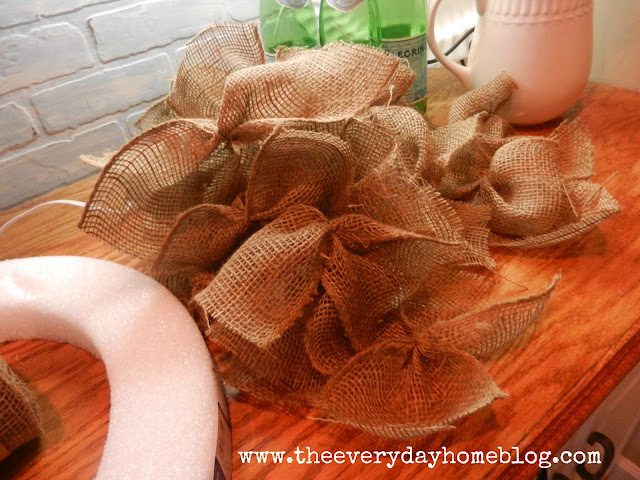
I created about 20-24 “bows.”
Next, I wrapped the wreath form with more burlap ribbon
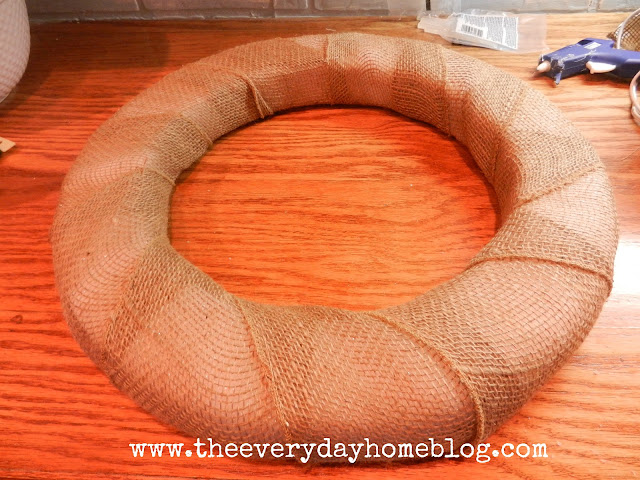
This served two purposes.
One, so the white foam did not show through between the burlap bows.
Two, so you could not see the white foam through the back of the
front glass door.
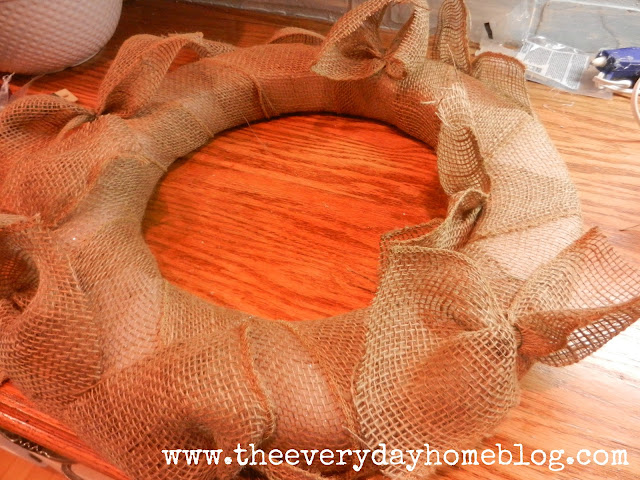
With my trusty low-temp glue gun, I started adding bows in
a random placement.

Don’t forget the outside and a few on the inside, too.
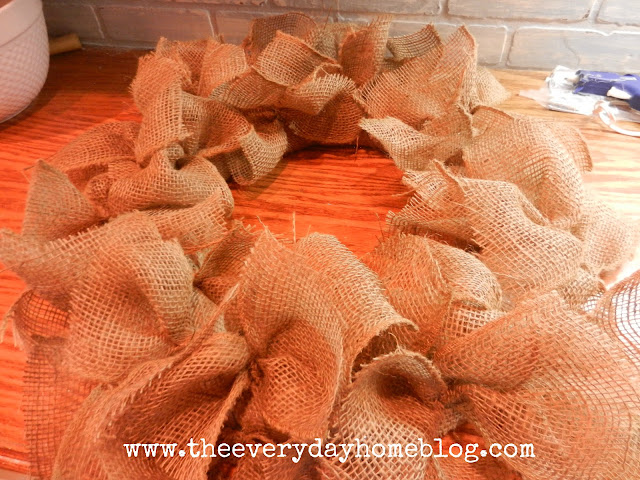
In literally 10 minutes or less, I had a covered wreath I was quite
happy with.
Covered in burlap goodness.
Now, let me just say I am fighting a Fall Bug.
No, not the cough and sniffles.
The “Bug” that makes me want to pull out my “Bins-o-Fall-Loverlies”
and make pretties such as my Fall Wreath.
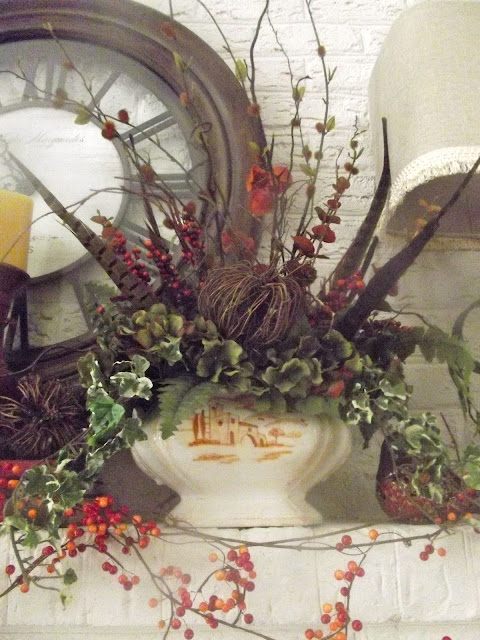
… and my Fall Arrangement in Vietri Pottery
which I completed recently for a Fall Contest.
But woe is me… I held off that Fall Bug and decided to pay one last
homage to Summer.
(Plus, I didn’t feel like digging out my Fall cushions for my
rockers that are still sporting their blue and brown
Summer look.)
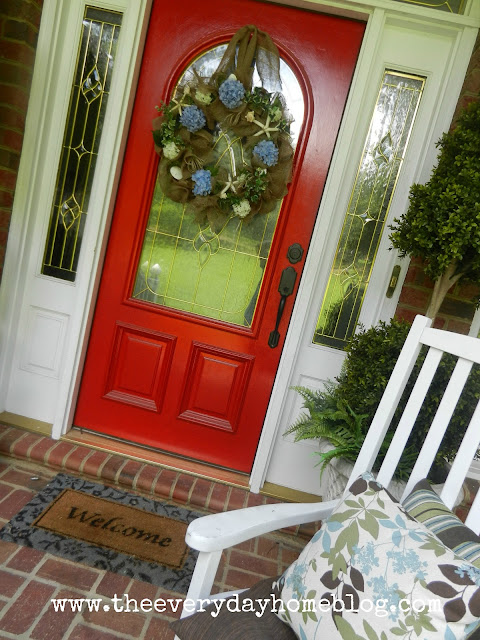
Call it the DIY Lazies! 🙂
So, I decided to add some of these…

Blue and White Hydrangeas.
…. and these…

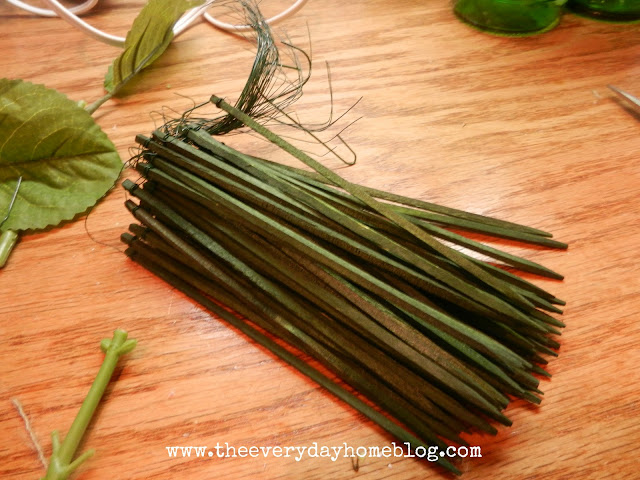
I attached everything to one of these craft floral picks, because I wanted
all of the additives to be temporary so I could change the wreath
to fit the Seasons.
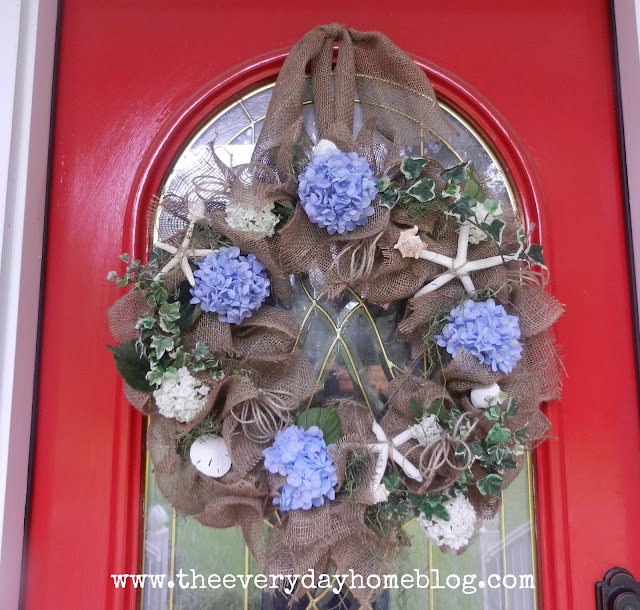
After everything was poked into place, I ended up with a beautiful
Burlap, Hydrangea and Shell Wreath.

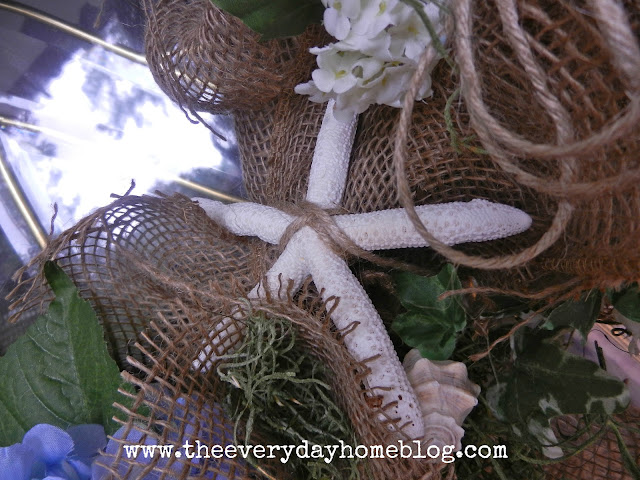

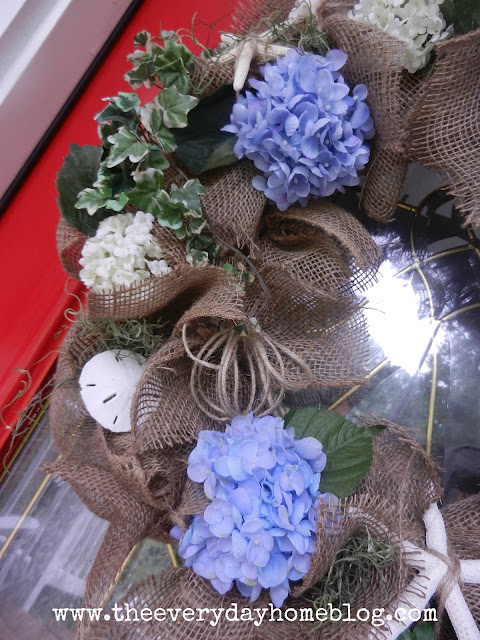

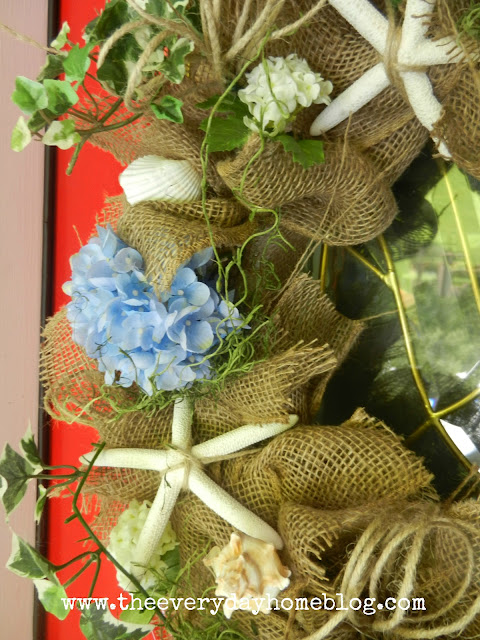

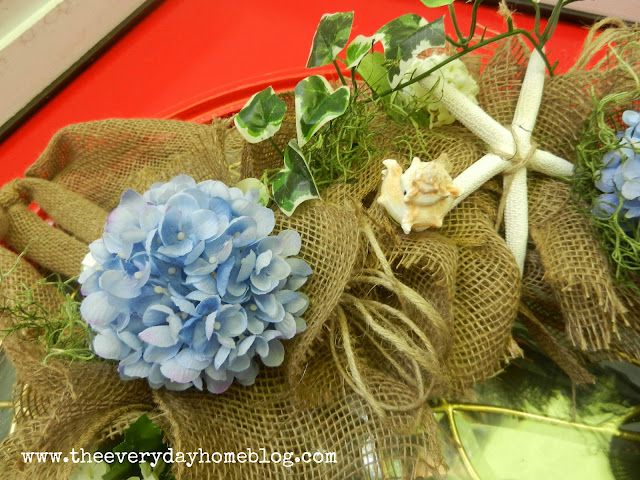

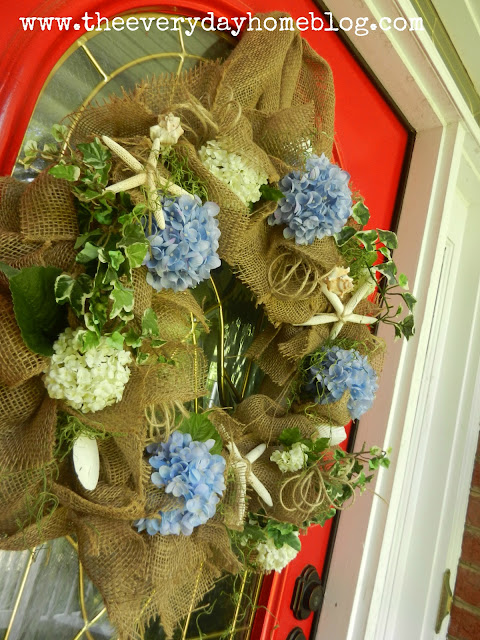
While I admit I cannot wait to use this
Burlap Wreath to add some of these –
I’m loving this late Summer look –
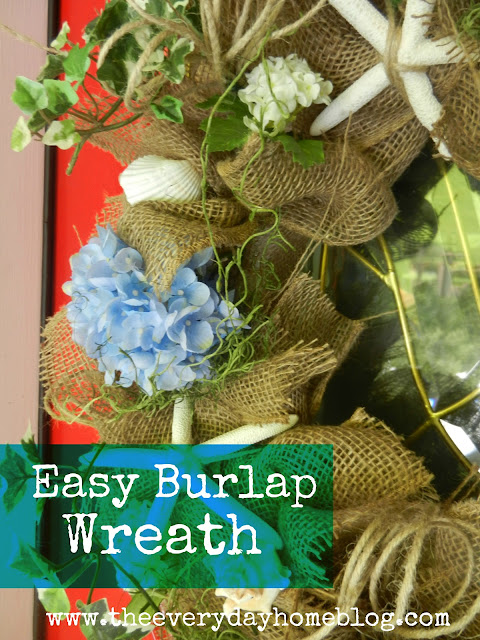
If you made this wreath, what would you add
to it? I would love to hear your ideas, too.
In fact, wouldn’t this make a fun Linky Party?
“Share your Burlap Wreath!” 🙂
In fact, wouldn’t this make a fun Linky Party?
“Share your Burlap Wreath!” 🙂

I would love for you to share these images to
your favorite Craft/DIY Pinterest Boards…


While you’re at it… you can follow me on PINTEREST, too.


Have you just discovered
The Everyday Home Blog?
If so, I would love for you to follow me
by email so you never miss an update!
Delivered by FeedBurner
You can also follow me on FACEBOOK,
Sign up for the free Newsletter!
Like Farmhouse Decor on FACEBOOK!




what a great wreath! I love how you can change it out so easily.
View CommentBarb!!! THAT is gorgeous!!! Absolutely gorgeous! I need to redo my front door one…and now I really need to do it after seeing yours- SOOOOO pretty- xo Diana
View CommentThat’s plum purdy. I know we are ready for fall, but we will have plenty of time for decorating for it.
View CommentPicture perfect! I love how easy the wreat was to make. I may just try to do one of those. Thanks Barb.
View CommentHi Barb. Girlfriend, you rock! This wreath is so pretty! I can’t think of anything else I’d add that could make it any prettier! I’d just copy you! 🙂
View CommentOh, all my doggies are not Staffies. I do have some fake ones in there. But I don’t care! 🙂
Be a sweetie,
Shelia 😉
The wreath looks great on that pretty red door!!
View CommentLove this wreath, can’t wait for fall!
View CommentOh Barb, it looks fabulous. I love the idea of using the star fish. Hugs, Marty
View CommentGood Monday Morning Barb,
View CommentLove your last nod to summer. I know you love fall and are just chomping at the bit to get into the season!! The airconditioner repair man is here! Woo Hoo!! xo Kathysue
Great tutorial…Thanks for all the tips ….I really love the hydrangeas!!!
View CommentI loved the burlap wreath before you started working your magic. It is perfect for the end of summer. I’m with you–ready for my fall decor. Love the arrangement for the contest, too.
View CommentI am so glad you stopped by to follow me over at Google+ as I just love your blog and am thrilled to meet you! I am following you there and here at your blog too!
Your wreath is gorgeous by the way!
Best wishes,
View CommentNatasha in Oz
I have the same burlap ribbon – but never thought to make bows for a wreath out of it! That is fabulous – in all it’s seasonal forms!
View CommentKelly
So pretty I love it…I used this burlap ribbon on my Christmas tree… now I need to get some more for a wreath! Would love it if you would share it at Share it one More Time http://www.onemoretimeevents.com/2012/08/share-it-one-more-time-5-and-features.html
View Commentnew follower