SHUT THE FRONT DOOR!
I am here to say, this may be one of my favorite and easiest DIY’s I
have completed in a long time. After years of flipping houses, I have
had quite a number of DIY projects. But, I am not sure I have seen
such a dramatic change with just three inexpensive boards, some caulk
and white paint. Now, I want to repeat this same DIY update on every
exterior door and window too. Ready to see how easy it is?
How to Easily Update Your Front Door

By the time we got to the exterior of our last flip house, the budget
was getting tight as a tick on a skinny hound dog. In other words, I was
running out of funds. But, I knew this front porch needed a little update.
I had replaced the front door with a new, updated style door that featured
more glass, but the porch still looked uninteresting. I thought the key was
the front door. Enter some basic lumber!
Here is the Before…
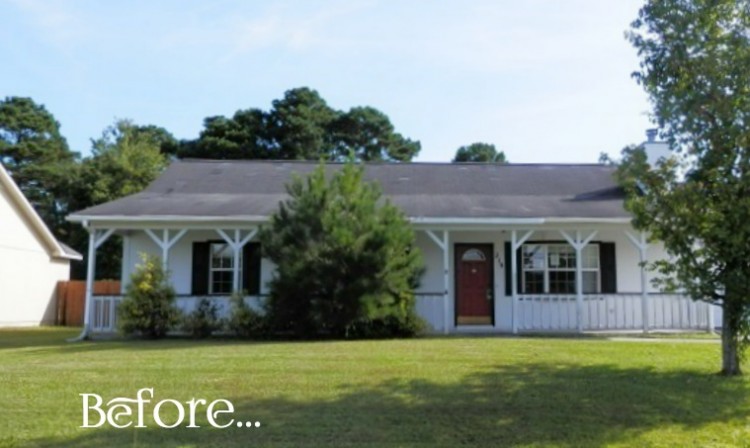
The front porch on this home was just calling out to be set free.
Too many spindles made it feel closed in and busy. So we removed
the railings and spindles and just left the posts.
Here is a graphic of what I did….since I did not think to take pictures
at the time. (booo!)

Three boards.
Yep, just three.
Three inexpensive and basic 2x boards.
One board added on each side of the door, butted right up to the
original 2″ door trim, and another one on top cut slightly wider
than the new side boards. Once the boards were nailed into place, I
simply caulked between the new boards and original door trim, and
at the top where the upper board joined the side boards. Crisp,
white paint all around was all that was needed.

I can’t believe what a difference just three boards made to the whole
look of this porch and to this entire home. Now the exterior of the home
just pops!

I recycled the original, rusted house numbers with a coat of black
spray paint and added these to the upper board. Now the numbers
really stand out from the street.

You could use a wider board at the top, and even enhance this
board with more decorative trim if you wanted. But, I thought a
more basic treatment was all that was needed. But, I will say, IF
my budget had not been depleted, I would have used this same
treatment on all of the windows across the front porch.

I can’t wait for our next Flip House project. This Easy and Inexpensive
Front Door Makeover will definitely be one of my new trademarks.
To tour this completed Flip House, click HERE.
Is this a DIY project you think you would add to your own home?
I’d love to hear your comments below. 🙂
xxoo, Barb
………………………………………….
If you liked this DIY Project, you will love these projects by
The Everyday Home…
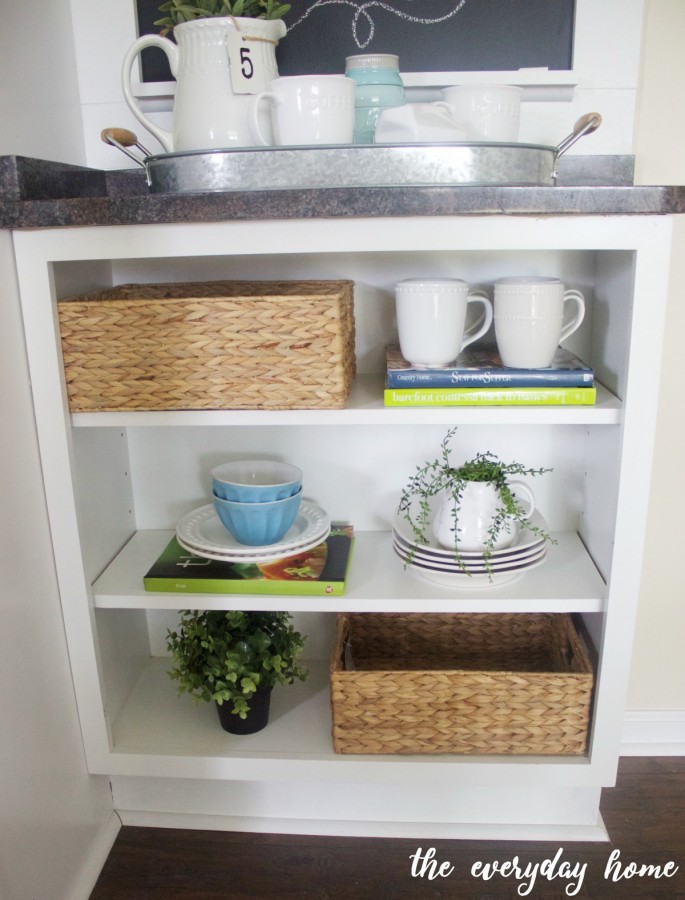
How to Build an Easy DIY Open Shelf Cabinet
Inexpensive DIY Board ‘n Batten Wall Treatment
……………………………………….
Please don’t forget to Pin It & Share It!
Do you follow me on Pinterest, Facebook, Twitter & Instagram?
I would love for you to Pin and share these images.
Simply scroll the image center and click the social media icon of your choice.
Oh…and I would love a tweet!
Quick 'n Easy Front Door Update DIY - only three steps! #DIY @theeverdyayhomeClick To Tweet

…………………………………………….
Thank you for spending a few
minutes of your day here with me.
You can follow along with
The Everyday Home here….
Here are some of the Link Parties I may be sharing this post with.
You can find more parties on my Linky Party Page.
” Make Yourself at Home! “


It really looks nice – and thank you for the pretty calendar!
View CommentYour new door looks fantastic! I love that you stuck with the red. It absolutely pops against your house color. Thanks for sharing with us at Merry Monday this week.
View CommentAmazing! So much better and prettier!
View Comment