It’s beginning to look a lot like…Christmas?
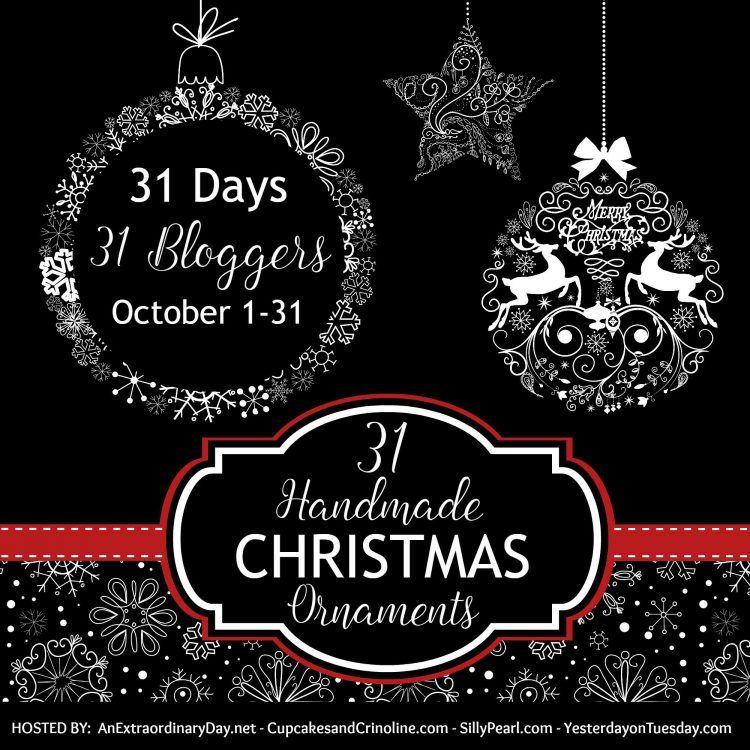
I am happy to say, that yes, it is. Christmas is slowly making its way into The Everyday Home in the middle of October. But, before y’all get yourselves all bent out of shape, I will say it’s for a very good cause. I am ornament making in an attempt to get a head start so I am not sitting up all night before we put up the tree to finish them. I think y’all can understand that. Not only that, I am taking part in an amazing event called the 31 Days of Handmade Christmas Ornaments. 31 Bloggers and 31 Ornament ideas. Oh Jolly, jolly, jolly! I can’t wait to show you my DIY Mason Jar Lid Christmas Ornament.

………………………………………………..
I am so happy to be joining an amazing group of ladies for this early Christmas event. I think you will find a ton of inspiration. I will be sharing a list of links to all the participants below, so please make sure you follow to the end.

……………………………………………….
A few days ago I said I had some Christmas decorating plans already running through my mind. My theme for this year will be “Mad for Plaid.” I hope to carry plaid throughout our home in varying ways. Last year, I put up a small tree in our breakfast room and I loved having it there. So, I decided to make some Farmhouse style ornaments which I will use on that tree.

Nothing says farmhouse more than Mason Jars. I love Christmas Ornaments using Mason Jar Lids, so I decided to incorporate a few elements I love all into one. I chose to use the large mouth jar lids.

I already had some Christmas themed scrapbook papers from last year, but could not resist picking up one more pattern. Look at the cute, vintage car with tree design on top. LOVE!
To start, I simply used one of the lids to draw circles on the back of the paper and then I cut them out.

Next, I glued the cut out scrapbook paper circle inside of the lid, pattern side down.

I follow that up by gluing the outer part of the lid, with the shiny side on top.

This is how it looked once the paper circle was inserted and the lid glued into place.

I had a good friend who has a local shop create a sheet of stickers for me. I had her make a sheet of deer designs and a sheet of snowflakes. I will share her contact info in my resources below. I decided to use the deer for these ornaments and will use the snowflakes later.

These were about 2″ in size and were perfect for the center of the mason jar lids.

Next, I needed to add an ornament hanger. Jute twine was perfect and carried the rustic look.

Make sure you cut off the excess jute at the very bottom of the knot so it lays flat. A glob of hot glue holds it into place.

I also added a few extra small touches…some greenery and berries and a small. jute bow. I made a few different ornaments with three of the paper designs and here is the finished ornament…

It doesn’t get much more farmhouse and Christmas than this does it? Plaid, Mason Jar Lids, Deer, Jute. Check, check.

For the cute, vintage red car paper, I left it plain and made sure the car was centered. Isn’t it darling?

Here is the third paper design. I love the font bacjground. It’s a great coordinating print with the plaid.

I am debating other ornaments which will accompany these Mason Jar Lid Christmas Ornament on the breakfast room tree. I have a few ideas in mind. But, rustic and plaid and farmhouse will carry the theme.


I hope you enjoyed this project, and especially how easy they are to make.
Please make sure you visit all of the lovely ladies who have shared ornaments starting on October 1st
and running through October 31st.
Have a beautiful week… xxoo, Barb
…………………………………………………………………


I purchased all of my papers at Hobby Lobby.
Large Mouth Mason Jar Lids | Plaid Scrapbook Papers
Jute Twine | Christmas Berries
Deer Stickers by Trendy Transformations
………………………………………………………………….
Here are a few more Christmas projects by The Everyday Home to get you in the mood.
Scrapbook Paper Covered J-O-Y Letters


……………………………………………………………………….

Do you follow me on Pinterest, Facebook, Twitter & Instagram?
I would love for you to Pin & Share this image on your fave social media sites.
Simply scroll the center of the image and click the icons of your choice.
……………………………………………
Here are all 31 Bloggers in order of their appearance:
Day 1 – The Silly Pearl :: Day 2 –Yesterday on Tuesday
Day 3 – Cupcakes and Crinoline :: Day 4 – An Extraordinary Day
Day 5 – Knick of Time :: Day 6 – Pet Scribbles :: Day 7 – Simply Kelly Designs
Day 8 – Town and Country Living :: Day 9 – Petticoat JUNKtion
Day 10 – The Everyday Home :: Day 11 – Up on Tippy Toes
Day 12 – Remodelando la Casa :: Day 13 – DIY 180 :: Day 14 – 504 Main
Day 15 – Sum of their Stories :: Day 16 – At Home with Jemma
Day 17 – The Kim Six Fix :: Day 18 – Shabby Art Boutique
Day 19 – Stone Gable Blog :: Day 20 – Morena’s Corner
Day 21 – My Uncommon Slice of Suburbia
Day 22 – Our Southern Home :: Day 23 – Domestically Speaking
Day 24 – The Crafting Nook :: Day 25 – Sweet Pea
Day 26 – Dukes and Duchesses :: Day 27 – Heathered Nest
Day 28 – Lovely Etc. :: Day 29 – Mod Podge Rocks
Day 30 – Running with a Glue Gun :: Day 31 – All Things Heart and Home


I love that classic plaid paper! These are really pretty ornaments, Barb!
View CommentThey’re so pretty! I love the on with the red vintage car.
View CommentBeautiful, Barb! You found the prettiest scrapbook papers to use and I love the addition of the deer.
View CommentSimple and easy but so effective. I love all things plaid (or check or maybe tartan as we tend to call it here in the UK) so I’m looking forward to seeing your Mad for Plaid decor!
View CommentYour ornaments are adorable, Barb. The stickers are perfect.
View CommentLove the plaid and creativity!
View CommentWhat a great craft idea! I have a bin full of holiday fabric scraps and this project would be perfect for it!
View CommentOh gosh I love these! So simple yet stunning results!
View CommentAdorable, I love I love I love!
View CommentOk, these are adorable! And so easy! I am in love with that little car.
View CommentAdorable DIY ornaments! Hugs, Holly
View Commentsuch a great idea! they look lovely
View CommentThese are so cute. I did some of these many years ago. On a couple of them I spray painted the ring. I have tons of paper and I need to find a use since it looks like it will never make it into a scrapbook.
View CommentYou go girl, getting all over that early!!! Kudos.
View CommentAND, adorable! I love this idea, and the deer sticker = adorbs!
It looks fab!
I remember making these when I was little! Such a fun idea….and makes me ready for Christmas! =)
View CommentGorgeous! I love the patterns you used and the colors.
View CommentBarbara, I am I am in love with this cute country ornament!!! I can’t wait to make some myself. I always make new ornaments each Christmas. Best wishes, Linda
View CommentThese are so adorable and so fun to make. I can see making all different kinds of these ornaments. Love this.
View CommentWhat a great idea! These ornaments turned out so cute!
View CommentHow did I miss these adorable ornaments!!!??? I have a big basket full of mason jar lids…gotta do this xo (your ornament is similar to the one I made for Day 31… 🙂 – I might love yours more!)
View Commentwhat a simple, yet fabulous idea.
View CommentSo much eye candy and then decisions to make which ornaments. Love easy, quick, cute and affordable. Thought had better be getting some concrete ideas what will be making for possible craft show in early Dec.
View CommentDidn’t get to participate last year since had right shoulder replaced on 12/7. In 2009 had to move up a week having left knee replaced by a week as was participating in a craft exchange, wasn’t quite done. When hubs took me to hospital early on 12/14 he then went to mail cards and crafts to other participants then came back after he got himself some breakfast. Nothing like pushing to last minute, lol. Why do I do that to myself?
So this year decided to “at least try” to start earlier. Have already gotten great ideas for what I want to make from your party. From what have seen already will be getting ideas right up to 10/31. Decisions, decisions.
Sure do appreciate parties like yours as it gives me ideas which saves me time having to look for them myself.
Have great weekend
I just love these ornaments! The paper is so pretty. I love the car one especially!
View CommentAdorable idea! Love them all!
View CommentVery cute ornaments, Barb. And so simple. Great way to use up leftover fabric and paper scraps. Take care, Cynthia
View CommentYour ornaments look so classic. My favorite one is the plaid.
View CommentI think plaid is always a winner Barb, especially at Christmas and these ornaments look fabulous.
View CommentHave pinned them to my Handmade Christmas board.
These are amazing… just beautiful!
View CommentWhat a great idea using mason jar lids… LOVE the plaid!
View CommentI really love how simple these were to make. It’s something that can easily be done in an afternoon on the weekend. The rustic, country look is a plus!
View CommentKate | TheOrganizedDream.com
These ornaments are so pretty! I think I will need to try this. Don’t worry – I have started my Christmas crafting also, I am just waiting to share it on the blog though. But I’m so anxious to start decorating too!! I hope you’ll stop by and share these pretties at The Crafty Corner link party. 🙂
View CommentSuper cute and easy, too! Thanks for sharing at Merry Monday. 🙂
View CommentOh my — I saw these on Instagram, but didn’t realize there were quite a few variations you created. These are wonderful! Just my style!
View CommentThese are perfect, Barb! I love rustic Christmas decor and these have a touch of vintage, too, which makes them even more awesome!
View CommentSuch a good idea! I love this – and especially love the car/tree paper. So cute!
View CommentAwwww thanks. I have to say the little red car is my fave, too. 😀 I think I could do a whole tree with those. Thanks for stopping by and for your comments. ~Barb
View CommentHello! Where did you find the car paper?
View CommentHi Valerie – I found it at Hobby Lobby. Isn’t it fabulous!? 🙂 Hope you find it. -barb
View CommentI really admire your blog with all the pretty ideas and diy! Keep up the awesome job! Best wishes for the New Years!!
View CommentHi
View CommentWhere did you buy the Christmas berries and were they already attached to the pine greens? Thanks so much in advance ?
Hi – they either came from Hobby Lobby or Michaels. Yes they were attached. I cut a snippet of the greenery from a floral pick. Hope this helps. Barb
View CommentLove the plaid mason jar lid ornaments! I can’t wait to view the other crafters. Many blogs out there, but I love your ideas!
View CommentBarb II,
View CommentI love the Mason jar rings with the scrapbook paper and stickers. The twine and evergreen/berry embellishments add a touch of country. When I first saw them I thought they were fabric covered lids, but the paper is much easier to work with. Thanks so much for sharing. These are on my “to do list!”
What kind of glue did you use to attach the paper to the ring and the lid to the paper?
View CommentHi – I used a low melt hot glue gun. 🙂
View CommentI’m obviously a little late to the party on this one, but thank you for this tutorial. We received some beautiful Christmas cards that I didn’t want to toss, but I knew that if I just packed them away that I would never do anything with them… so I cut out my favorite parts of each card and followed your instructions! Took a quick afternoon and now I can put my Christmas box back in the attic with some new ornaments for next year. Plus, I always have extra lids hanging around, so now I know what to do with some of them in the future! Great blog- I’m enjoying poking around!
View Comment