Hi, My Dearest Everyday Friends…
I know you will love this project I am sharing today
by another fabulous Guest Blogger.
Please, welcome Stacey with
Addison Meadows Lane.

Hi there! I’m Stacey from Addison Meadows Lane.
I’ve been a follower of The Everyday Home for a
while now, and I’m so excited to be here today!
Just a little bit about me. I work full-time outside
of my home and Addison Meadows Lane is my passion
that I hope will eventually one day become my
full-time job. I have a “silent partner” LOL, that I
lovingly refer to as The Beard in most of my posts.
Without him a lot of these projects wouldn’t be possible.
I am the mother of the sweetest Pitbull in the world
named Brutus. We all three live very happily in a
messy house full of half completed projects because
I have what The Beard likes to refer to as
Project A.D.D. This my friends makes our lives
quite interesting to say the least.
I’m so happy you all are here and I
hope you enjoy my project.
So, for your viewing pleasure on this fine day, I’ll
be sharing a super simple and easy way to dress up
any wall space with little to no money or effort.
These are my favorite kinds of projects, the ones
that require no skill whatsoever but turn out beautifully.
This tutorial can be switched up in so many ways and you
can use so many different materials.
Ok, I’ll get on with it now LOL.
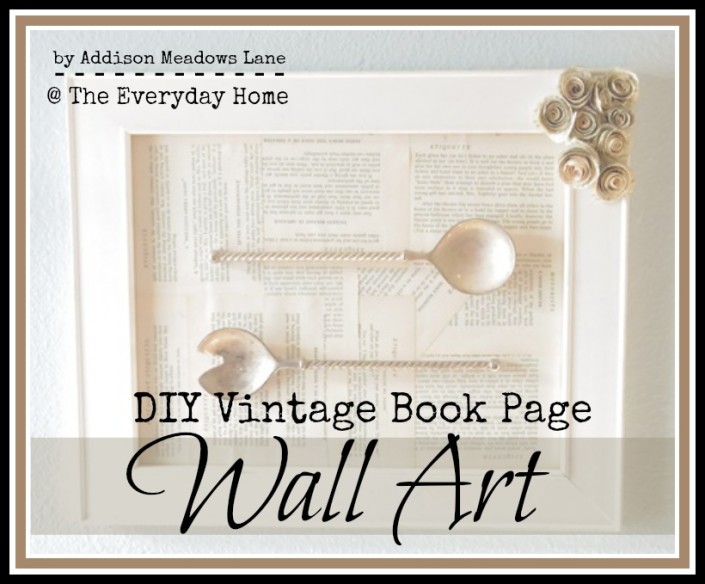
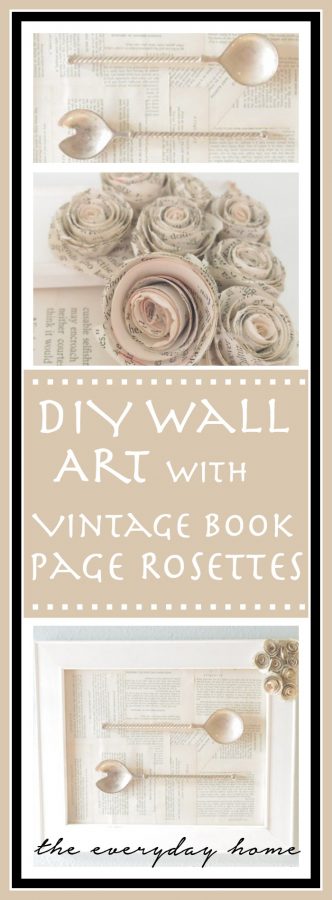
DIY Wall Art

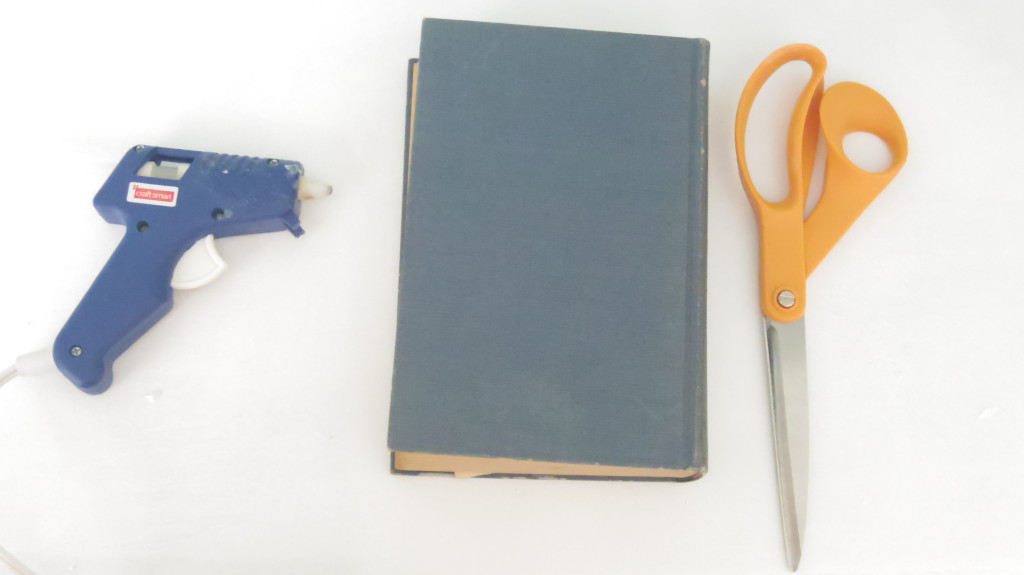
What you’ll Need:
– A Glue Gun
(“Glewbacca” is the name of my glue gun so if you see me type that,
a glue gun is what I’m referring to. )
– An Old Book
(preferably one with yellowed pages I think those look the best.)
– Scissors
– An inexpensive frame of any size
(Mine was on clearance for 3.50 at Michael’s because the glass
was broken. Which was just fine for this project.)
– Old serving spoons
(I got mine from a garage sale for .10)
– A Glue Stick
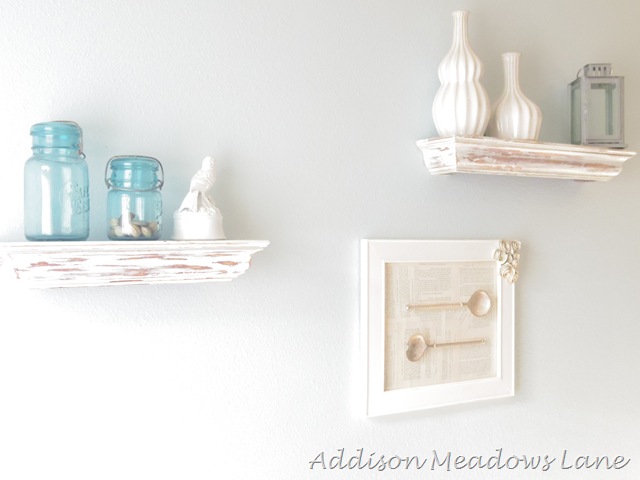
This is literally the easiest thing I’ve ever done,
but surprisingly one of the things in my house I get
the most compliments on. Funny how that works.
Remove the cardboard backing of the picture frame,
and take out the fake family or generic scenery
picture, discard.
Rip out about six or seven pages from your
old-yellowy book. How many you rip out depends
totally on the size of your picture frame and your
book. Once you’ve ripped those out start gluing
the pages on to the cardboard the picture frame
came with, In any pattern you choose.
Then take your serving spoons and using your
Glewbacca put glue on each end of the serving
spoon then press down to the background you
just created with your book pages.

For the sweet little rosettes on the corner of the frame
I followed this tutorial here.
Let everything dry for at least an hour before
attempting to hang, I mention this because if
you’re anything like me you’ll hang it right away
it looks good for about 2 seconds then everything
falls off.
That’s it! So easy right? I hope you all enjoyed
my little tutorial and if you’d like to see more
from Addison Meadows Lane here are a few other
projects I think you’ll like.
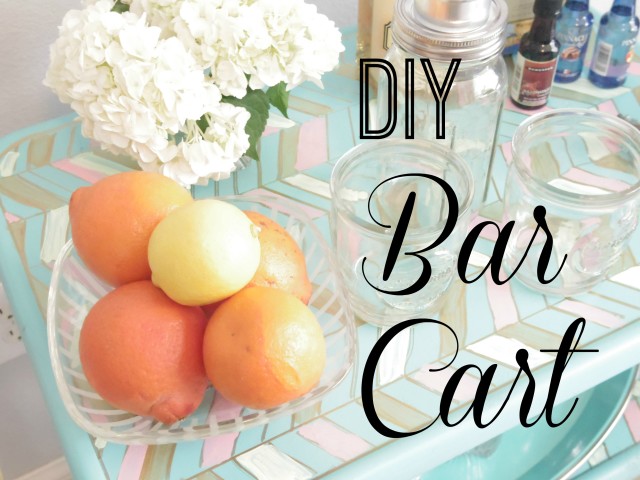
DIY Bar Cart
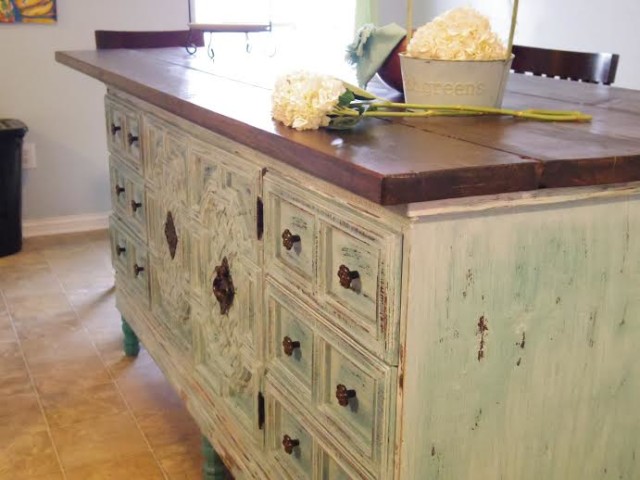
Kitchen Island From a Dresser

Please join me on Pinterest!

Thanks Ashley.
I just adore that project.
We would also adore you if you would be so kind
as to PIN these images to your favorite
Pinterest Boards.
(simply hover your mouse over the center of the pic and click the “P”)

Thank you for spending a few
minutes of your day here with me.
You can follow along with
The Everyday Home here….
xxoo, Barb
Here are some of the Link Parties I may be sharing this post with.
You can find more parties on my Linky Party Page.
Metamorpis Monday | The Scoop | Do Tell Tuesday | homework | Get Your Shine On
Inspire Me Tuesday | The Handmade Hangout | Share Your Style
French Country Cottage | Inspiration Gallery | Tatertots and Jello


Ohhh, that is such a sweet idea!
View CommentThis is so pretty, I love it all, the aged frame, the yellowed book pages, and the rosettes are the best. Great job, and thanks for sharing!
View CommentLove!!!
View CommentThis project is a neat idea and I love that kitchen island. Simply fantastic…
View CommentThat is really a cute project! Thank you so much for sharing at the Inspire Me Mondays Link-Up! We’re looking forward to more!
View CommentI love this! Everything about it is so cute and chick! Thank you for sharing at Dream. Create. Inspire. Link! I will definitely be on the look out for adorable old serving pieces now!
Cat
View Comment