I made something this weekend I have been wanting to try for years!
No, not weeks or even months.
Years!!!
As in 12 months x 3 = REALLY!???
I made Iced Winter Branches.

Something so simple, and so easy – and I have never
seemed to quite get around to it.
Until this weekend.
Now, I am hooked!
Now I want Iced Winter Branches all throughout
our house to replace some of that Christmas warmth and charm
that is now gone since the decor has come down.
And you know what – I have discovered in life
that the projects I so often put off –
and, once I finally get around to making them…
I say…
“That was it? I’ve put this off for 12 months times three why?”
Best part – these did not cost me a single cent.
Nada.
I realized I had everything I needed.
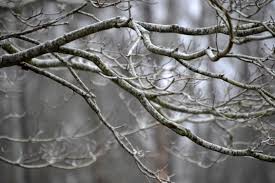
#1: Branches.
FREE! Living on 5-acres of
wooded land, I got the whole free branches thing covered.
🙂
I decided to use the Holly Tree because the
branches were more…well, “branchly.”
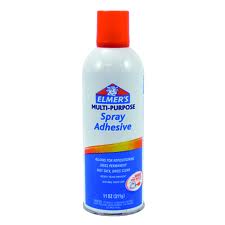
#2″ Spray Adhesive
As a matter of fact, I had THREE cans.
Three?
(Note to self: do not buy any more spray adhesive.)
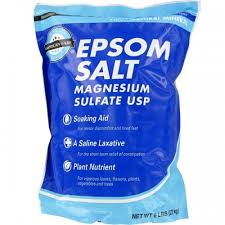
#3: Epsom Salt
A bag of this costs around $3 if you do not have any on hand,
and you can find it at the grocery store or drug store in the first aid aisle..
You will use maybe a cupful, at most.
Here’s all I did….
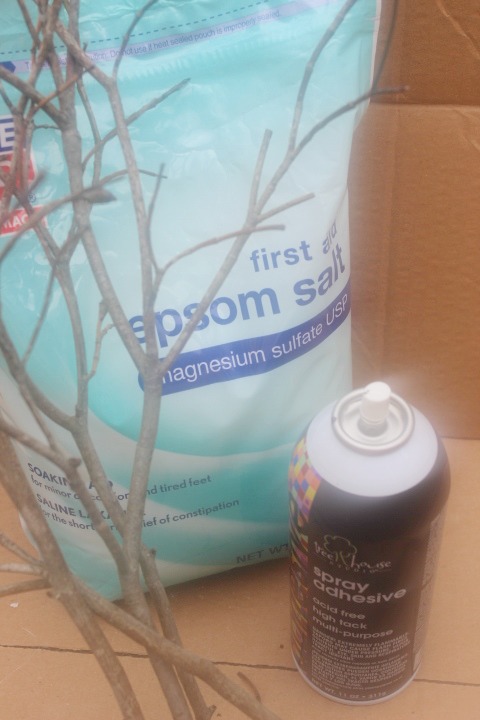
I found a cardboard box, mostly to help contain the overspray
from the adhesive,
but, also to catch the extra salts.
I did not spray the entire branch at once, but worked
in a smaller area until one top half of the entire branch
had been coated. Then, just sprinkled the salt onto the branch.
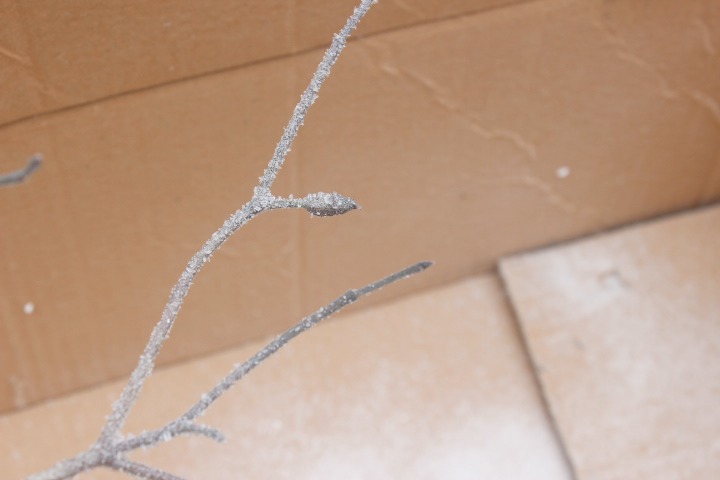
It was light at first.
As if the first snow fall of Winter had gently
kissed the branches.
(You didn’t know DIY’ing could sound so romantic did ya’?)
🙂
Once I had all of the branches coated with the first layer,
I applied another layer of spray adhesive.
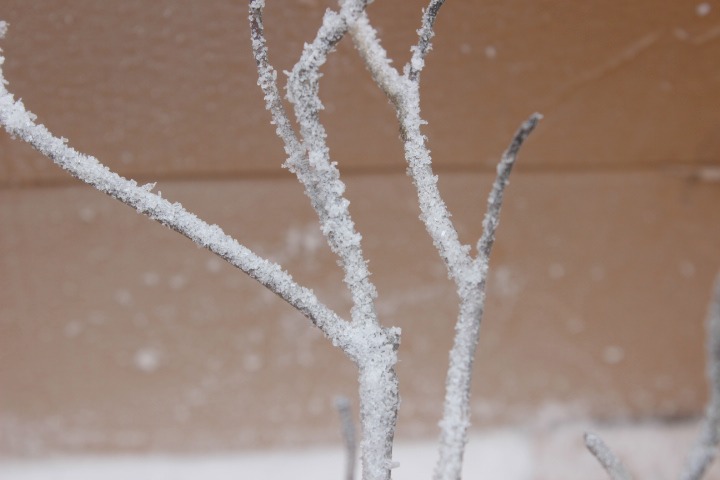
But, instead of sprinkling the salt on,
I added a few handfuls into the bottom of the box, and then
pushed and shoved the sprayed branches thru the “ice.”
This is really what gave the branches a thoroughly iced-look.

Then, I set them aside and let them dry.
Honestly, the whole process did not take any more than
about 10 mins.
TEN MINUTES!
For a project that I have been putting off forever!
So… what does one do with 10-minute DIY Icy Winter Branches?
Well, you will have to wait a few days, because I will be using them
in a project for an upcoming Blog Hop.

“A Celebration of Winter” will start Jan 19th and will feature
24 other blogs sharing Tips and Ideas, DIY Projects and Recipes
that are perfect for cold, Winter days.
So, please join us!
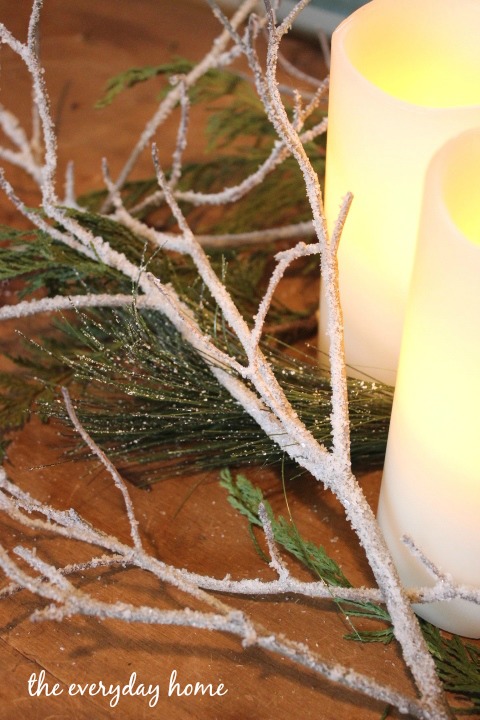
But, I did want you to see how pretty my branches are
all nestled against glowing candles, cedar and snow-filled glass balls.
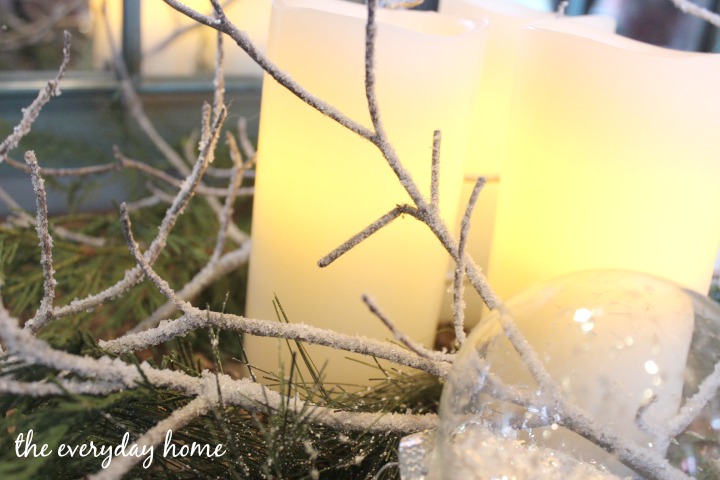
They look so real. don’t they?
Like Old Man Winter had a love-fest with my trees and
allowed me to collect a few branches for my own…
(more romance!)

I had planned on adding glitter to the salt, but honestly I didn’t
have any and was too lazy to go into town and get some.
#truth

But, truly, I love them without the glitter.
Just branches and “ice.”
– – – – – – – – – – – – – – – – – – – – – – – – – – –
I hope you have enjoyed this easy DIY project for
Iced Winter Branches.
If you would like to save this for reference for later,
please pin this to your favorite DIY Boards.

You can also follow me on:
and Bloglovin‘
Winter Blessings to All…
xxoo, Barb
I’m sharing over at The Scoop
Great idea! Thanks for the tutorial, as I was thinking of branches for my Winter-January tablescape.
Happy new yearand many blessings for 2015.
FABBY
What a fun idea, Barb…and so pretty! I love that it is almost free, too! 🙂 Hugs…Debbie
This is a fun idea and so pretty. Love it!
So cute! I might steal that idea… Happy New Year!
GORGEOUS!
These are really lovely! I will use them in my winter scape.
They look beautiful Barb!!
What angriest look to transition from ‘Christmas’ décor to ‘Winter’ Barb. They are beautiful!
I just love Epsom salt – it makes the best snow and ice. I have covered a styrofoam tree form like this, but have never tried to ice my own branches. Your branches are beautiful! I’m always on the lookout for gorgeous, cheap DIY decor projects.
Wow Barb, these are fantastic! I love using wintry branches in my winter home decor. I have to give this a try! Your branches are stunning! Thanks to the tutorial!
Barb I did this to plain white “sticks” that I bought at IKEA but I like yours more! I am going to try and find some branches and put them around the house. When you take the Christmas decorations down, the house looks depressing. This will help a lot. Thank you.
Barb, I have been wanting to do this too!!! Now that I see how easily it can be done, I want an entire tree. I also want to add tiny, white lights. I think the light will brighten things up to get through the gloomier days of winter. Your branches came out beautifully! Thanks for the great photos and instructions!
Linda
mysewwhatblog
My daughter wants a Frozen themed birthday party, this craft would be great for table decoration. Thanks for the sharing!
Es muy buena la idea y la voy a considerar para decorar mi hogar, gracias por compartir estos tips.
Hi – this is beautiful! I want to make a Valentine’s wreath for the front door and this would be a perfect touch! I have some greenery left over from my Christmas wreath and think this would be a nice addition. I was wondering though how well the Epsom salt crystals stay on the branches? Does it fall off? Is there something you know of that can be sprayed on the finished product to make it adhere longer/better? Thanks!
Hi – the salt does fall off but not to a great degree. After I had coated the limbs with as much salt as I wanted, I did spray an extra coat of the adhesive on to help seal it on. Hope this helps. 🙂
Love this and glad you shared, thanks
I love this idea
oh i would really love to try this, i have a big dead tree i need to get rid of in my garden, just a few questions, dose the salt fall of if moved or knocked, i have pets, is there an alternative to epsom salts, a quick search of my local store suggest they don.t stock this, and lastly is it safe around animals. between cats, dog and a parrot i dont want to make them ill
Love this. Must try.
LOL I was on my way to Hobby Lobby to find something tall and glittery for my porch urns.
UMM. So glad I didn’t get gone yet!
I have everything right here. Thanks so much!
I love this! Been thinking about how to create these branches. I would love to add white twinkly lights. Have to think how best to accomplish it. Thanks for this DIY project!.
Love this idea! Going to try this for my new years eve wedding!
I tried this and I had problems with the Epson salt falling off. What am I doing wrong
Maybe not enough spray adhesive? I’m not sure I stored mine from last year and they were fine to use again this year.
Perfect ! Thanks for sharing!
I love this idea! I teach pre-k and we will be making a winter wonderland this week.
Great idea and so easy and cheap to do. I will be trying this. Thanks for the tip about spraying a final coat of adhesive once it is all completed. I might try using a spray sealer as I have that on hand. I like your attitude of using what you have and going with it. Thanks for sharing.