I love a good copy cat project !
I love to take a product that inspires me and
try my hardest to make one just like it or at least
very similar to it.
Plus, I love the challenge of making it more
budget-friendly.
I was perusing Pottery Barn several days ago,
and saw one of their pillows, and knew I just had to
give it The Everyday Home #HomeHacks try.
Here is my version….
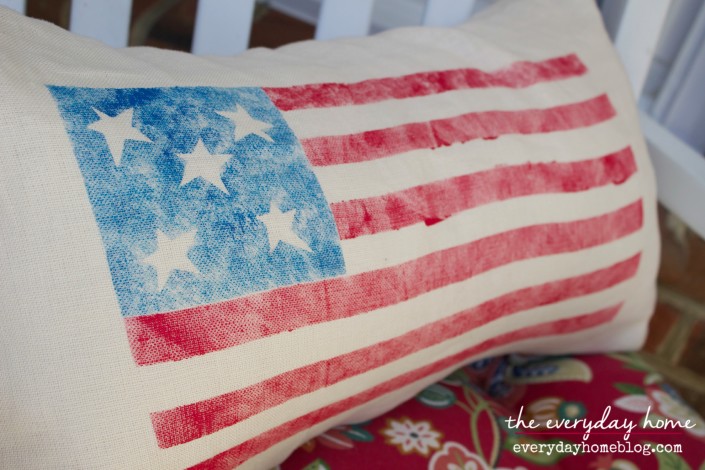
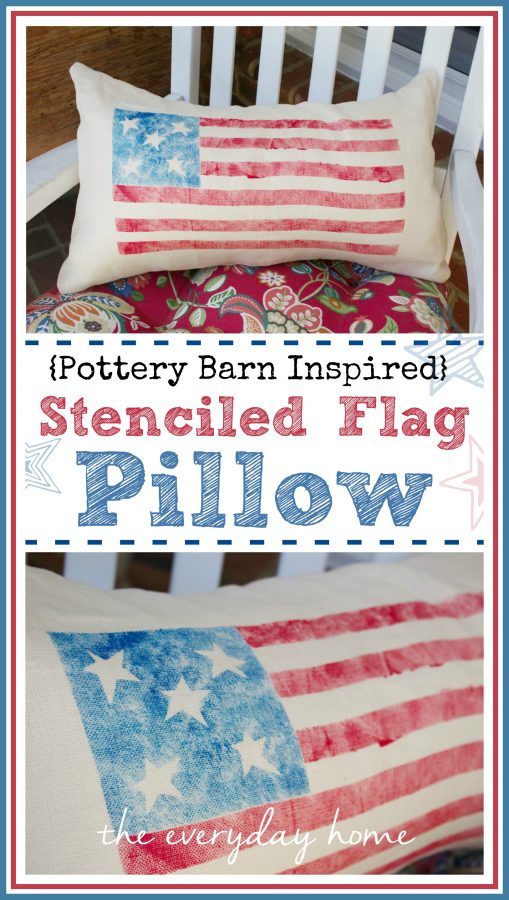
PB-Inspired Stenciled Flag Pillow
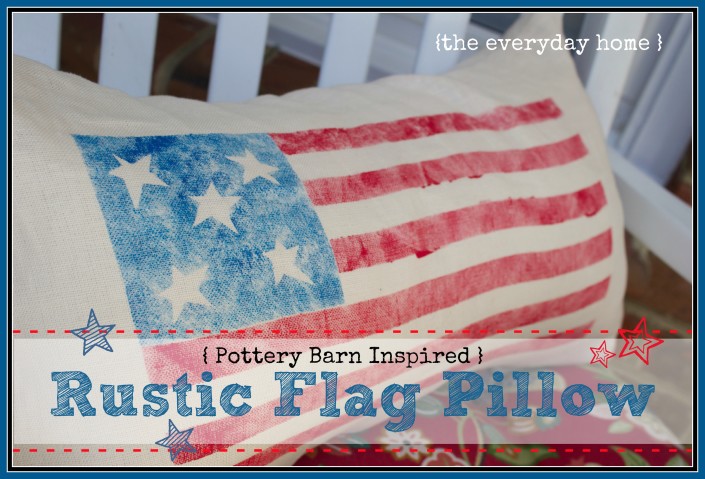
Stenciled Flag Pillow by The Everyday Home
I think Pottery Barn has some ah-mazing pillows.
I have several of them throughout my home.
When I spotted their Sweatshirt Lumbar Flag Pillow –
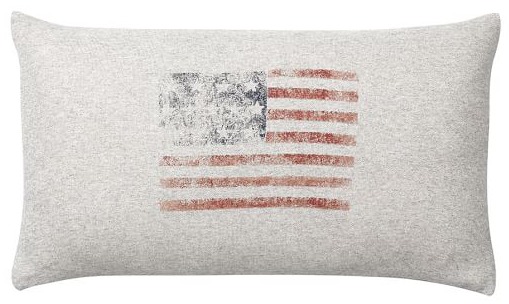
– it inspired me to challenge myself to create
my own version.
I didn’t have any extra sweatshirt fabric lying
around, but I did have some leftover linen from
another project. I also had red and blue craft paint.
All I needed was a pillow insert.
A trip to Hobby Lobby with a 40% coupon
solved that issue.
The pillow insert I purchased was 12″x20″.
I measured and cut the front of the fabric so that it
was about 1/2″ larger than the insert,
all the way around.
Stenciled Flag Pillow by The Everyday Home
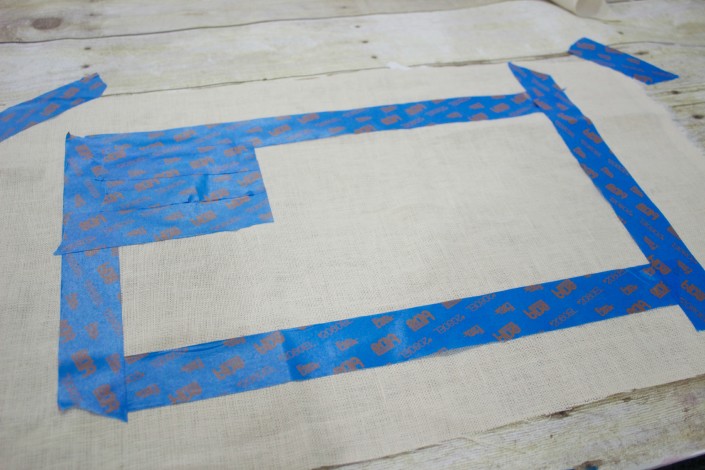
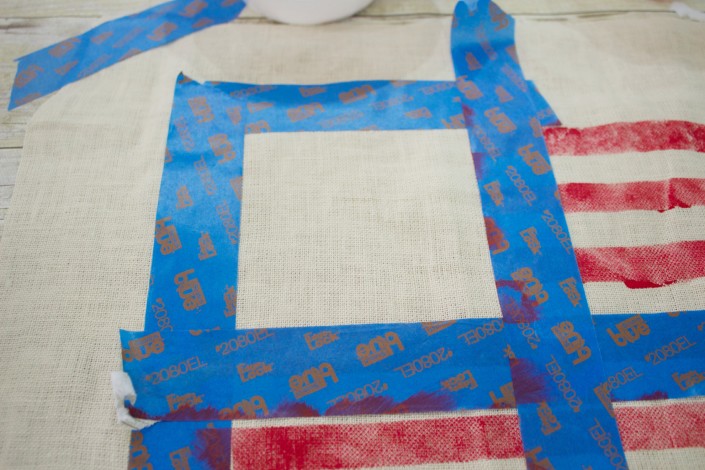
To create the Flag design, I grabbed some painter’s
tape. I started out by securing the fabric panel
down at each corner with the tape, to prevent it from
sliding around while I was stenciling.
Stenciled Flag Pillow by The Everyday Home
I used more tape to create the outer perimeter of the
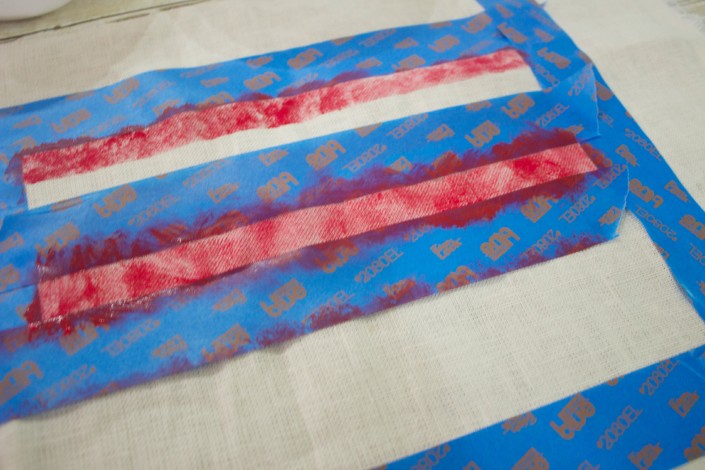
flag design. Then, using some red craft paint and
more painter’s tape, I started stenciling the stripes.
You know how you usually burnish the edges of
the tape so that the paint does not bleed under?
I didn’t do that this time. I actually wanted the
paint to bleed under so the edges looked
uneven and raw. So I applied the tape “loosely.”

Stenciled Flag Pillow by The Everyday Home
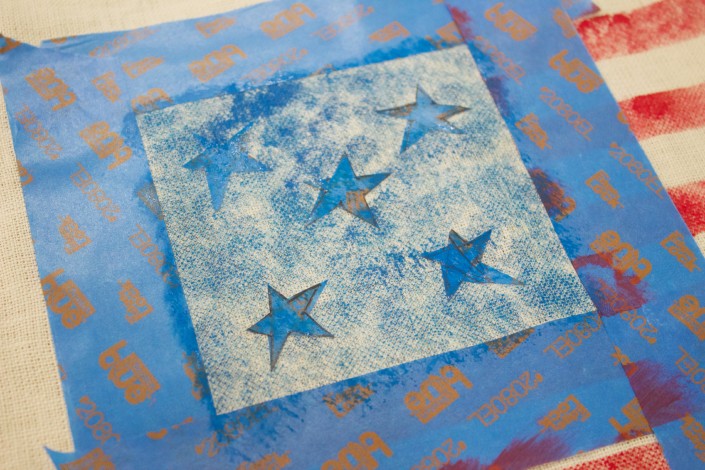
Once the red stripes were completed,
it was time to work on the blue square and stars.
Again, I used the tape to block off this area.
Stenciled Flag Pillow by The Everyday Home
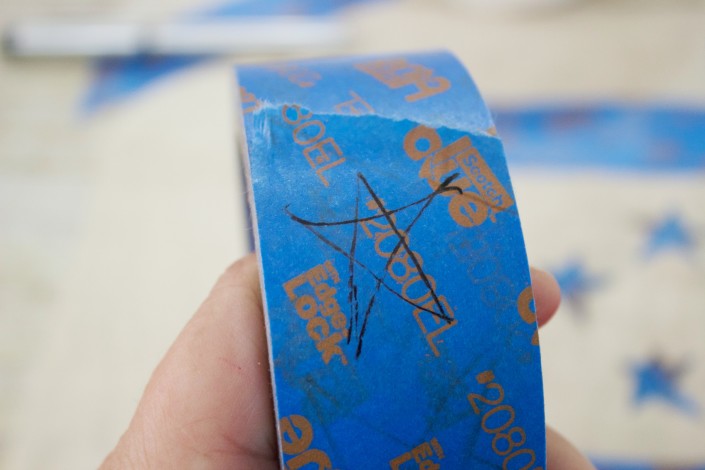
I drew stars that were very uneven and almost
primitive in appearance on the painters tape,
then cut them out.
Stenciled Flag Pillow by The Everyday Home
Some blue craft paint and a few swirls of the
stencil brush later…I had completed the
rest of my flag.
Stenciled Flag Pillow by The Everyday Home
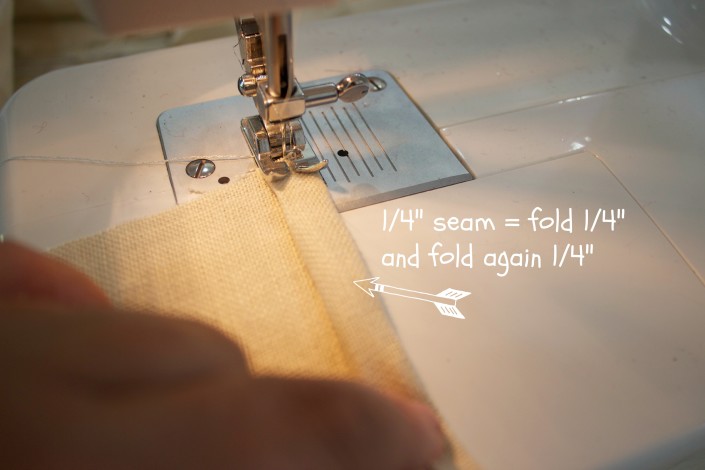
Now, on to sewing my pillow together.
I cut the back panel I had previously measured
and cut out that section into two halves.
Then, I sewed a 1/4″ hem along each inside edge
of each panel half.
Stenciled Flag Pillow by The Everyday Home
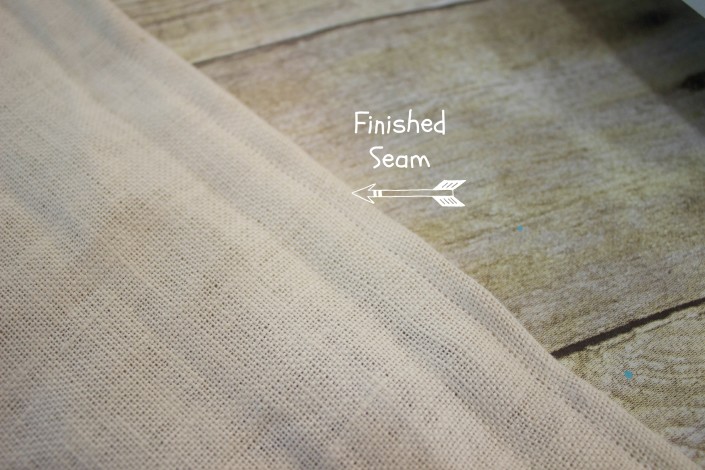
Stenciled Flag Pillow by The Everyday Home
Once each inner edge was sewn, I laid the stenciled
flag panel right side up, then placed each back half
panel, right side down, on top of the flag panel.
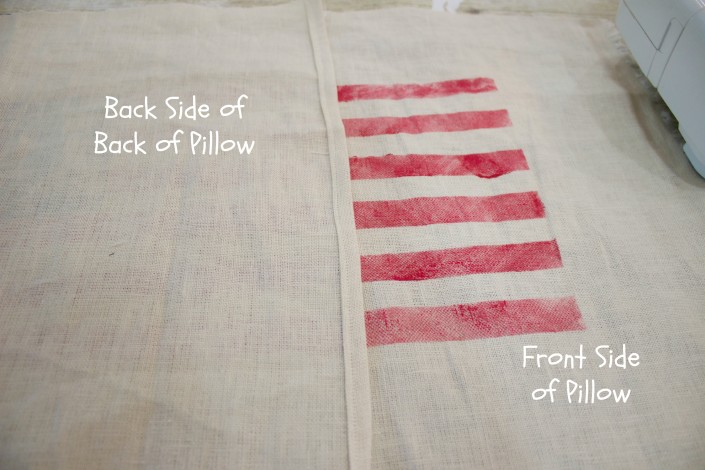
Stenciled Flag Pillow by The Everyday Home

Stenciled Flag Pillow by The Everyday Home
I used straight pins to secure the three panels together.
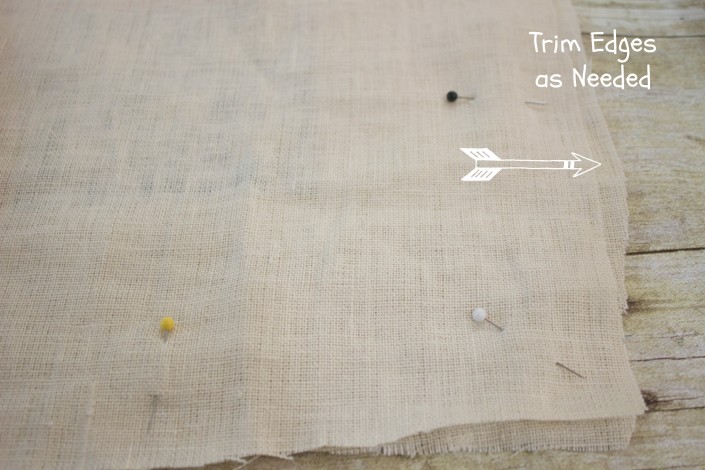
Stenciled Flag Pillow by The Everyday Home
I always point the pins pointy-end out.
I can sew right over the pins without even taking
them out. My Mama taught me this little trick when
I was a little girl, learning to sew for my 4-H project.
Then, it was a matter of simply sewing around
all four sides. Before I turned the pillow right side
out, I made sure to clip the corners so I would
have more perfect corners.

Stenciled Flag Pillow by The Everyday Home
Once the pillow was turned right side out, I stuffed
it with my insert, and what started out as an
inspirational pillow from Pottery Barn, turned into…

Stenciled Flag Pillow by The Everyday Home
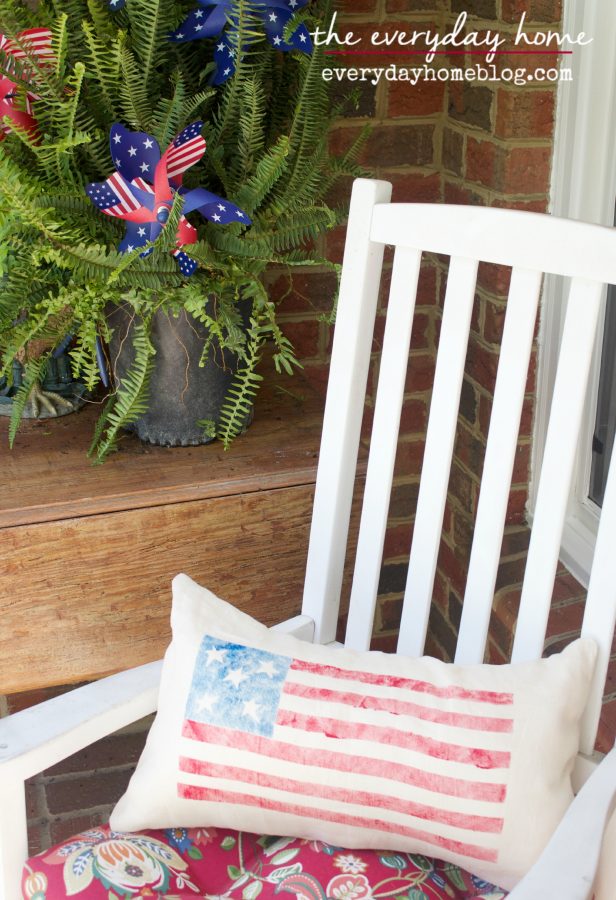
I am happy with how it turned out. It’s the perfect
pillow for my front porch rocker.
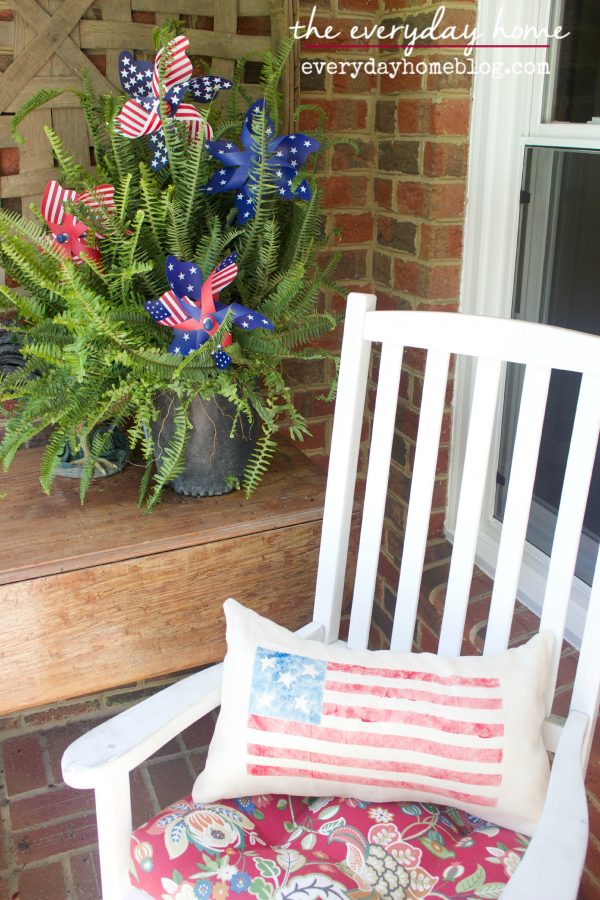
Stenciled Flag Pillow by The Everyday Home
You could also use painter’s drop cloth as your
background fabric. I actually love how drop
cloth stencils and holds its shape, too.
Stenciled Flag Pillow by The Everyday Home
If you wanted a “cleaner” look, I would suggest you
burnish the edges of the tape onto the fabric by
rubbing the edges down several times.
This should help prevent some of the seepage.
But, the “messy” look was exactly what I wanted.
Stenciled Flag Pillow by The Everyday Home
What do you think?
Does my pillow look almost as good as my
Pottery Barn inspiration? 🙂

I am tickled red, white and blue to be joining
a group of other great ladies for a
Blog Hop of #HomeHacks.
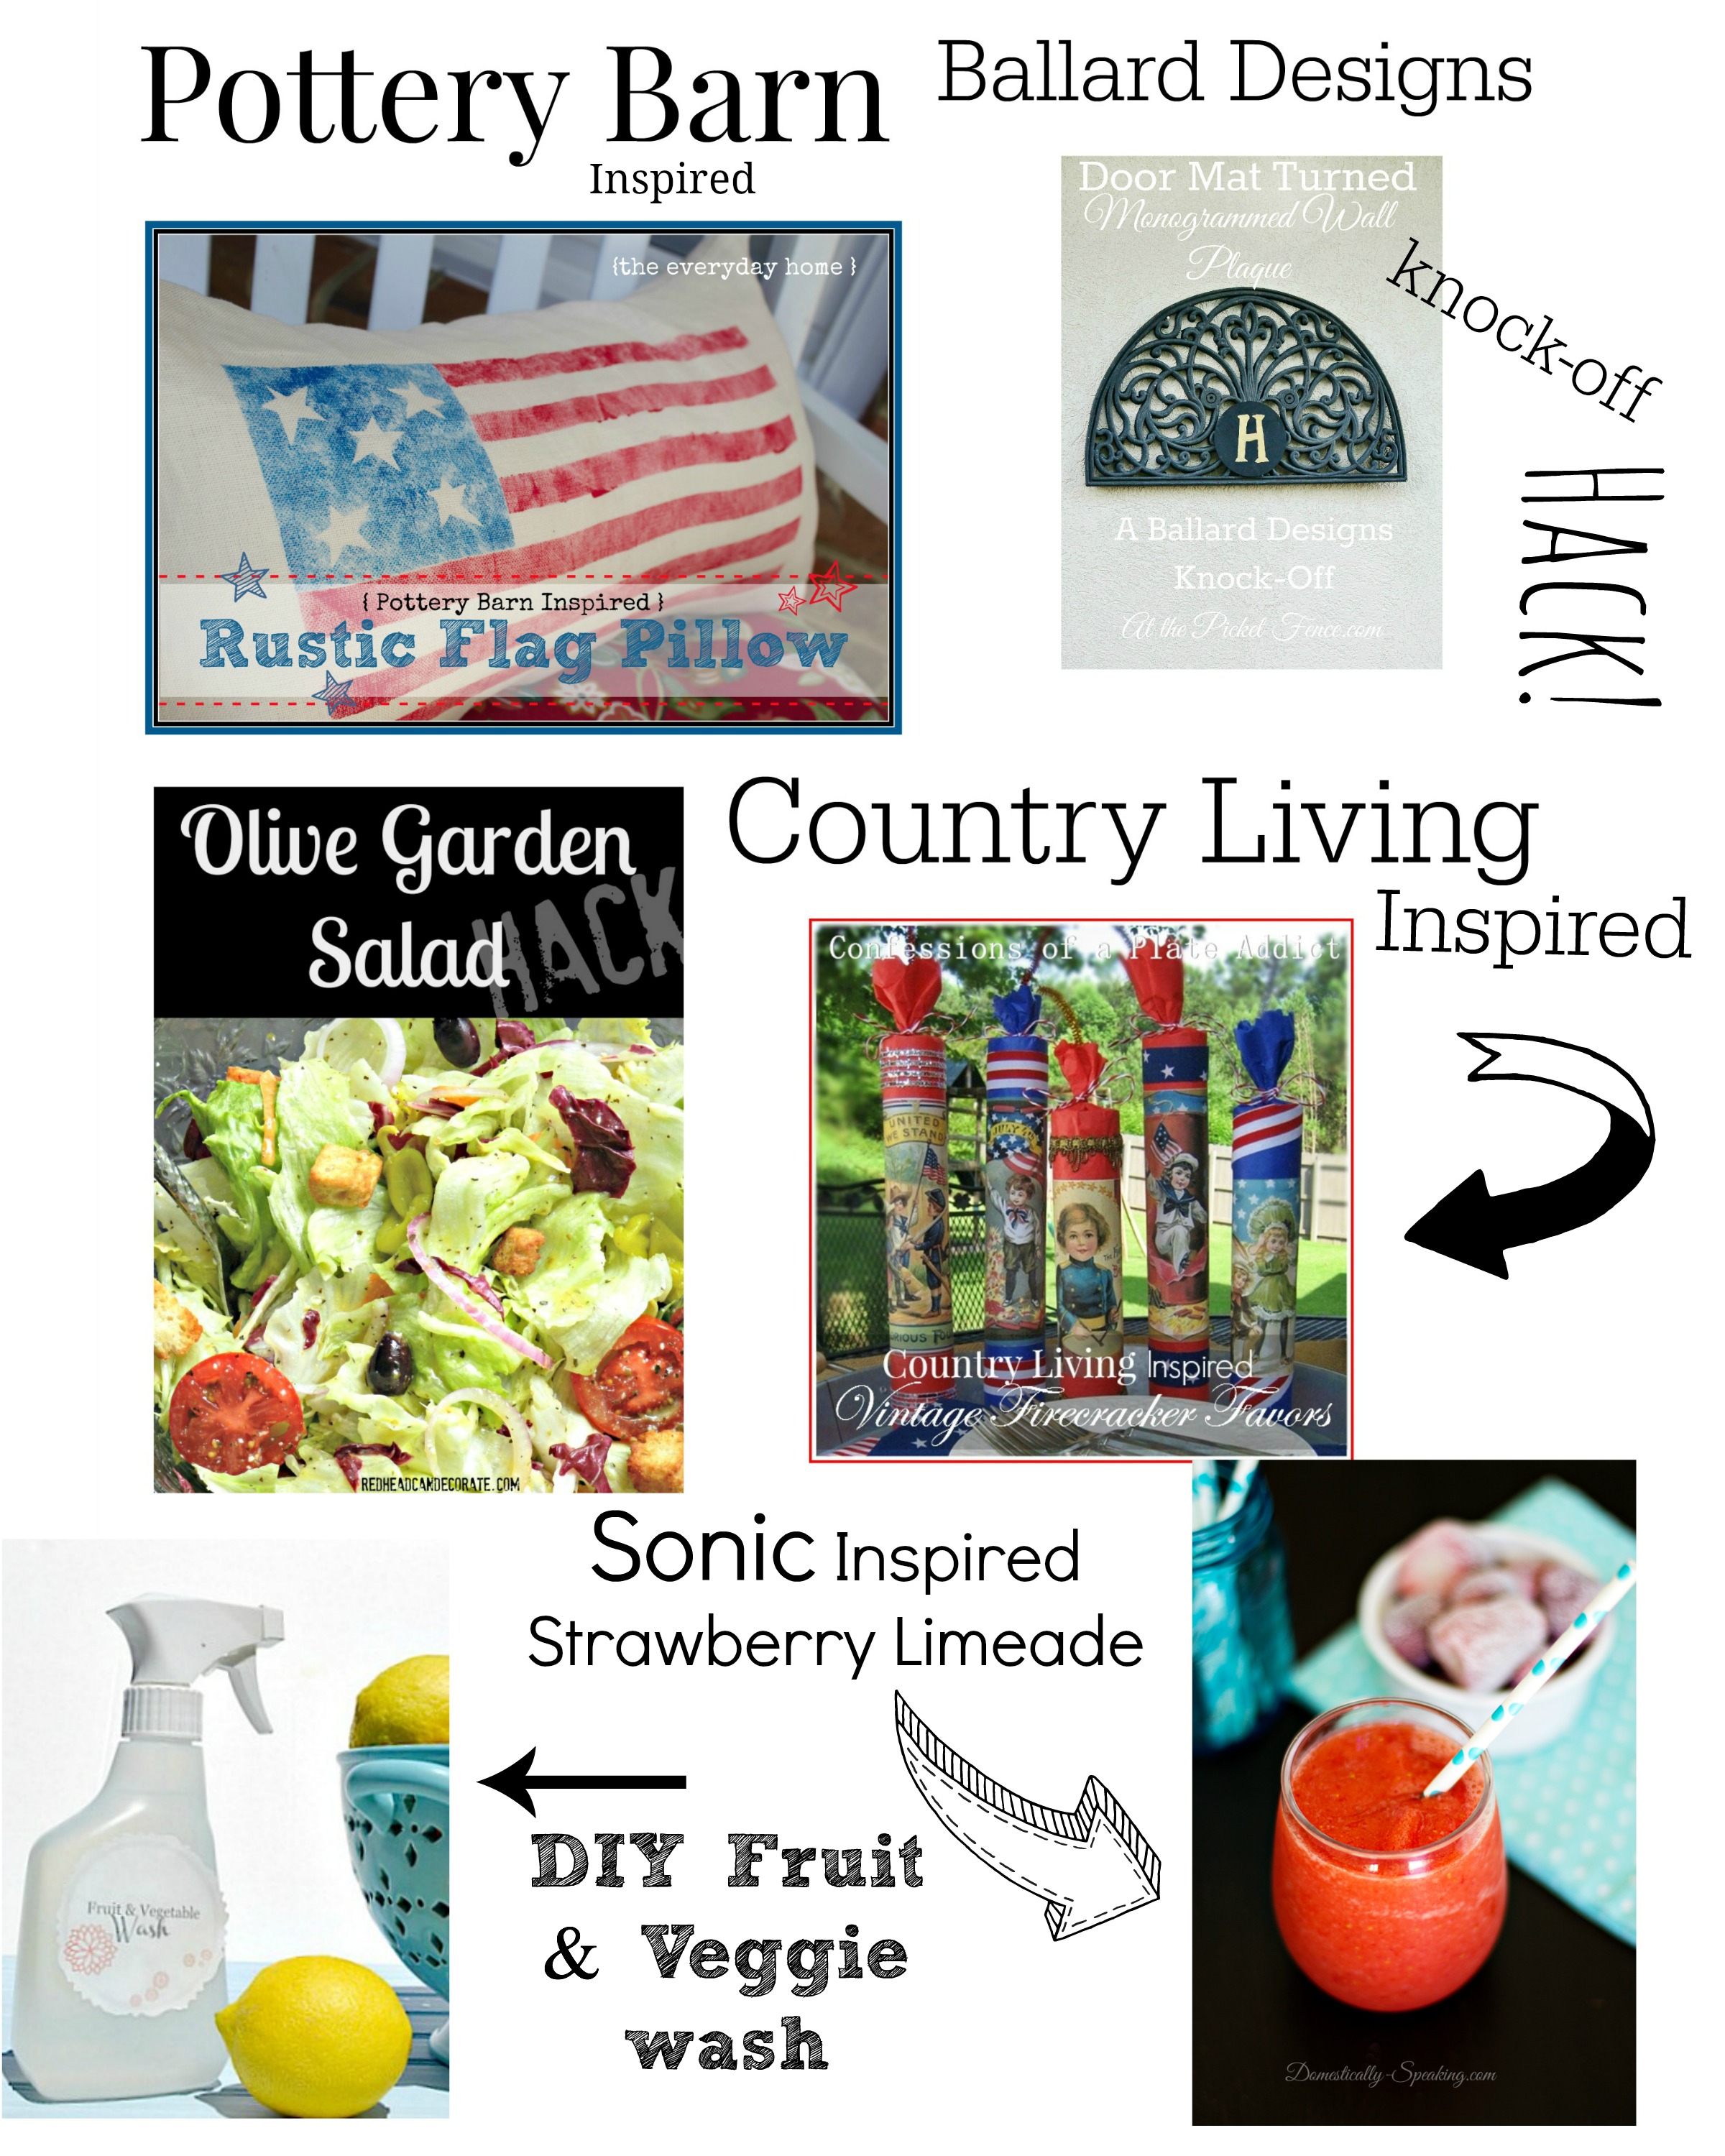
PB-Inspired Stenciled Flag Pillow by The Everyday Home
Olive Garden Salad Hack by Redhead Can Decorate
Homemade Fruit and Vegetable Wash by My Uncommon Slice of Suburbia
Sonic Inspired Strawberry Limeade Slush from Domestically Speaking
Country Living Inspired Firecracker Favors by Confessions of a Plate Addict
Ballards Designs Wall Plaque Knock-Off by At the Picket Fence
Please make sure you visit all of these
amazing #HomeHacks.

Homemade “Jiffy” Cornbread Mix

Homemade Fabric Softener and “Febreeze”
I would love for you to pin this !!!
(simply run your mouse over the center of the pic)

Please join me this Friday for an
easy, but delicious, July 4th dessert.
Thank you for spending a few
minutes of your day here with me.
You can follow along with
The Everyday Home here….
xxoo, Barb
Here are some of the Link Parties I may be sharing this post with.
You can find more parties on my Linky Party Page.
Metamorpis Monday | The Scoop | Do Tell Tuesday | homework | Get Your Shine On
Inspire Me Tuesday | The Handmade Hangout | Share Your Style
French Country Cottage | Inspiration Gallery | Tatertots and Jello


barb, looks great. i made something similar a few years back on drop cloth and still love it. hope you are having a great week.
View CommentLaura, drop cloth was the original plan but when going thru my “bin ‘o fabric bits” I found this linen. So, tada. 🙂 Thanks for stopping by hope you’re not melting in this heat too bad. xxoo, Barb
View CommentLove the rustic look of your pillow, Barb! It’s perfect for your front porch for the 4th and all summer! Hugs…Debbie
View CommentAnd best of all – its in my “price range.” LOL Thanks for being part of the #HomeHacks event. xxoo, Barb
View CommentI absolutely love it Barb!! It looks fantastic on your front porch and you are all ready for the 4th. Thanks for putting this event together lady!
View CommentThanks my friend. This one fits my budget more. 🙂 Thanks for being part of this #HomeHacks event. xxoo Barb
View CommentSo cute!!! I always love a good PB knockoff. Thanks for organizing all this fun!
View CommentThanks Maryann – I can’t wait to make my way around all of these amazing projects. How fun! ~Barb
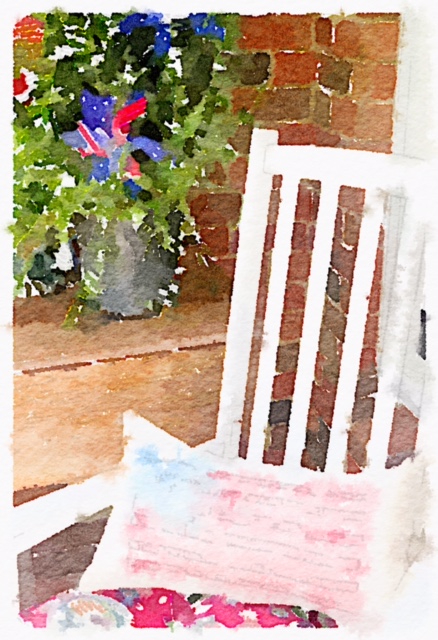
View CommentNot only are Pottery Barn pillows ah-mazing so is yours! I love, love, love it and I really like it on that cute chair. It looks so good. Another thing that I really like in this post is the fun watercolor photo at the end. That really caught my eye. I haven’t tried that yet but this has inspired me. Thanks so much.
View CommentOh thanks, I’m so glad you liked the pillow. And it was so easy to make. 🙂 I am totally addicted to making watercolors from my pictures now. I have even framed some of them to put in my own home. I love Monet and this is as close as I will ever be to him and being an artist. 🙂 Thanks for stopping by, have a great week. ~Barb
View CommentI like your version much better than the Pottery Barn one. Well done! I would love for you to link up to the Stitch It, Blog It, Share It Link Party going on now at BehindtheSeamsSewing.com.
View Comment~Bonnie
That’s very sweet. Thanks for stopping by I will hop over and link up when I can. ~barb
View CommentI love a good copy cat, too, and you’re pillow looks great! I think it’s better than the Pottery Barn version!
Navy Wifey Peters @ The Submarine Sunday Link Party
View CommentAwww thanks, thats very sweet to say. Thanks for stopping by and for hosting the party. ps, I am in the middle of adding all the new parties I link up to. Been down with a Lupus attack. 🙁
View CommentThis is awesome! I love the fabric.
View CommentThank you for sharing this week at Brag About It link party on VMG206.
~ Megin of VMG206
I agree-your pillow is much better than PB’s! I love the ‘aged’ look-and it’s a perfect addition to your porch! Thank you so much for sharing at The Wonderful Wednesday Blog Hop! PINNING!!
View CommentYou did a GREAT job! I imagine you could also do this same type of project for all kinds of occassions. I’m picturing a Christmas one…Definitely pinning this one! Thanks for sharing with us at the #HomeMattersParty this week!
View CommentNicole – yes, you could cut out hearts and do a negative stencil design or all kinds of patterns. Now you even have ME thinking. LOL Thanks for stopping by. ~Barb
View CommentThank you for sharing at Share it One More Time, you are one of the features this week! Party is open would love to see what you have been up to this week! Tammy
View CommentHey Barb,
View CommentJust wanted to let you know I’ve featured your pillow on my July 4th round up….
http://www.craftyallieblog.com/2015/06/amazing-july-4th-show-your-spirit-ideas.html
Have a great week!
~Allie
That is so sweet, thank you so much. I will give it a shout on FB. ~Barb
View CommentLove this! Great tutorial. Thank you for sharing at the #homematters linky party this week. I hope you will be back this week to share again! Rhonda
View CommentWhat a great knock off! I just finished a fabric paint project so this was right up my alley! Visiting from Inspiration2 party.
View CommentThis pillow turned out great!! Love the distressed look of it. Thank you for sharing at Merry Monday!
View CommentThis turned out great! Nice tutorial with great detailed pictures. I just love it! And using a drop cloth is such a great idea. Pinning and sharing. Thanks!
View CommentGreat job! The pillow looks awesome! I love Hobby Lobby, may have to take a trip their to try this out. Thanks for linking up with us at Welcome Home Wednesdays, hope to see you again this week!
View Comment