After working for over a month on the Flip House,
I took a few days off to rest…
and to get all of the paint out of my hair.
I’ve never been one of those “fresh as a daisy” DIY’ers.
If I am caulking – I am covered in caulk.
If I am painting – there is as much paint on me and in my hair
as there is on the wall.
My clothes are literally covered in paint and caulk too,
to the point where I literally trashed them instead of saving them for another project.
You could say… I get “involved” in my work.
😀
One of my very favorite projects were the ones we completed in each bathroom.
MASTER BATH BEFORE:
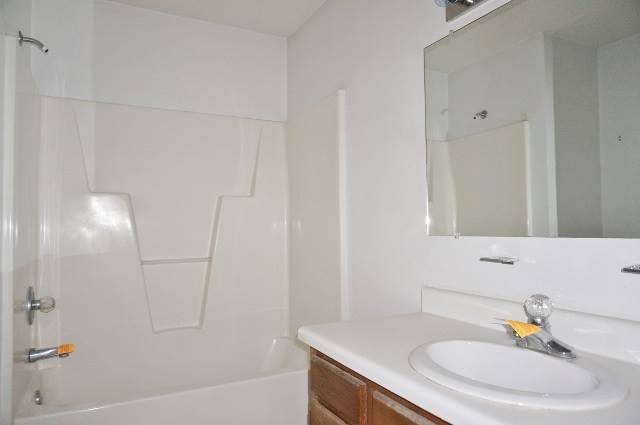
I’m not sure these bathrooms could have been any more boring and bland.
One of my bathroom pet-peeves are the “slab-o-mirrors” that so many builders love to throw
up on the walls.
Trust me – I know all about them first hand.
I currently have the giganto-slab-o-mirror in our own master bathroom… (grrrr)
hopefully soon to be banished.
From the beginning, I knew these mirrors could not and would not stay the way they were.
As the home progressed, these blasted mirrors were laughing at me.
Taunting me, in fact. Evil mirrors.
So, one day – I grabbed the screwdriver and removed the clips and took the mirrors down.
Then…I started formulating a plan.
A trip out to the leftover wood and moulding pile in the garage was fruitful.
I had just enough leftover pieces for the guest bath mirror.
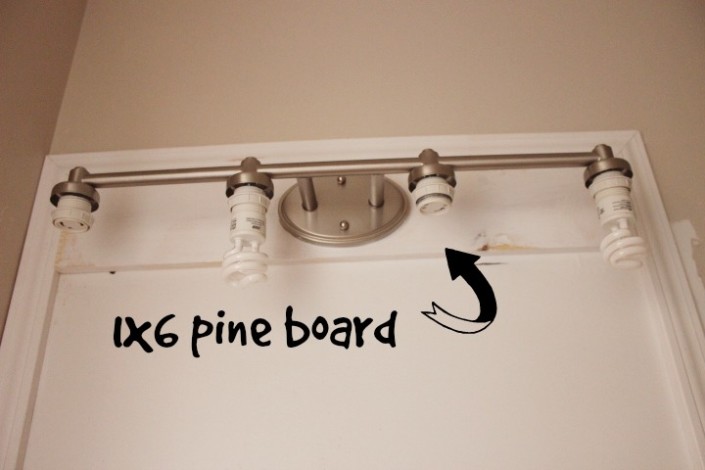
I cut a 1×6 pine board, gave it a good sanding and priming, and cut a center hole to allow the
lighting fixture wiring to stick thru.
We used a pneumatic nailer, which I realize all DIY’ers do not have, but you could use
screws or nails placed into the studs to hold the 1×6 board in place.
The light fixture was attached right to the 1×6 board.
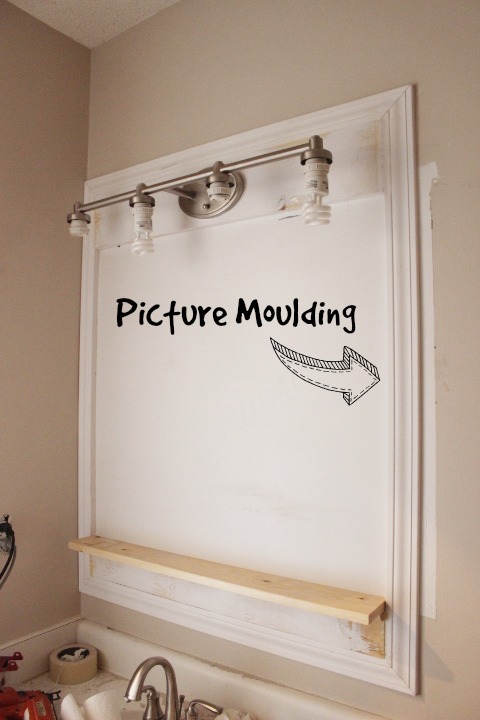
Next, we measured and traced out the size of the mirror. I would be recycling
the old bathroom mirror, so we worked around those dimensions.
We mitered the edges to create a “frame.”
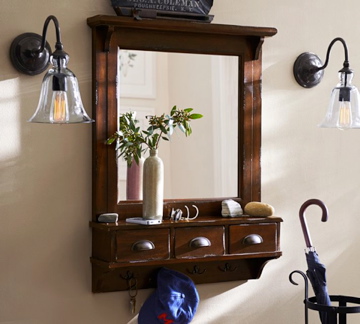
I knew I would not be able to create the cute little drawers as shown above in my inspiration…
but, I could add a cute little shelf.

A 1×4 pine board was placed at the bottom of the frame to allow the
shelf to be attached. {created with 1×3 pine board}
(Keep in mind – we used these particular sizes of 1x’s because it’s what we had on hand.)
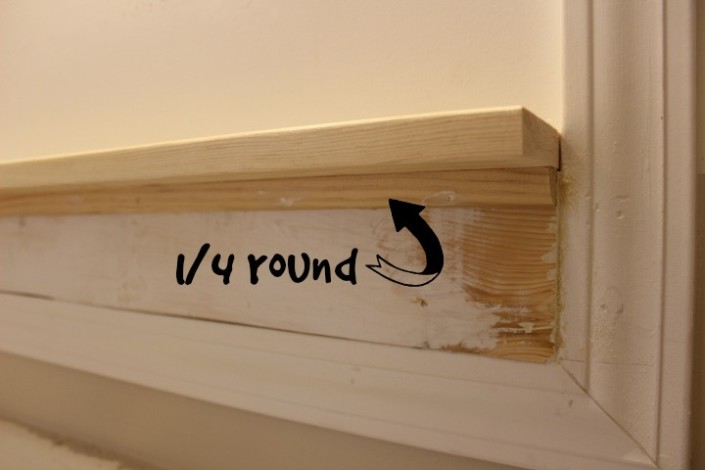
Finally – we added a piece of quarter-round underneath the shelf for extra support.
Some caulking and sanding…
and a few coats of white paint later…
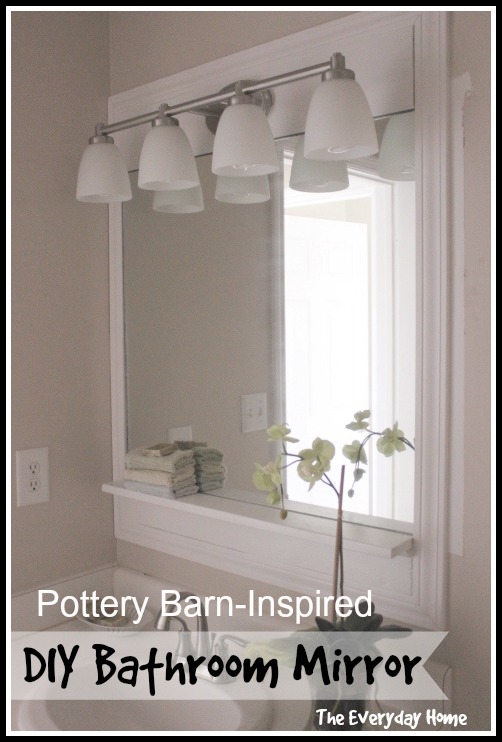
– and we had two beautiful custom-made bathroom mirrors.

{Guest Bath Mirror}
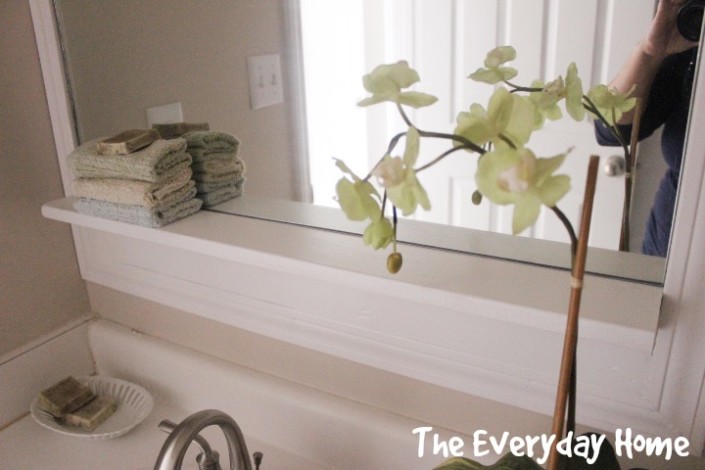
{Guest Bath Mirror Close}
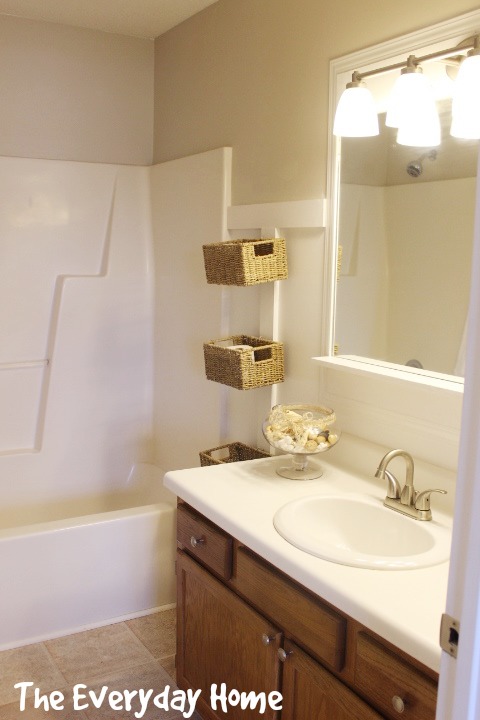
I think the mirror ties in lovely with the painted vanity, new flooring,
and FREE board and batten wall I created opposite the toilet and vanity.
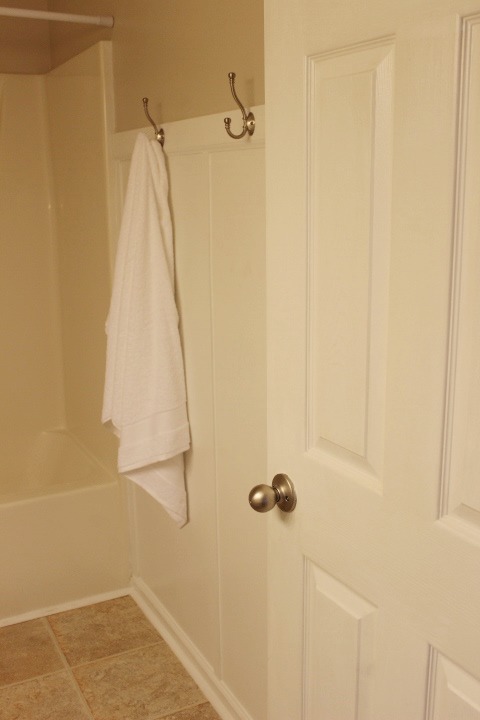
Instead of towel bars, I added $2.40 nickel hooks from Lowe’s.
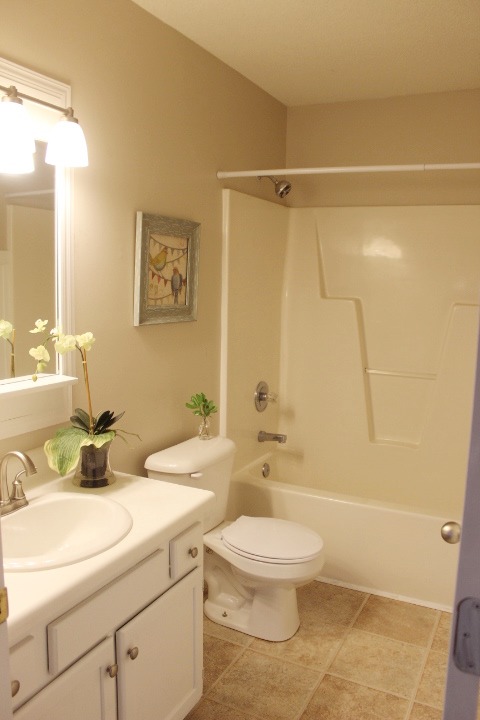
Here is a peak at the Master Bathroom.
I will share more details about it later this week…
Price Breakdown:
Guest Bath –
1) Moulding and 1x Boards: already had on hand, $0
2) Paint and Caulk: already had on hand, $0
3) Light Fixture from Lowe’s, $78
4) Having original mirror cut to size, $20
The Master Bath mirror cost a little more because we had to spend about $7 on a longer 1×6,
and buy more of the moulding, about $18.
Color: BM Elmira White
I hope you enjoyed seeing this project.
Please pin this to your favorite Pinterest Boards.
You can also follow me on…


Sharing with: A Stroll Thru Life


LOVE the way that turned out Barb!!
View CommentWhat a great idea! I love how it turned out. I’m looking forward to hearing more about your flip. I’m sooo glad to see you back out here in blogland, my friend!
View CommentWhat a fabulous job, Barb! I love the little shelf! So happy to see you blogging again!
View CommentLooks great! I love house flipping! Good luck!
View CommentIt looks better than PB! Pinned it, love it!
View CommentDebbie
Oh wow, Barb, you guys do amazing work. Both these bathrooms looks fabulous. I really, love the mirror makeover. Looks so good with the board and batten wall. Thanks tons for linking to Inspire Me.
View CommentBeautiful interior designing and interior decoration!
View CommentYou did a fabulous job on your mirror! I love it! Thanks for the inspiration – need to do something with 2 bath mirrors at our house. 🙂
View CommentThe mirror is AWESOME!! I love how it completely changes the bathroom and dresses it up a lot more. Definitely inspires me to make a custom mirror one day too. Like you, I can’t stand the “slab-o-mirrors,” I’m so over them!!
View CommentThey are UGGGGly. 😀
View CommentLove it! But how did you get the mirror back in? Didn’t see that part.
View CommentJan – we had the original mirror cut to fit inside the new frame. It cost $20 at a local mirror/glass shop. Then, we used mirror mastic to attach it directly to the wall. Hope this helps. 🙂
View CommentGorgeous! How did you attach the top and bottom pine board to the mirror?
View CommentNancy – we created the frame and then had the original piece of mirror cut ($20 at glass shop) and attached the cut mirror to the inside of the frame on the wall using mirror mastic. Hope this helps. 🙂
View CommentSo I am talking about the boards with the lights and shelf on them. I understand the frame and mirror but I don’t understand how to add the boards for the lights and shelf. Thanks for the quick reply!
View CommentHi Barb,
View CommentDid you replace the entire vanity or just paint it and the countertop and bowl(sink) or replace that completely? I love the look you created, looks about the size of my front bathroom. Have the original builder’s vanity in there from 1977 and I’m trying to figure out a way that I don’t have to buy a new set up altogether. I’m sure it must be some type of laminated vanity, maybe even fiberboard, but it is in good shape but looks 1977 style, if you know what I mean. Wished I could find a way to renovate it without ripping it out and going to the expense of replacing it altogether. My DH used to say my can of paint ended up costing him $500 plus before I got done, now he’d say it would cost thousands by the time you replace the floor tile,etc. Big decision; maybe that will be a 2015 project to tackle.
HOw long ago did you and Mr. start “flipping houses ?” That’s what my nephew wants to do when he retires; lives in Wilmington. He has the skills to do it but not retirement age yet; has 3 more years. We tell him to retire early before his high pressure job causes him a stroke or heart attack.
Barb,
View CommentWhat brand and color of white did you use on the vanity itself? Sure came out nice. Are there any more pictures of the rest of the “Flipped house” on your website? Do you still have your real estate business?
It was just a standard gloss white from Valspar that I got at Lowes. No special color. 🙂 Thanks, I love how it came out too. If you do a search for “flip house” you should see the rest of it. No, I sold my real estate business a few years ago because of health reasons. The stress was literally killing me. Hope you have a Merry Christmas. 🙂 Barb
View Comment